
Summer Slumbers Throw
This pattern was a unicorn of sorts… I had one of those moments when I saw in my mind, a cotton summer crochet throw as clear as day. I imagined a light and airy summer blanket you could use on those chilly summer nights just to take the chill off your shoulders while you are watching the sun go down and enjoying a relaxing drink. I imagined a simple and modern pattern repeat that would allow the maker to zone out and meditate while they make, or as I like to call it… make-itate!

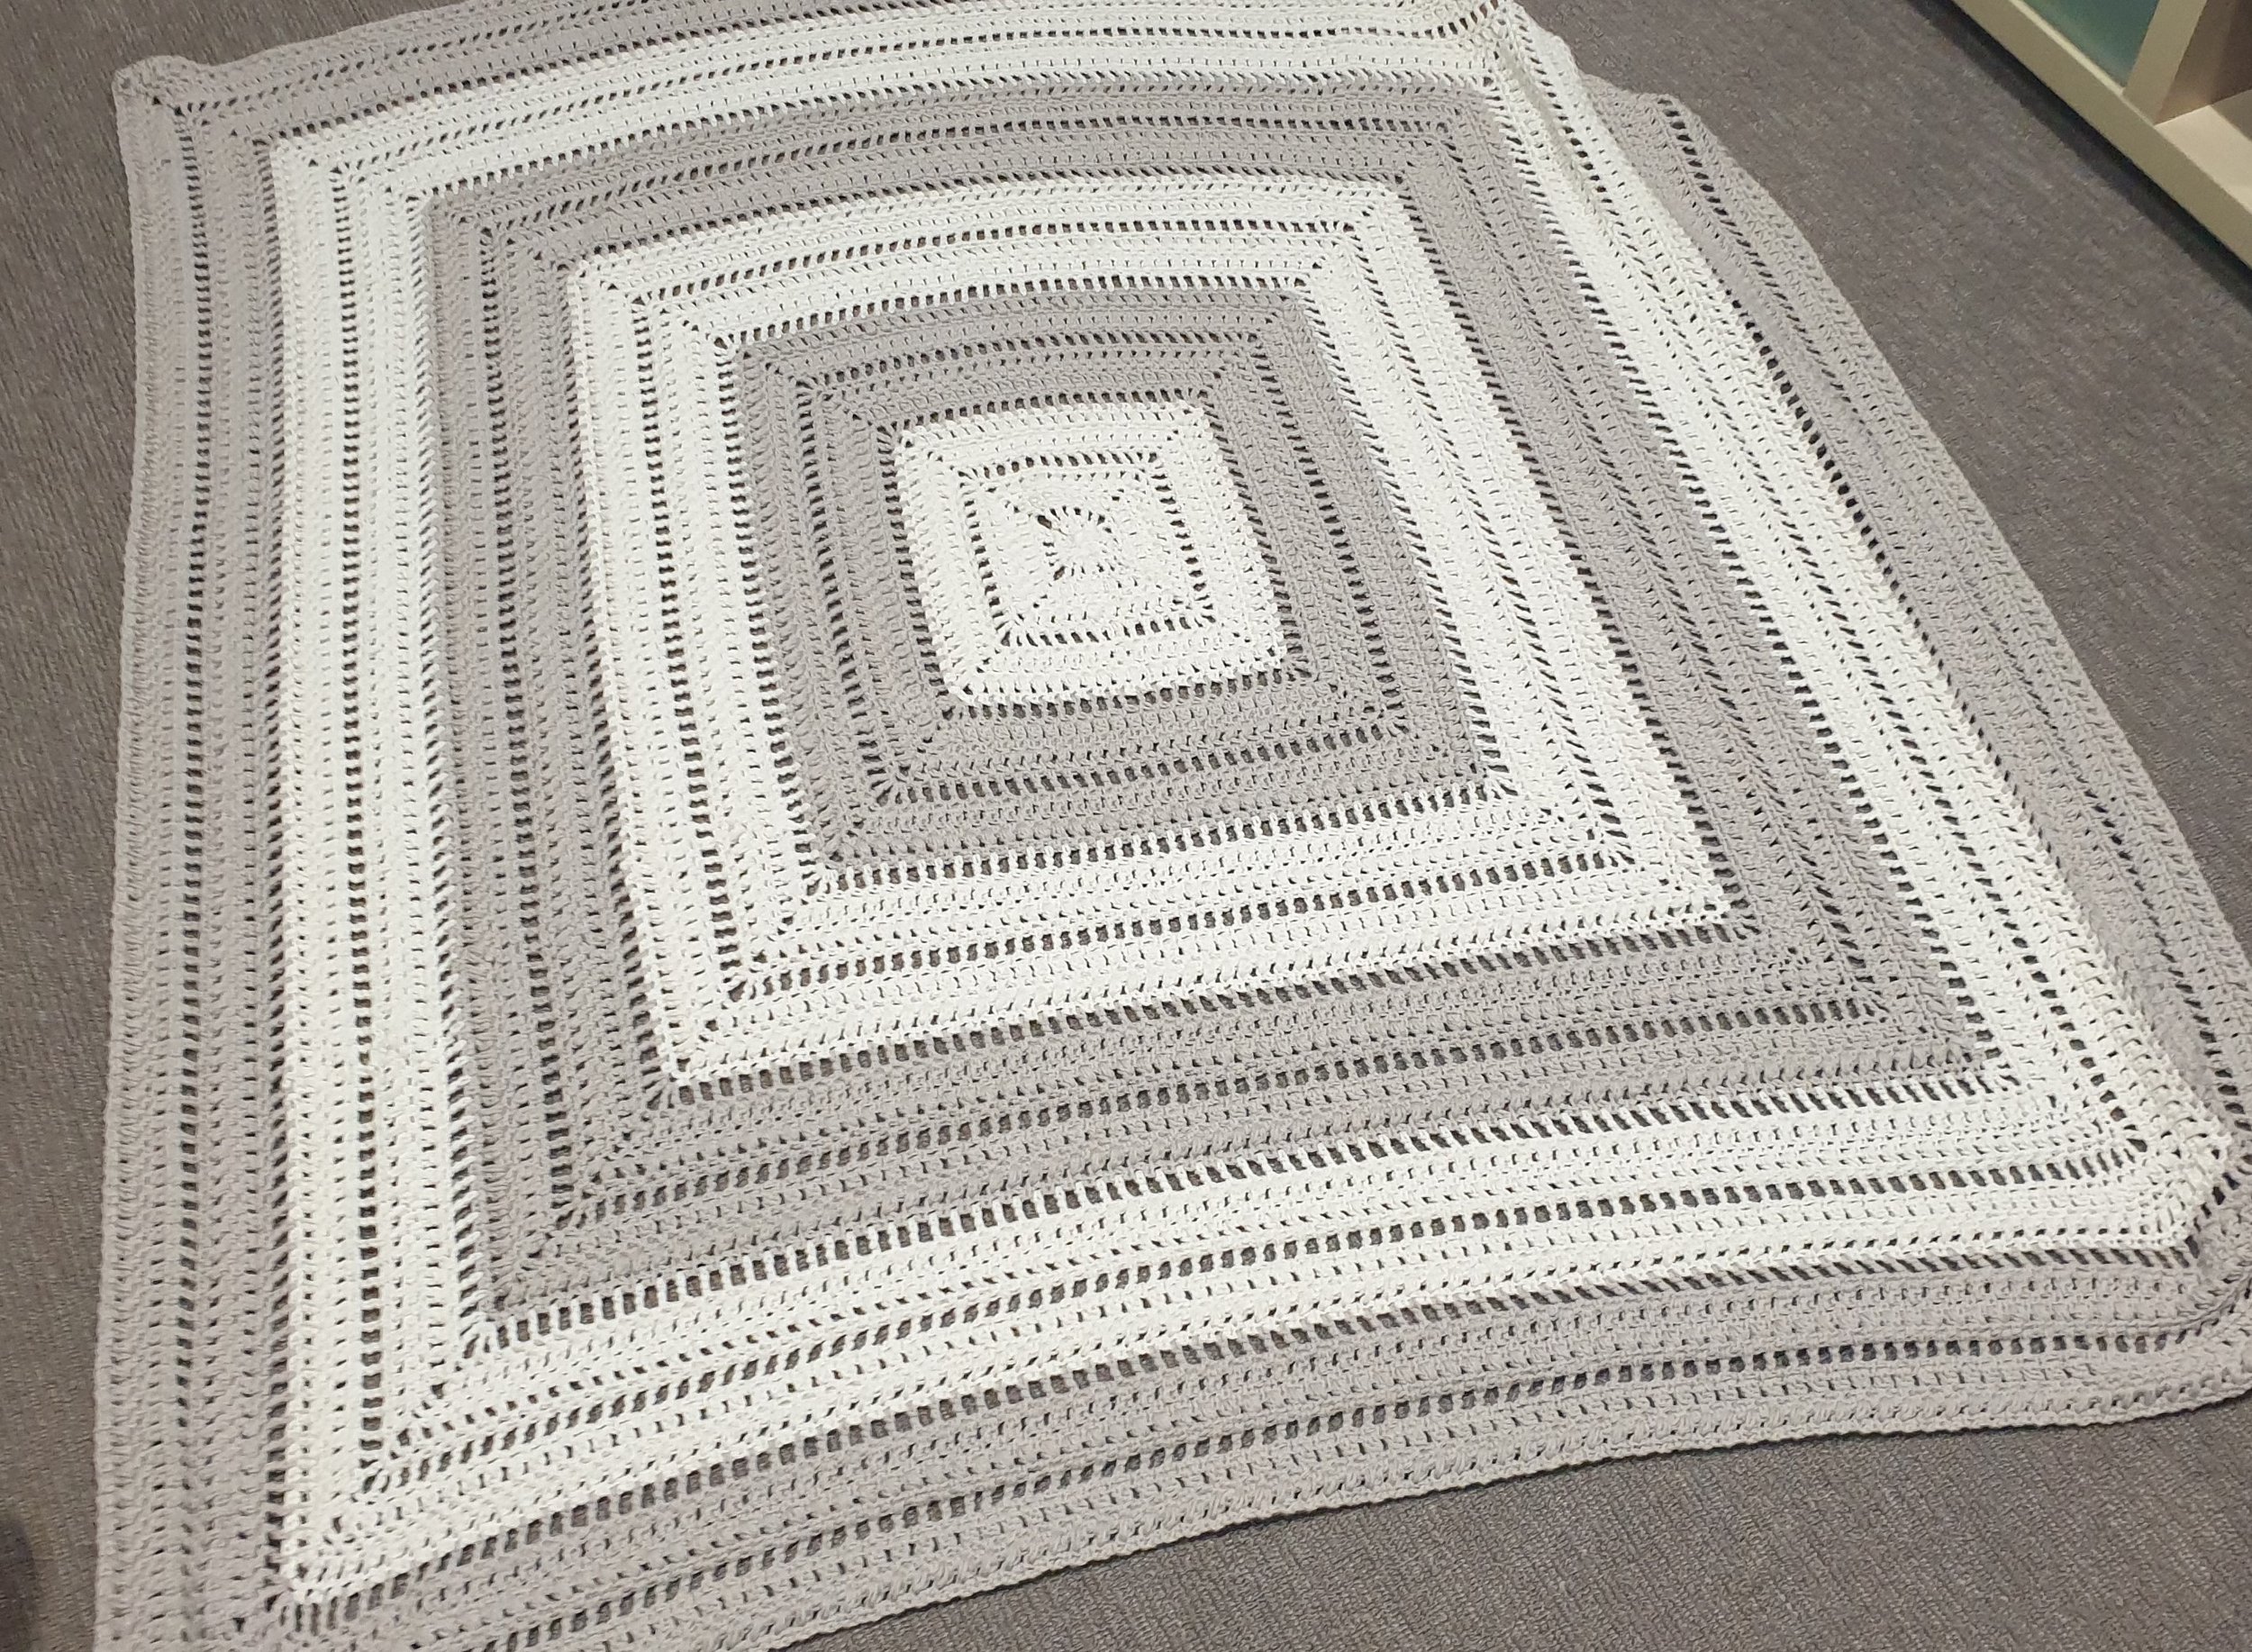
Not long after that, I was browsing through the yarn isles of my local Spotlight and found the perfect yarn for my imaginary blanket! The yarn is Anette Eriksson Cotton Soft. It is a beautiful, fine cotton and I picked it up in White, Grey and Charcoal. Unfortunately this yarn has been discontinued, but I have seen quite a few people make this pattern in a Scheepjes Whirl and it comes up lovely!
This pattern is an excellent mindless make for those days when you just can't concentrate too hard, but your hands just need to be making.

The pattern would suit a beginner crocheter, as long as you were comfortable with treble crochet (US), puff stitches and crocheting two stitches together. Not difficult stitches, the pattern contains an explanation of the stitches in the beginning, and a quick google search will clear up any confusion you might have.
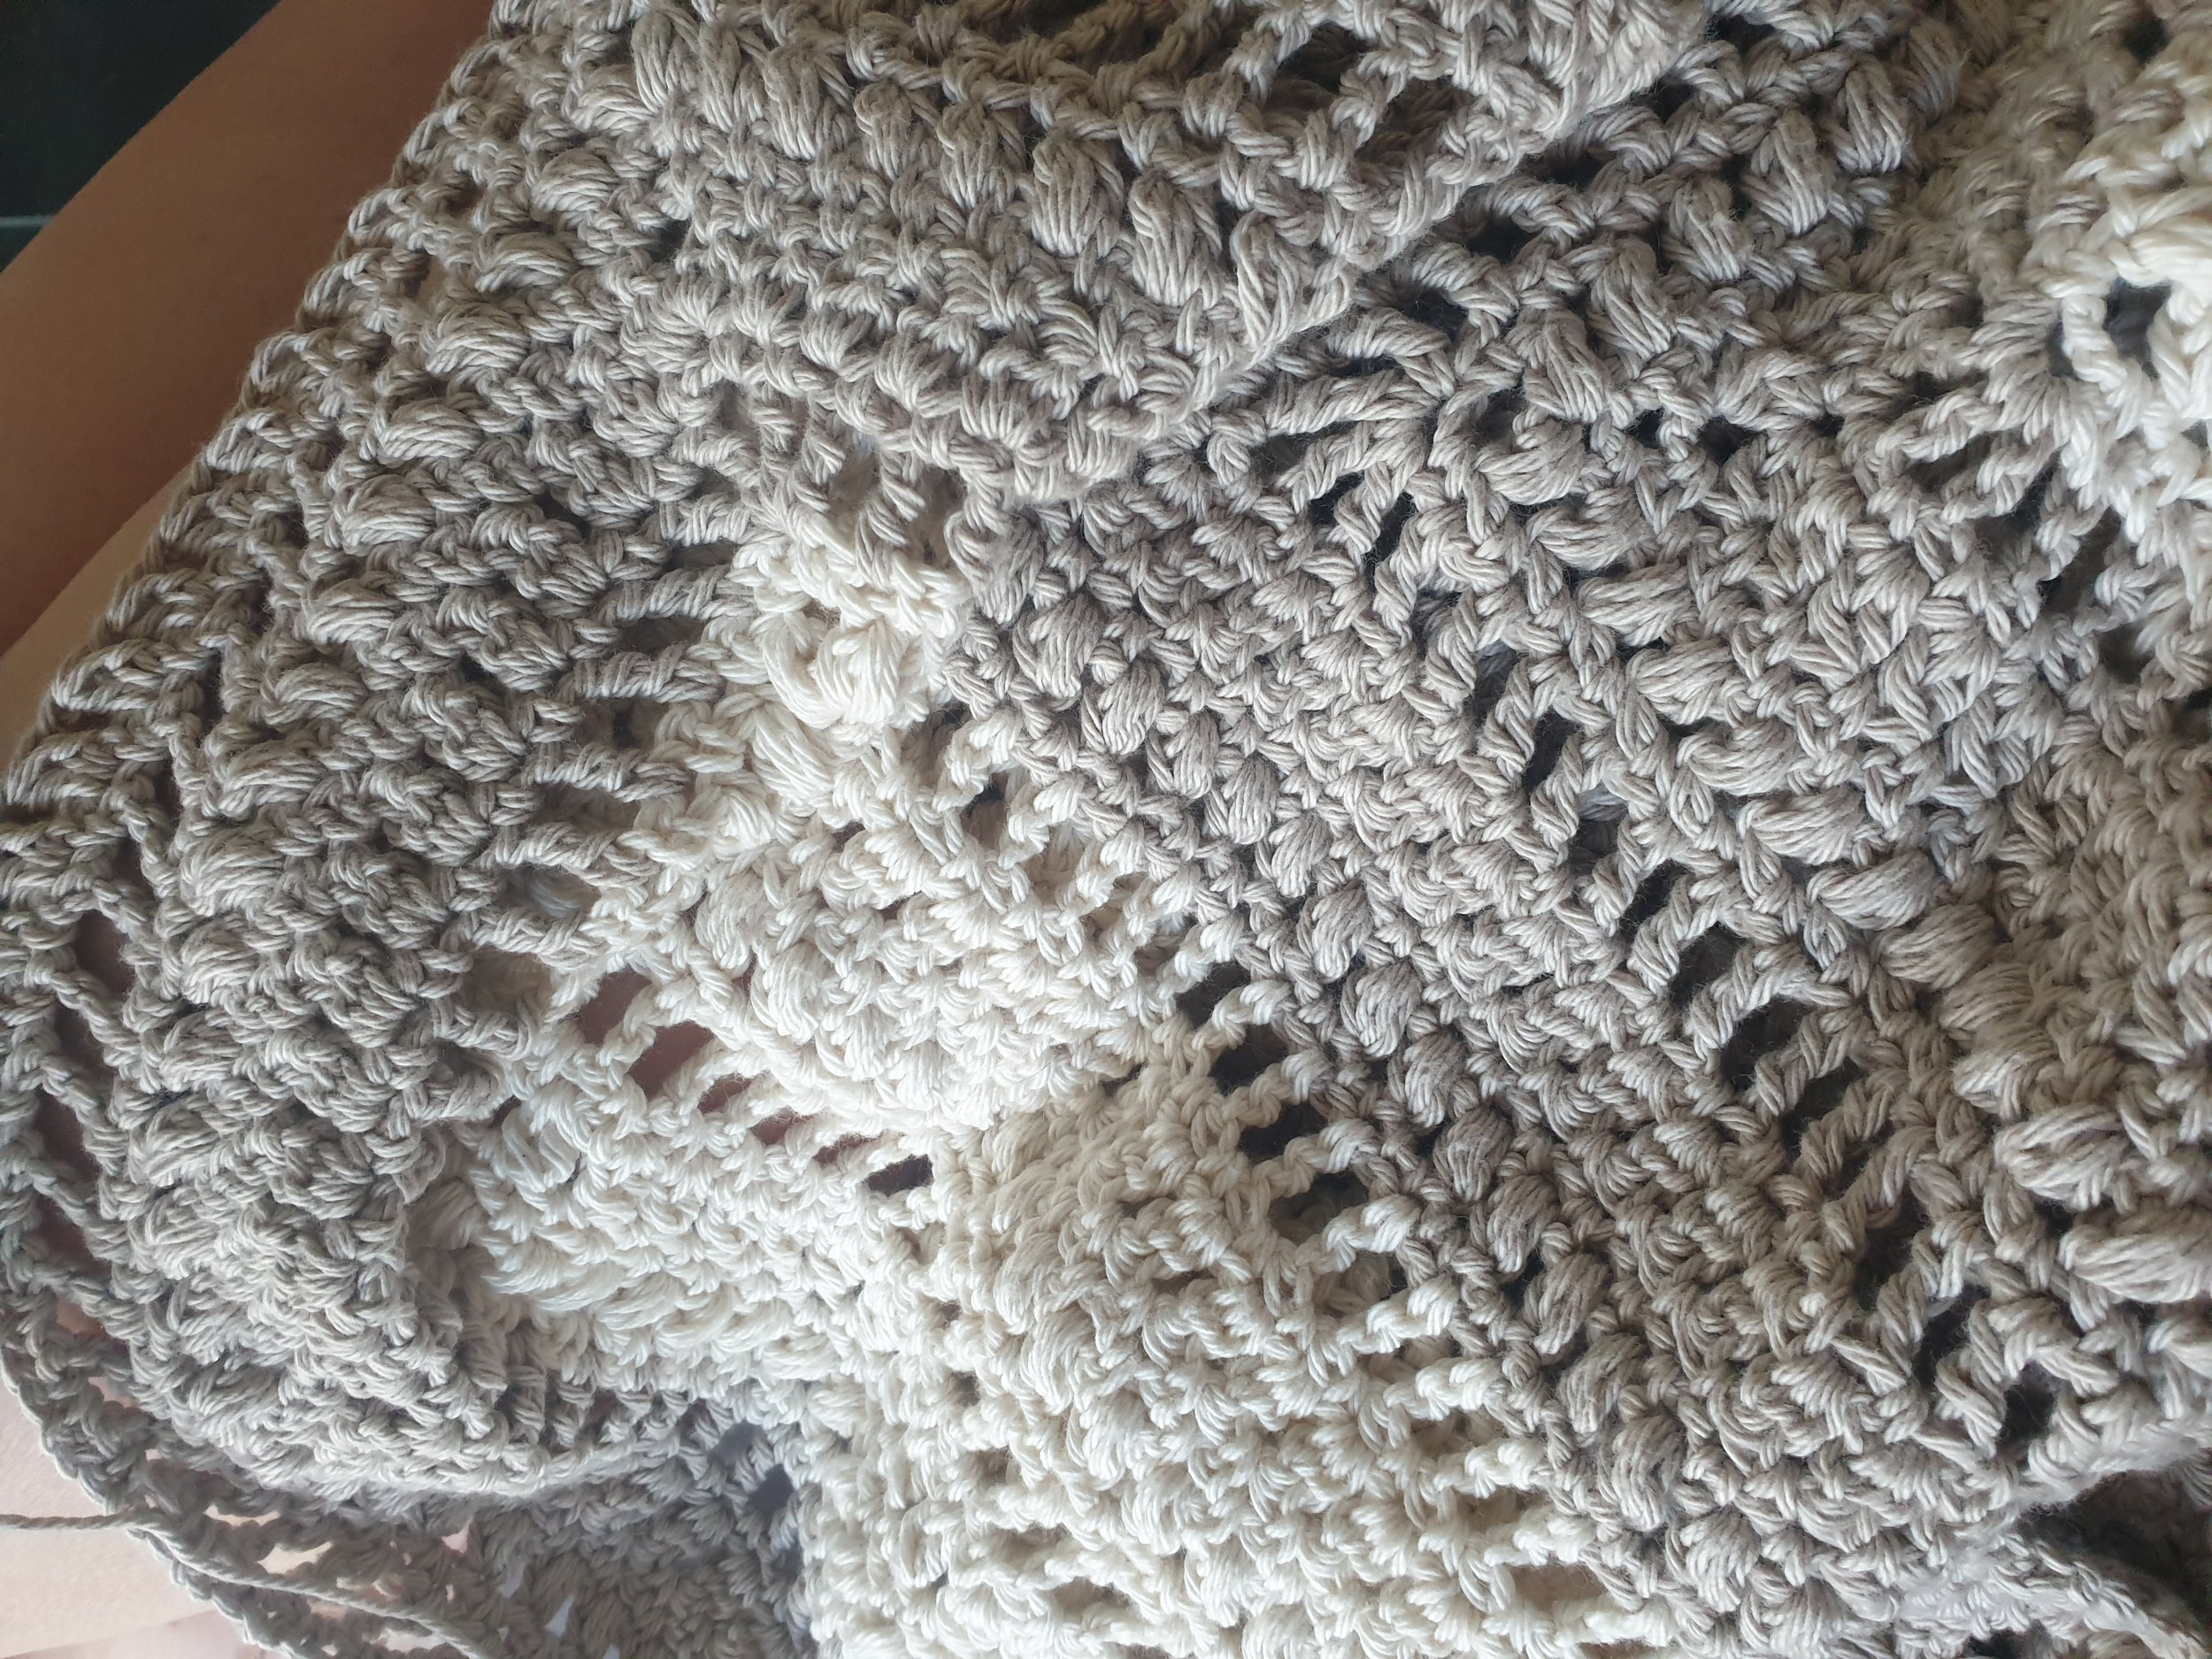
The trick with blankets made in rounds like this is to keep turning your work. If you were to continue working with a 'front' face and a 'back' face, your work will begin to twist, like this....
This pattern instructs you to turn your work over every second row. And if you do that, you will avoid the dreaded twisting centre.
This pattern is available below and as an ad free printable PDF in my Ravelry shop - click this link to go and grab it!

Materials used
3.5 mm hook or appropriate hook for your chosen yarn.
Anette Eriksson Cotton Soft yarn 100gm in White, grey and charcoal. (Unfortunately this yarn has since been discontinued but a perfect substitution yarn would be the Scheepjes Whirl. Another good yarn substitution would be Caron Skinny Cakes - this is acrylic yarn and wouldn’t have the cotton component though.)
I have also made this in a 10ply cotton yarn from Bendigo Woollen Mills for a chunkier throw, but this would be amazing in the Bendigo Woollen Mills 4ply Cotton. For a full sized adult throw I used 3 balls of Parchment and 4 balls of Latte. Below is the 10ply cotton version I made.
Stitches used
Chain (Ch): yarn over, pull through
Single Crochet (SC): Insert hook into space, yarn over and pull through, yarn over and pull through loops on hook.
Cluster stitches: (2DC-CL): will state how many and what type of stitch is to be worked in the cluster. Holding back the last loop of each stitch, complete the number of stitches in the indicated space, yarn over and pull through all loops together.
Treble Crochet (TC): Yarn over twice, insert hook into space, yarn over and pull back through, yarn over and pull through 2 loops, three times.
Puff Stitch (PUFF): Yarn over, insert hook into space, yarn over and pull back, three times, yarn over and pull through all loops on hook. **Please note that some patterns require puff stitches with 4 yarn overs, these puff stitches are slightly smaller, with only 3 yarn overs.
Slip stitch (Sl st): insert hook into stitch, yarn over and pull through stitch and loop on hook.
Pattern Notes
This pattern uses US terminology.
Pattern repeats for each row are marked with * .
Groups of stitches to be worked into the same space or stitch are shown in brackets ( ).
When beginning a new row, I start with chains in place of standing stitches, for example, where the first stitch is a DC, I chain 2, where it is a TC, I chain 3. You may choose to do a chainless starting double crochet, which is fine too. There are a number of tutorials online that can explain the differences.
Join at the end of each row with a SL ST to the top of the beginning stitch or chains.
This whole pattern is worked into the spaces between stitches, rather than into the top of the stitches.
When working granny square patterns such as this, it is recommended to turn your work frequently to avoid the pattern twisting and keeping your piece nice and square. I have marked in the pattern, after each accent row, (i.e Treble, Cluster or Puff) when to turn your work so you can avoid the dreaded twist.
This pattern can also be used to create smaller granny squares and joined to be made into a blanket. The possibilities are endless!!

Pattern
Chain 6, sl st into first chain to make a circle.
*** Remember all stitches are worked into chain space throughout this pattern***
Round 1 - CH3 (counts as first TC), 3TC into circle, CH2, *4TC, CH2. Repeat from * three times. Join to top of beginning chain.
Round 2 - Sl st into space between next stitch, CH4 (Counts as first TC & CH1), TC, CH1, in between each stitch across. (TC, CH3, TC) in corner sp. Repeat from * around. Join to third chain at start of this row. *Turn work*
Round 3 - Sl st into ch1 sp. CH1, *SC, CH2 across, (SC, CH4, SC) in corner space, CH2. Repeat from * around. Join to beginning SC.
Round 4 - Sl st into ch2 sp. CH2, DC in same sp (counts as first Cluster), CH1, *2-DC-CL, CH1, across row, (2-DC-CL, CH3, 2-DC-CL) in corner sp, CH1. Repeat from * around. Join to the beginning cluster. *Turn work*
Round 5 - Sl st into ch1 sp. CH1, *SC, CH2 across. (SC, CH4, SC) in corner space, CH2. Repeat from * around. Join to beginning SC.
Round 6 - Sl st into ch1 sp. CH1, *SC, CH2 across. (SC, CH4, SC) in corner space, CH2. Repeat from * around. Join to beginning SC.
Round 7 - Sl st into ch2 sp, CH2, *PUFF, CH2 across row. (PUFF, CH4, PUFF) in corner space, CH2. Repeat from * around. Join to beginning PUFF.
Round 8 - Sl st into ch1 sp. CH1, *SC, CH2 across. (SC, CH4, SC) in corner space, CH2. Repeat from * around. Join to beginning SC. *Turn work*
Round 9 - Sl st into space between next stitch, CH4 (Counts as first TC & CH1), TC, CH1, in between each stitch across. (TC, CH1, TC, CH3, TC, CH1, TC) in corner sp, CH1. Repeat from * around. Join to third chain at start of this row.
Round 10 - Sl st into ch1 sp. CH1, *SC, CH2 across. (SC, CH4, SC) in corner space, CH2. Repeat from * around. Join to beginning SC.
Round 11 - Sl st into ch2 sp. CH2, DC in same sp (counts as first Cluster), CH1, *2-DC-CL, CH1, across row, (2-DC-CL, CH3, 2-DC-CL) in corner sp, CH1. Repeat from * around. Join to the beginning cluster. *Turn work*
Round 12 - Sl st into ch1 sp. CH1, *SC, CH2 across. (SC, CH4, SC) in corner space, CH2. Repeat from * around. Join to beginning SC.
Round 13 - Sl st into ch2 sp. CH1, *SC, CH2 across. (SC, CH4, SC) in corner space, CH2. Repeat from * around. Join to beginning SC.
Round 14 - Sl st into ch2 sp, CH2, *PUFF, CH2 across row. (PUFF, CH4, PUFF) in corner space, CH2. Repeat from * around. Join to beginning PUFF.
Round 15 - Sl st into ch2 sp. CH1, *SC, CH2 across. (SC, CH4, SC) in corner space, CH2. Repeat from * around. Join to beginning SC. *Turn work*
Repeat from Round 9 to Round 15 until your blanket is as big as you desire. The throw pictured features 2 repeats of rows 9-15 in each colour section.
I hope you enjoyed making your very own Summer Slumbers Blanket and I would love to see your creations! Share your pics with me on Instagram by using the #summerslumbersthrow & #katemadeit.
Don’t forget you can grab the free printable PDF from my Ravelry store just click this link to go and grab it!