
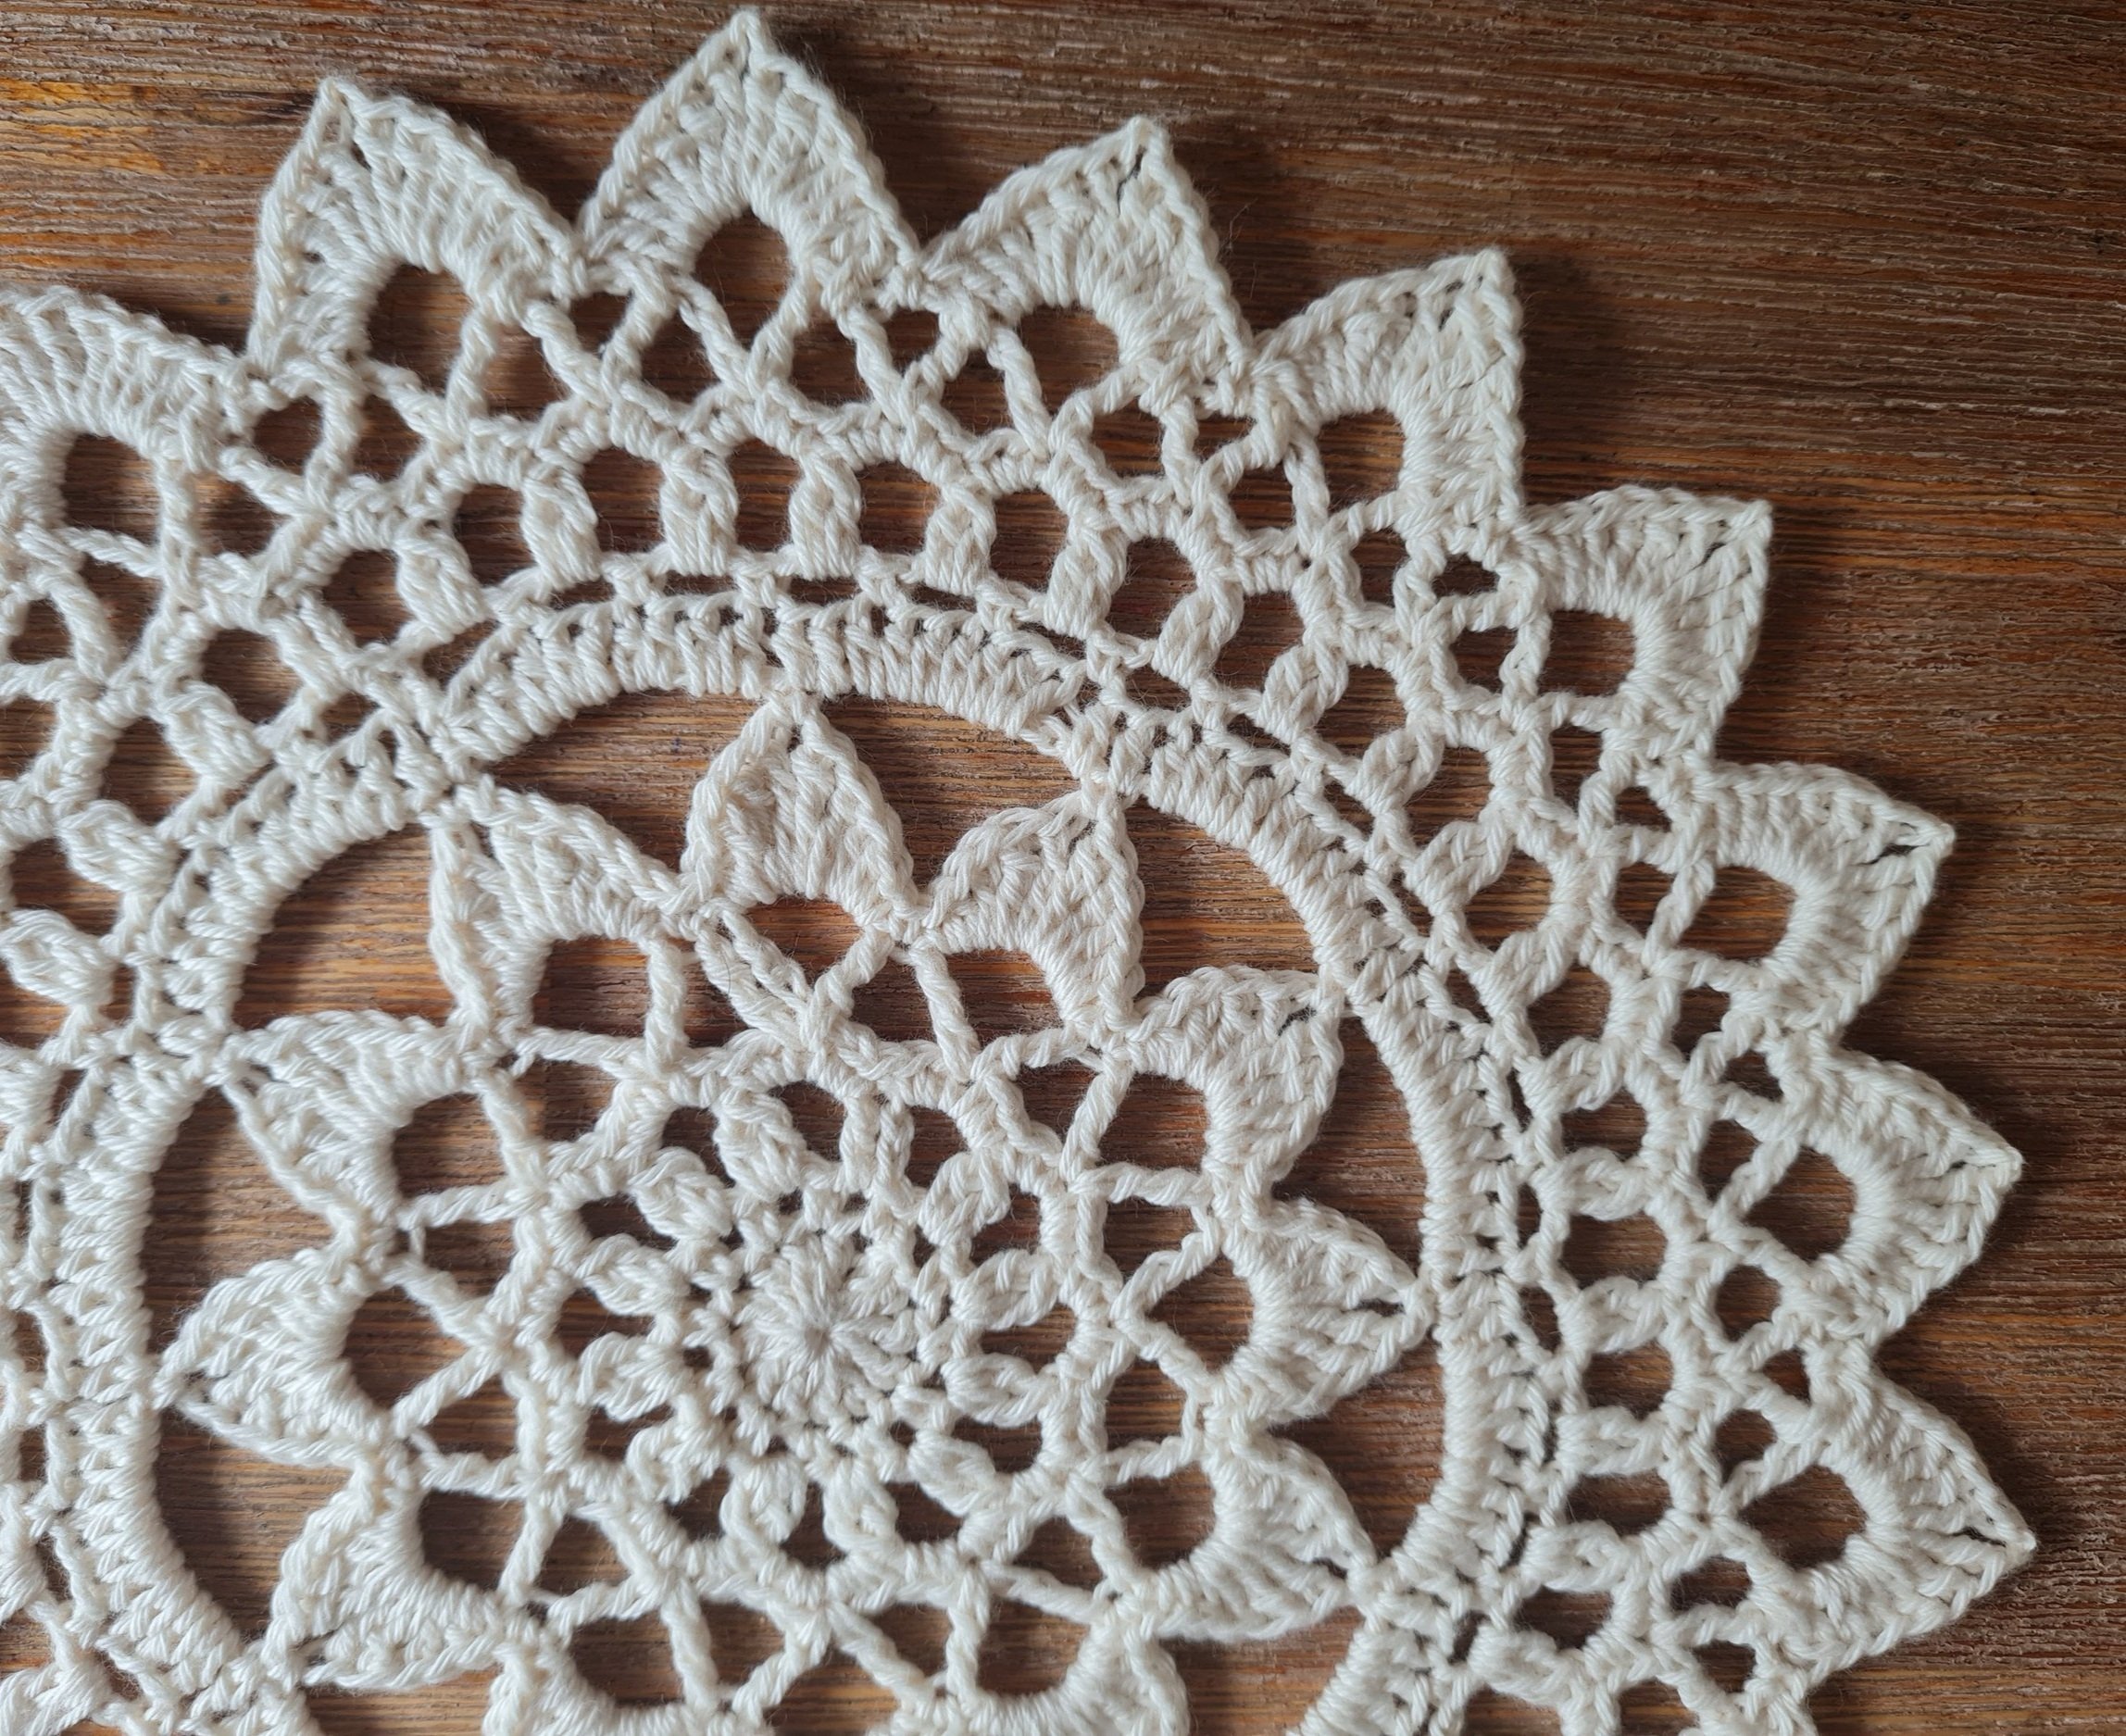
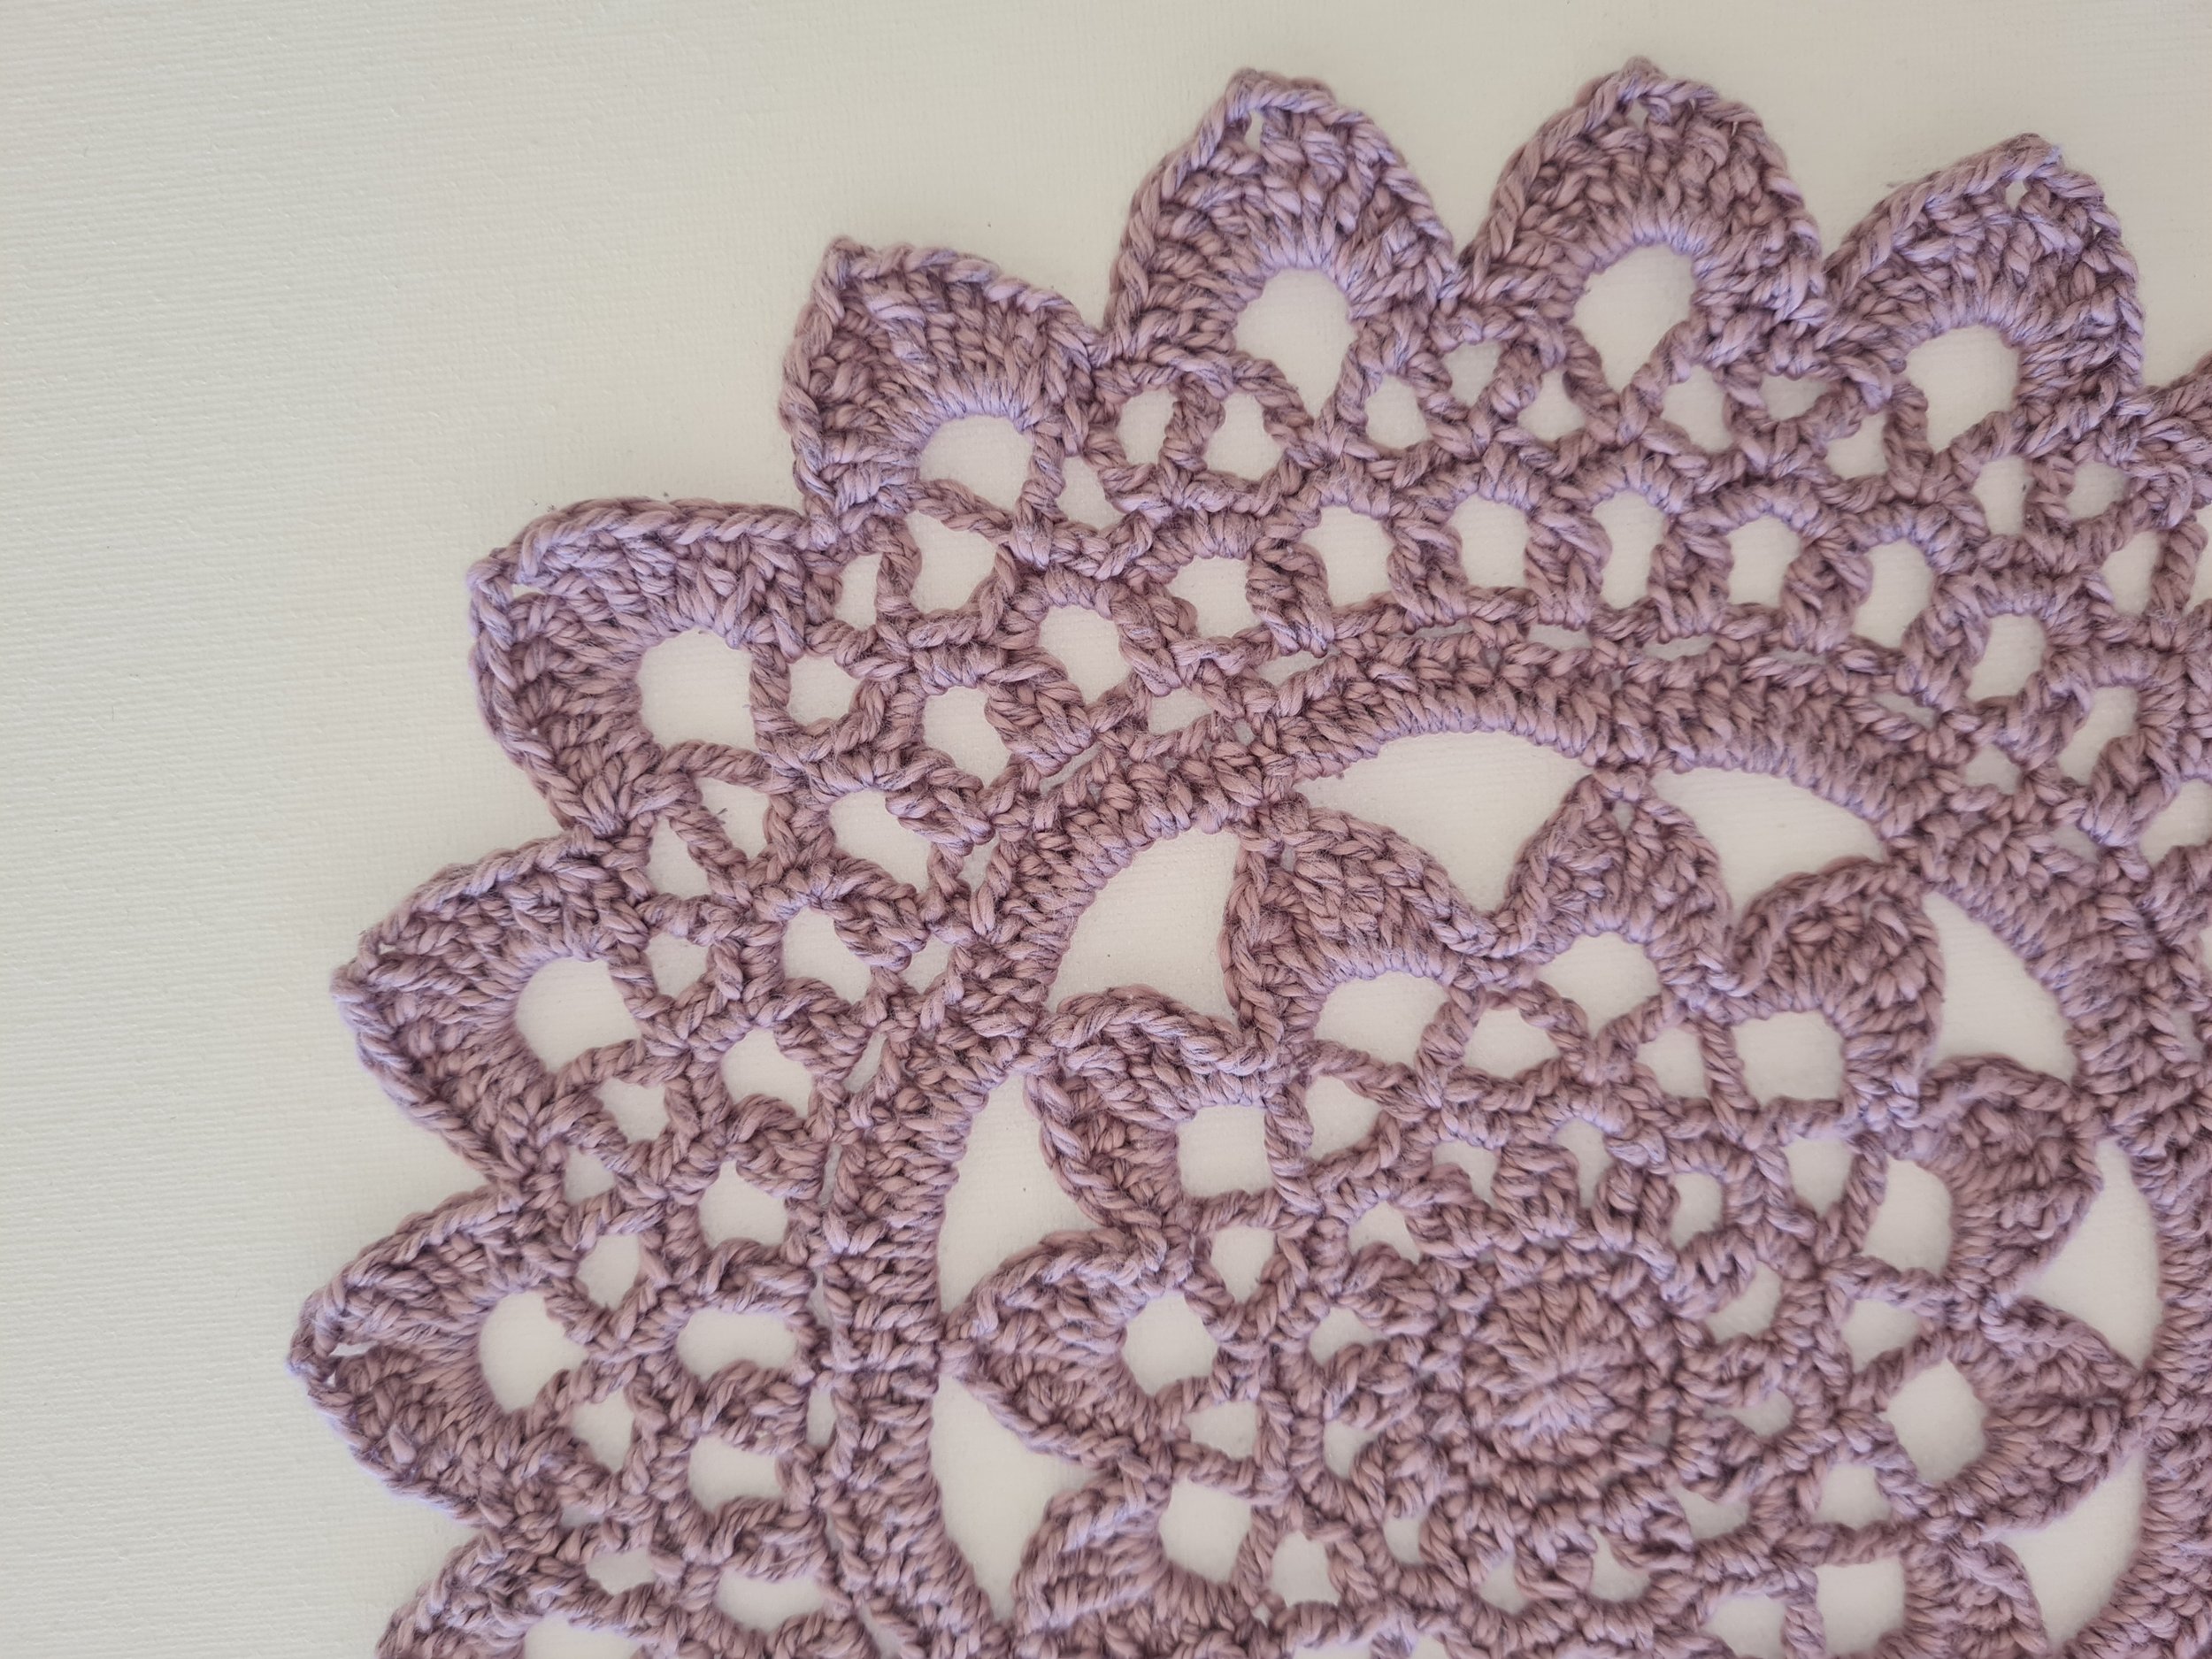
Happy Sun Mandala Crochet Pattern
The Happy Sun Mandala Pattern is a confident beginner-friendly crochet pattern. This crochet mandala is a quick and easy-to-make pattern, and because the trickiest stitch in it is the two treble crochet together, even beginners will be able to give this pattern a try. So if you know that stitch, you will be able to whip this mandala up without any issues! If you don’t know the two treble crochet together yet, then check out this video here for a tutorial, and believe in yourself! You can do it!

I wanted to create a simple beginner friendly mandala pattern to encourage people to give crochet mandalas a try. Especially those beginning their crochet journey. Don’t be afraid. Just work through each stitch, each row and you never know what you might be able to create.
To make my patterns more accessible to everyone, I am sharing the pattern below for free.
However, I have created a printable PDF pattern that includes row by row photos to help with you through any tricky spots.

Materials Used:
Cream: Heirloom 4ply Cotton in cream, 1 x 50gm ball, Approx 20gm used. 3.5 mm Hook.
OR
Lilac: King Cole Finesse in Antique Lilac, Cotton Silk DK, 1 x 50gm ball, Approx 36gm used. 4mm Hook.
Stitches used:
ST: Stitch
SK: Skip
SL ST: Slip Stitch
CH: Chain
CH-SP: Chain Space
SC: Single Crochet
HDC: Half Double Crochet
DC: Double Crochet
TC: Treble Crochet
2DC-CLUSTER: Holding back the last loop of each stitch, complete the number of stitches in the indicated space, yarn over and pull through all loops together.
DC2TOG: Double Crochet 2 Together
TC2TOG: Treble Crochet 2 Together
Pattern notes:
This pattern is written using US terms.
Pattern repeats for each round are marked with * and italics.
These patterns do benefit from steam blocking when completed to help the points lay flat and the spaces to open-up. It helps to give the piece a professional finish.

Pattern
R 1: Begin with magic circle, make 12 DC into ring, SL ST to join to first DC. Pull closed.
R 2: CH 1, SC in same ST, CH 2, *SC in next ST, CH 2; repeat from * around, SL ST to join to first SC. (12 SC, 12 CH-2 SP)
R 3: CH 2, DC in same ST (counts as first 2DC-CLUSTER), CH 3, *2DC-CLUSTER in next CHSP, CH 3; repeat from * around, SL ST to join to first CLUSTER. (12 2DC-CLUSTER, 12 CH-3 SP)
R 4: CH 1, (2 SC, CH 1, 2 SC) in each CH-3 SP around, SL ST to join to first SC. (48 SC, 12 CH1 SP)
R 5: SL ST to CH-SP, CH 3 (counts as first TC), *(TC, CH 5, TC) in next CH-SP; repeat from * around, TC in same SP as beginning CH-3, CH 5, SL ST to join to top of beginning CH3. (12 CH-5 SP, 24 TC)
R 6: CH 1, *SC in the second of 2 TC below, (SC, HDC, DC, 2 TC, CH 2, 2 TC, DC, HDC, SC) in CH-5 SP; repeat from * around, SL ST to join to first SC. (36 SC, 24 HDC, 24 DC, 48 TC, 12 CH-2 SP)

R 7: SL ST to CH-2 SP at point of petal, CH 1, *SC in CH-SP, CH 9; repeat from * around, SL ST to join to first SC. (12 CH-9 SP, 12 SC)
R 8: CH 2, (counts as first HDC), 9 HDC in CH-SP, *HDC in SC, 9 HDC in CH-SP; repeat from * around, SL ST to join to top of beginning CH-2. (120 HDC)
R 9: CH 1, *SC, CH 3, SK 2 ST; repeat from * around, SL ST to join to first SC. (40 SC, 40 CH3 SP)
R 10: SL ST into first CH-SP, CH 2, DC in same SP (counts as first 2DC-CLUSTER), CH 3, *2DCCLUSTER in CH-SP, CH 3; repeat from * around, SL ST to join to first CLUSTER. (40 2DC-CLUSTER, 40 CH-3 SP)
R 11: (2 SC, CH 1, 2 SC) in each CH-SP around, SL ST to join to first SC. (160 SC, 40 CH-1 SP)
R 12: SL ST to first CH-1 SP, CH 3 (counts as first half of TC2TOG), TC in next CH-SP, CH 3, *TC2TOG in last CH-SP and next CH-SP, CH 6, TC2TOG in last CH-SP and next CH-SP, CH 3; repeat from * around, TC2TOG in last CH-SP and same CH-SP as beginning CH-3, CH 6, SL ST to join to top of beginning CH-3. (40 TC2TOG, 20 CH-6 SP, 20 CH-3 SP)
R 13: SL ST into CH-SP, *SC in CH-3 SP, DC2TOG (first leg in between legs of TC2TOG, second leg into CH-6 SP), (2 DC, 3 TC, CH 2, 3 TC, 2 DC) in CH-6 SP, DC2TOG (first leg in CH-6 SP, second leg in between legs of TC2TOG); repeat from * around, SL ST to join to first SC. Fasten off yarn and sew in ends. (20 SC, 40 DC2TOG, 80 DC, 120 TC, 20 CH-2 SP)

Save this image to your pinterest to come back to the pattern when you have chosen your perfect yarn!

Happy Crocheting Friends!!
