
Upcycling fails
Have you ever been so excited to finish a DIY project that you rushed it and completely stuff it up? Me, I have. Mistakes were made friends, read on to see how I messed up every single piece I worked on over this weekend!
My excitement - read: impatience, failed me with a few recent thrifted upcycle attempts. I rushed through this in the span of two days, I was so excited to finish this project, take photos and share it with you guys that I rushed through, stuffed up the paint and then put them in a box and ignored them over the past week because I’ve been so annoyed at myself about it.
I shared these bowls with you in my first Thrifted upcycle post here, and in an attempt to get over perfectionism and avoiding things because they aren’t quite right, I am just going to share my progress so far. Part One if you will.

Bulk upcycle project
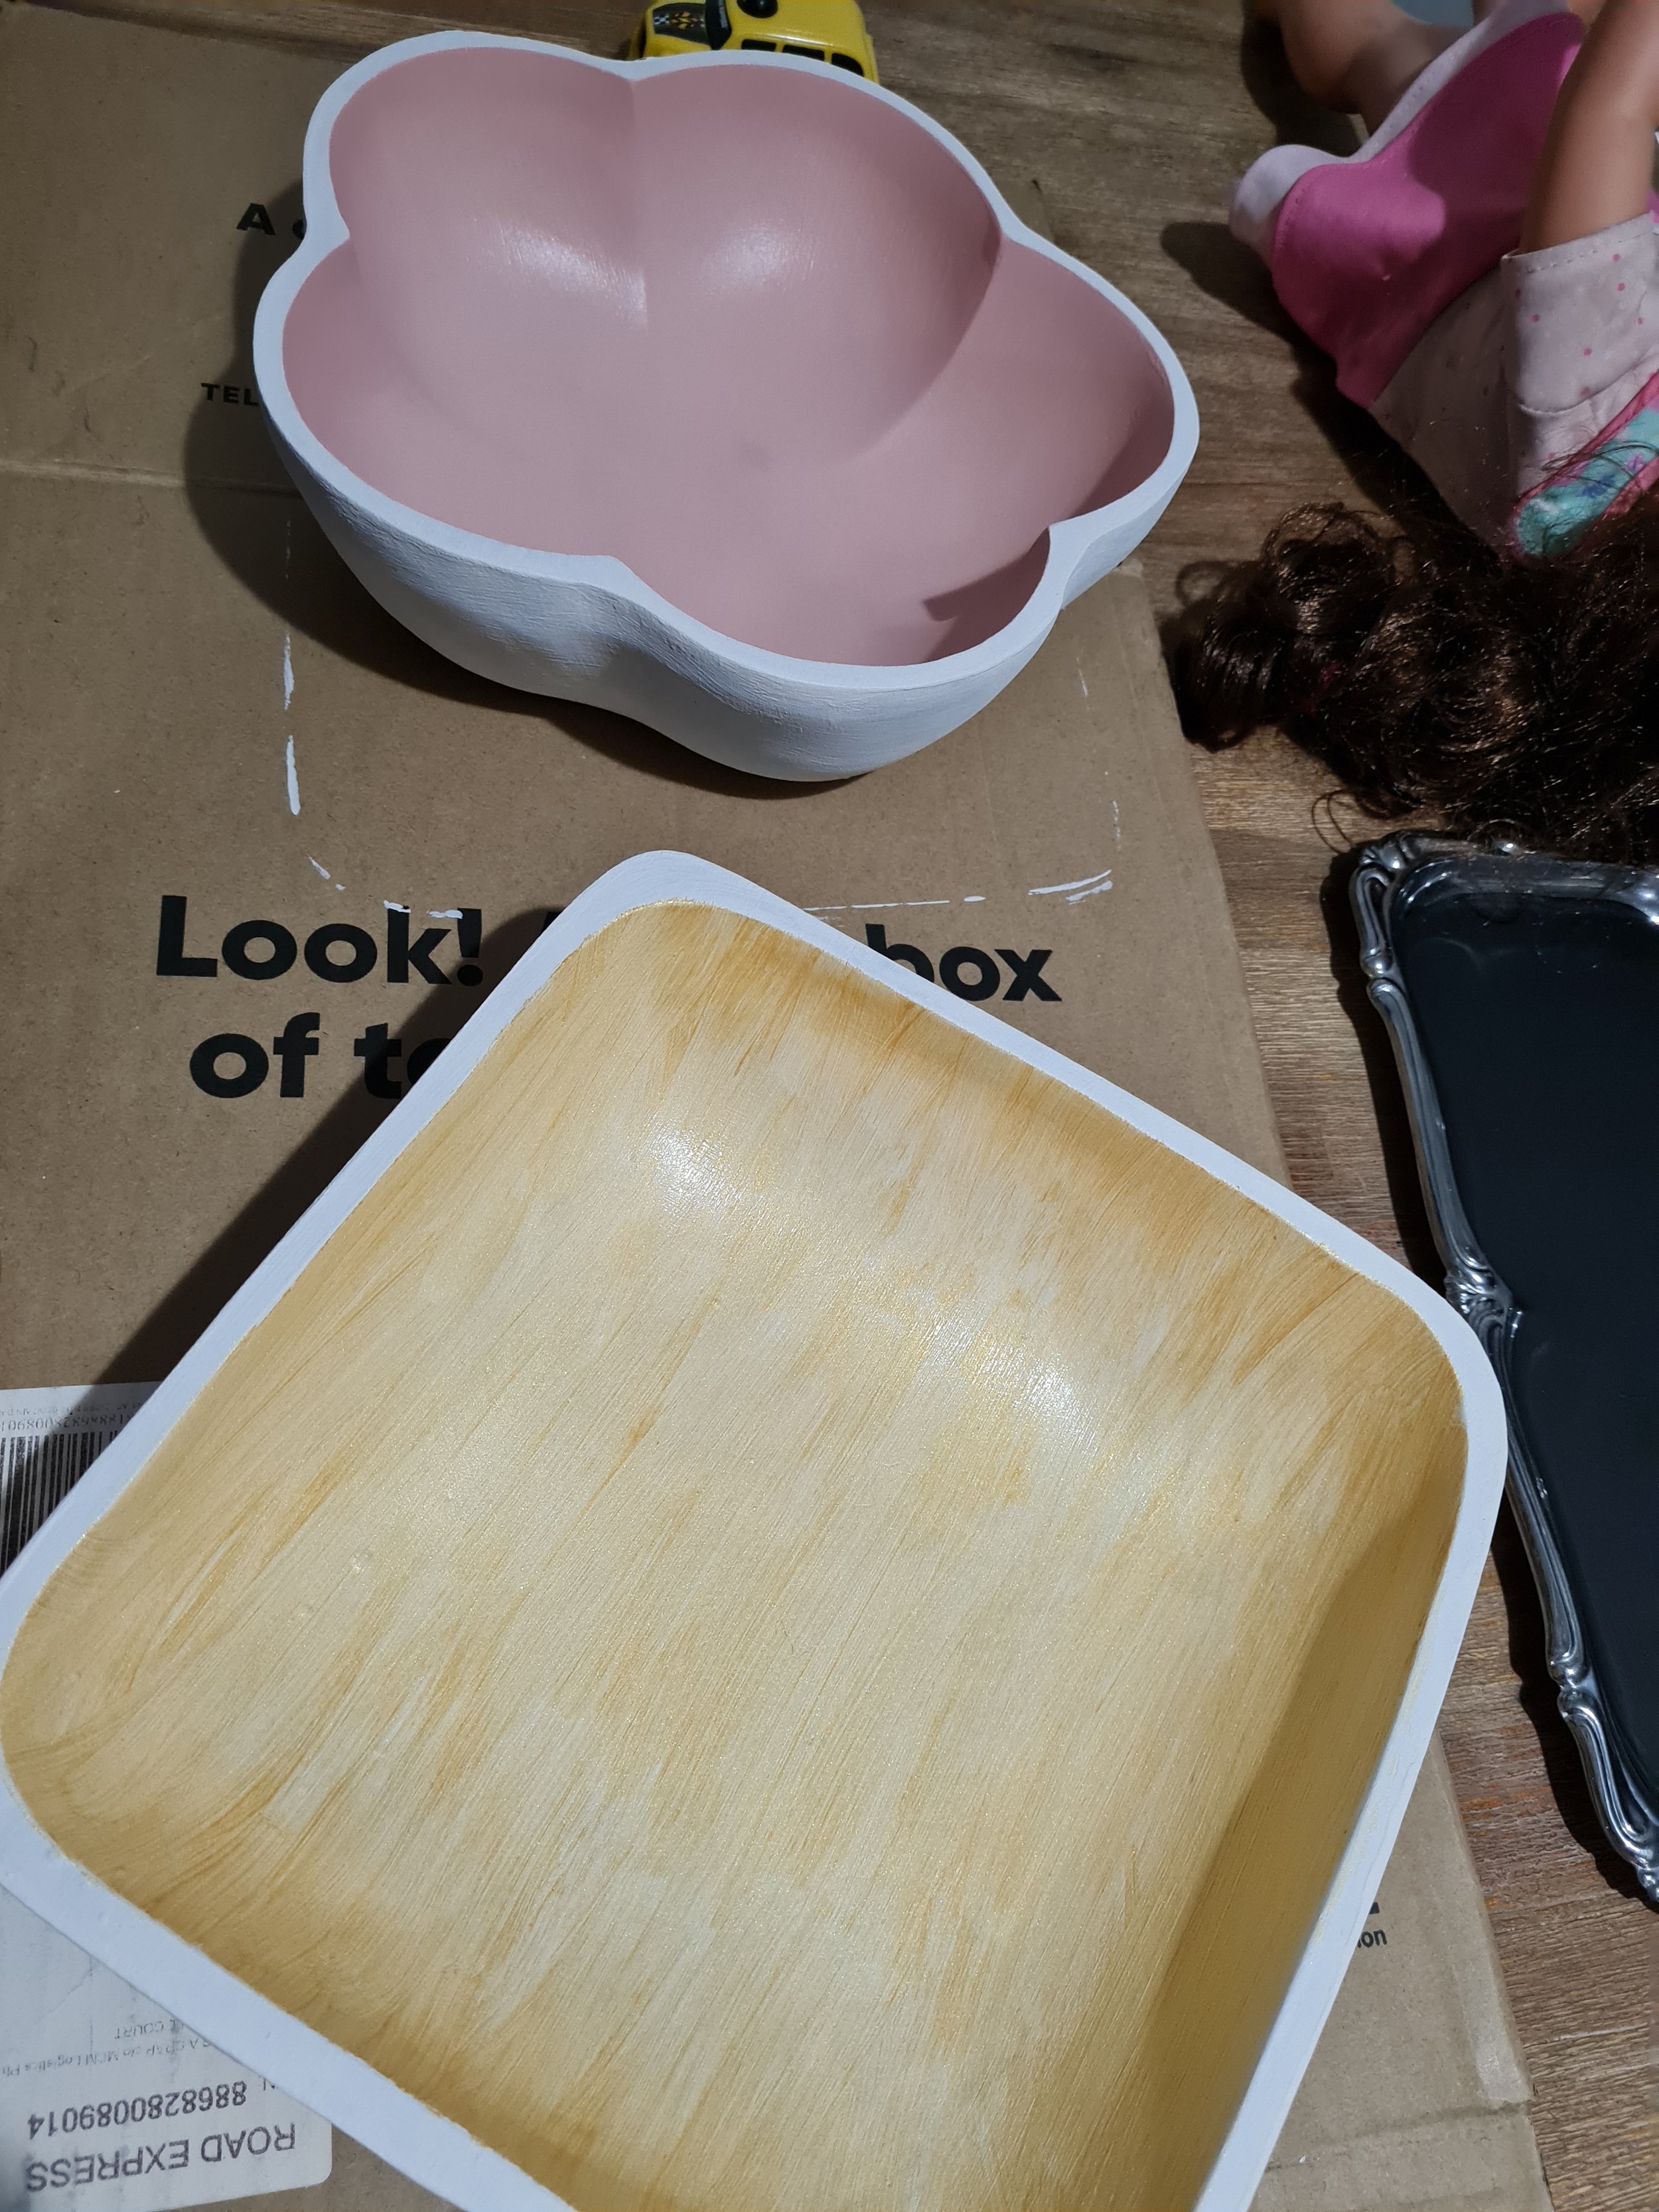
I’ve been enjoying finding different shaped timber bowls in Op shops lately, these square and flower shaped ones are my most recent finds. They have been fairly well worn and needed a bit of love. I didn’t feel like sanding them back, so instead I decided to paint them.
This was on a particularly rainly and cold weekend recently where we had no plans so I decided to spend my time painting!
I also decided to paint a magazine rack I found ages ago that has been sitting in my shed taking up space. This all started innocently enough with an undercoat on the magazine rack. And at the same time I was playing around with chalk paint on a silver tray I found too! Talk about all or nothing right?
(Peep the spot I missed the undercoat on the rack!)

And in true Kate Made It fashion, we are using what we already have! So here is that grey colour again. The white chalk paint I already had, the only new thing here was the black chalk paint from Kmart. I don’t know if it would actually work as chalkboard paint, I’m guessing not, but this post is about fails, so maybe I’ll find some chalk and experiment and see hey!

And of course no DIY project can be done in my house without every one of my kids pestering me to do some too. And I know I know, they just want to be involved and join in, but sometimes I just want to do the projects myself!
So I started just by doing two coats of the white chalk paint on the timber bowls, both the square and the flower one. Then I painted the inside of the flower bowl with a pink chalk paint and the square bowl with just an acrylic gold paint. The gold paint was just a basic acrylic I got from a $2 shop!
The next day I was all set to do the second gold coat and two coats of clear coat, but my son demanded to do the gold and then I got impatient waiting for him to finish a game of Monopoly and then rushed to fit in doing the clear coat and then this happened….

It was a Ron Burgundy moment of “I immediately regret this decision.” So I’ll need to sand this back and do at least the gold again, but probably all the layers of the inside as well.
Then the pink flower bowl. It was looking gorgeous… the pink inside was so beautiful and it came up really well with the clear coat on, I had a nice smooth line where the pink finished around the top edge, and then I picked it up from doing the clear coat on the bottom…. and it stuck to the board I had it on. Grrrr.

So another one that I’ll have to sand back and take another shot at. Now that I’m looking at this with less anger in my eyes, maybe I’ll just sand the top edge and see how that looks…. hmmm?!
Now the silver tray turned out okay, still not sure what I was planning with this, I was really just experimenting! Until I got annoyed at the bowls and shoved everything into a tub to make room for dinner because I don’t have a place I can leave craft projects out at the moment, and the clearly not quite dry yet paint did this….

Now this is the part where I’d like to say, the one project I was happy with was the magazine rack, that I am thrilled with how it turned out, but the truth is I don’t really like it, at all. Let’s face it, it’s ugly. But oh well. That’s all part of the learning process right? Black was the wrong choice as the second colour for the magazine rack, it’s too stark and makes the whole project too dark. And maybe I don’t actually like the shape of it and would rather just get rid of it and search for a nicer shaped one…. not sure!!
But, I found a good use for it, so it’s functional, it actually matches in colour where it sits in my room, and it is actually finished and doesn’t need more work. So I have allocated the magazine rack as our device storage for the kids tablets, headphones and my laptop. It makes it easier for my kids to actually put the chargers in their tablets, resulting in less tantrums because their tablets aren’t flat when they go to use them.
Here it is…said tablets are actually missing because my kids are taking a break from tablets and TVs at the moment, and it is glorious. They aren’t happy about this break, but I am! Do you notice a difference in your kids attitudes when they have screens too often? I certainly do!

So my weekend of crafting and upcycling my thrifted finds was a bit of a bust, but stay tuned for Part 2, which I will link here when it’s done, when I actually go back and revisit those bowls and silver tray, because I really do think they will look really cool when they are done!
Ultimately, in my quest to find the joy in creating my own style for our home, I enjoyed playing around with these thrifted items and trying to upcycle them, and I have certainly learnt lessons from my mistakes with painting!! Mainly… don’t rush it.