How to create Mandala wall art
Have you ever had a dream crochet project, for a dream client, in dreamy colours? I did, and it was heaven! Back in March, I was approached by a Mum friend to create a crochet wall hanging for her master bedroom. She had seen my crochet hoops and my mandala wall back at our old house, and was keen to fill a blank wall in her master bedroom with some Mandala wall art. Here was the blank canvas.

Inspiration
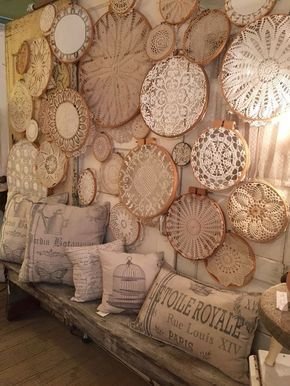
We started by talking inspiration and vibes and colour themes. I put together a mood board of sorts to make sure what I envisioned was what my client was wanting by gathering inspiration from Pinterest, Google and Instagram. Below is some of the images I gathered for inspiration. Do you see the idea I gathered in my mind and the feel I was going for?


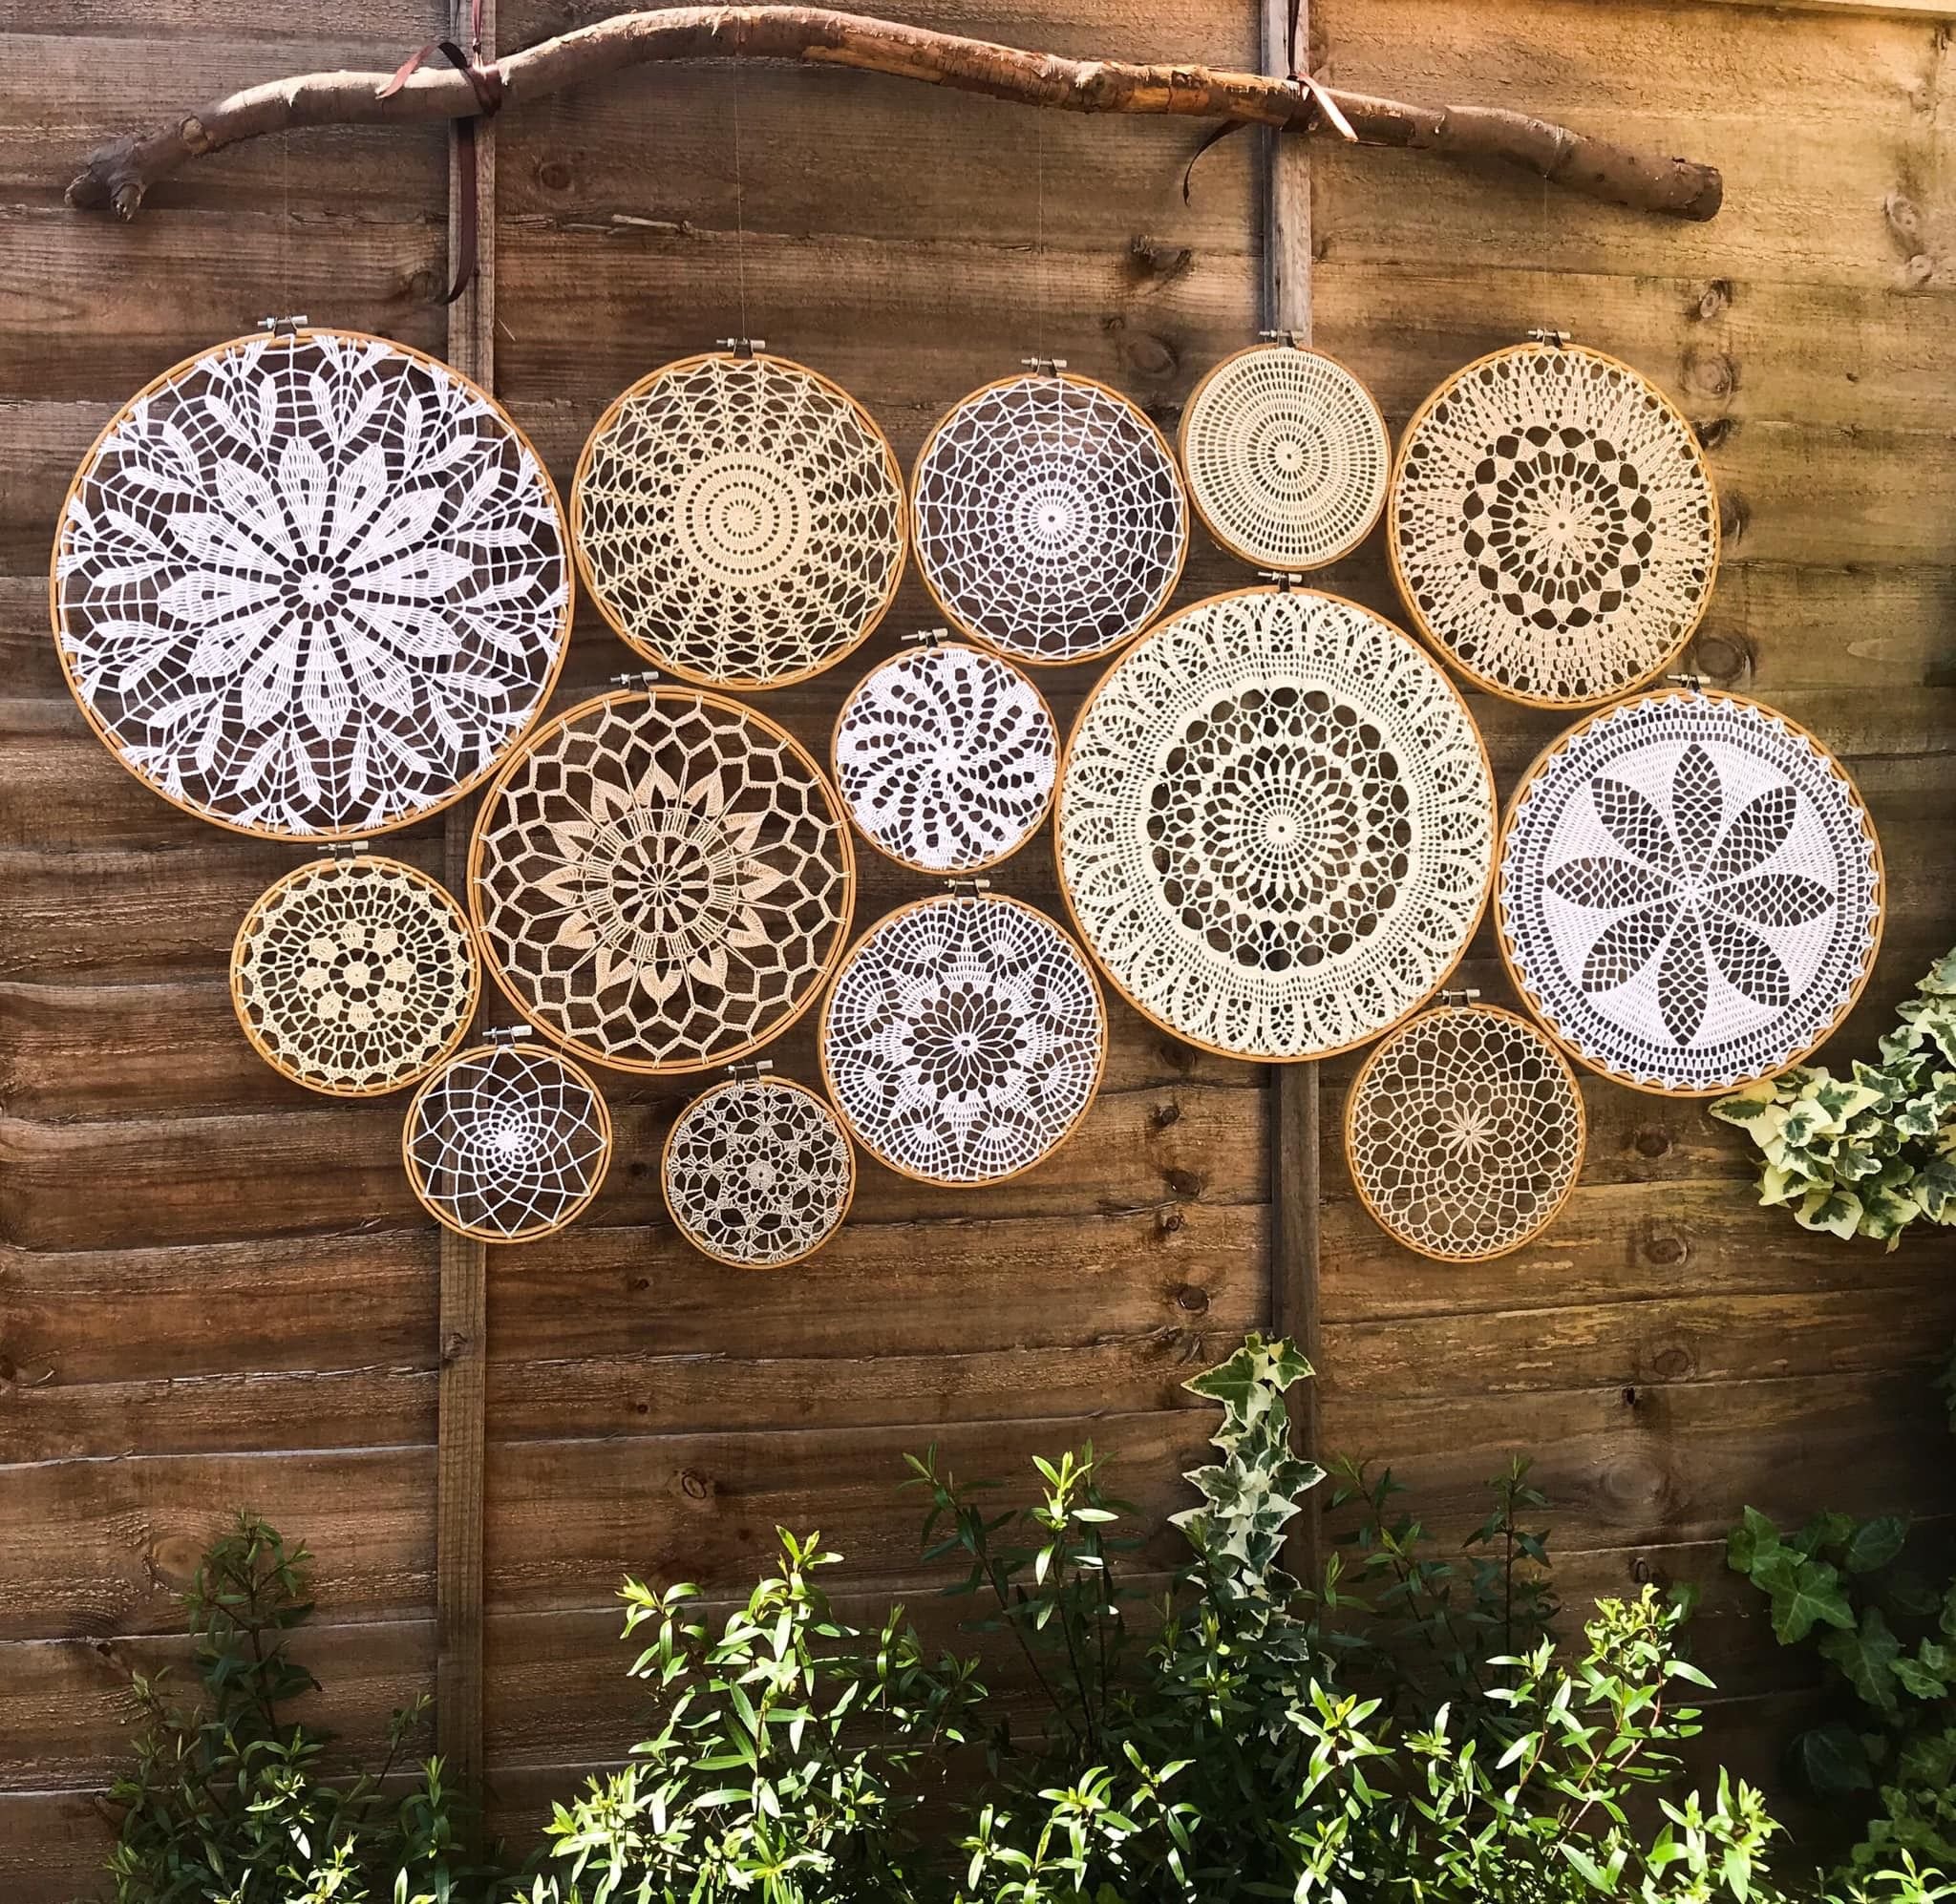
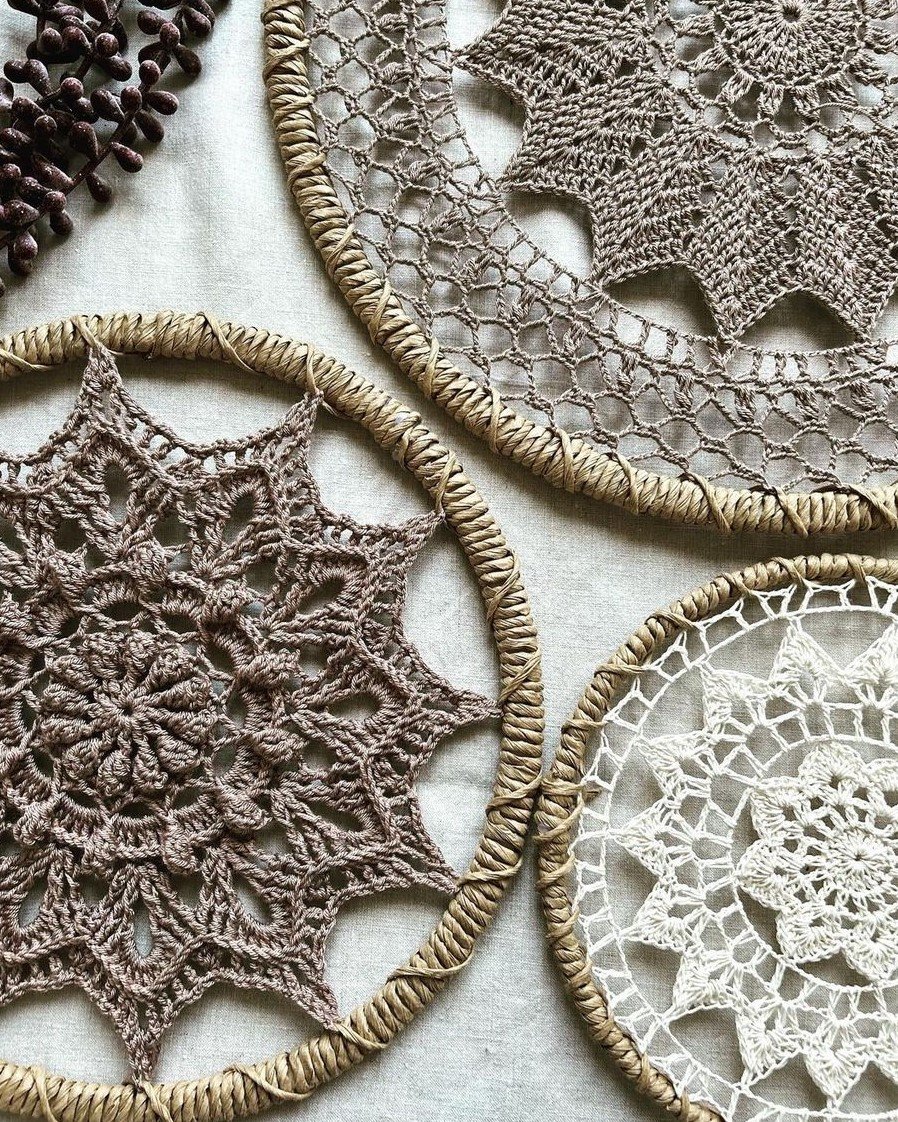
We talked about having solid hoops versus hoops with all the colours used, we talked about potentially incorporating jute along with the cotton, which would have given a completely different feel. Ultimately we stuck with the cotton-wrapped hoops. We considered tassels versus no tassels, and we considered if the hoops would be hanging from a branch or rod or just straight on the wall. We agreed that it should be a cluster, rather than randomly hanging. So when we knew we were on the same page, she just let me run with it. She really was the dream client! She trusted my skills and talent and ability to envision the finished piece.
Colours
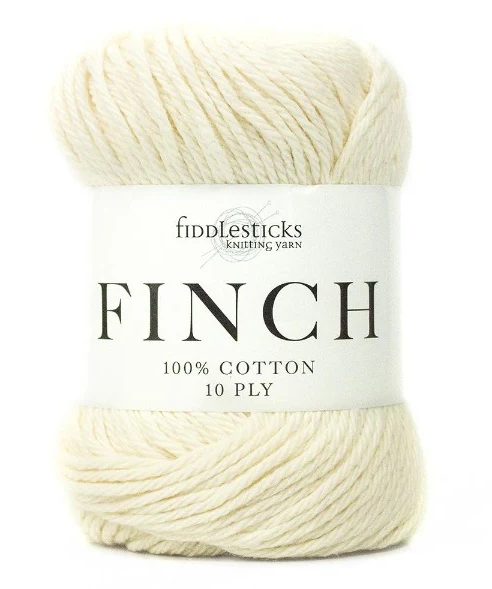
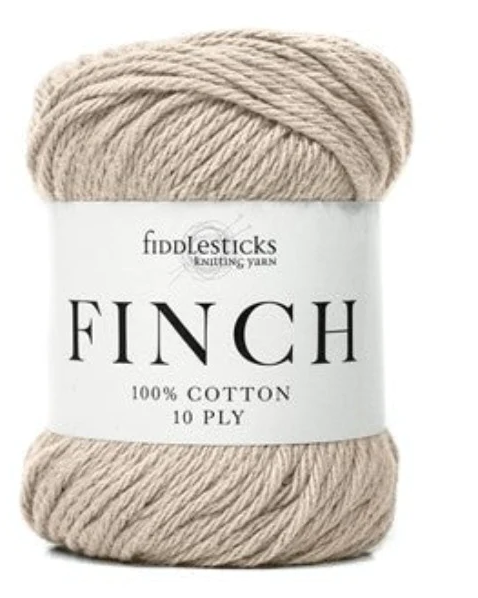
Colour and yarn line was a big consideration for me. I wanted to choose a yarn line that had a colour palette that would have enough options in the neutral range to choose a few colours. The yarn had to complement her room and also work with any colour she might change her sheets to. I did some searching of different cotton ranges to make sure it was easily accessible and had a wide enough range of colours that I could choose a few shades in the neutral range. I decided on the Finch cotton range by Fiddlesticks Knitting Yarn. I purchased mine from Yarn Me Calm and I chose the colours, Ecru, Jute, Stone and Moonstone. I also chose Lilac Pink and Brown but didn’t end up including them in the final colour palette as they weren’t quite right and changed the look completely.
Initially I would have preferred an 8 ply yarn, but this range is 10 ply and I actually love how it all worked up so I am glad I prioritised the colour range over the yarn size.

Layout
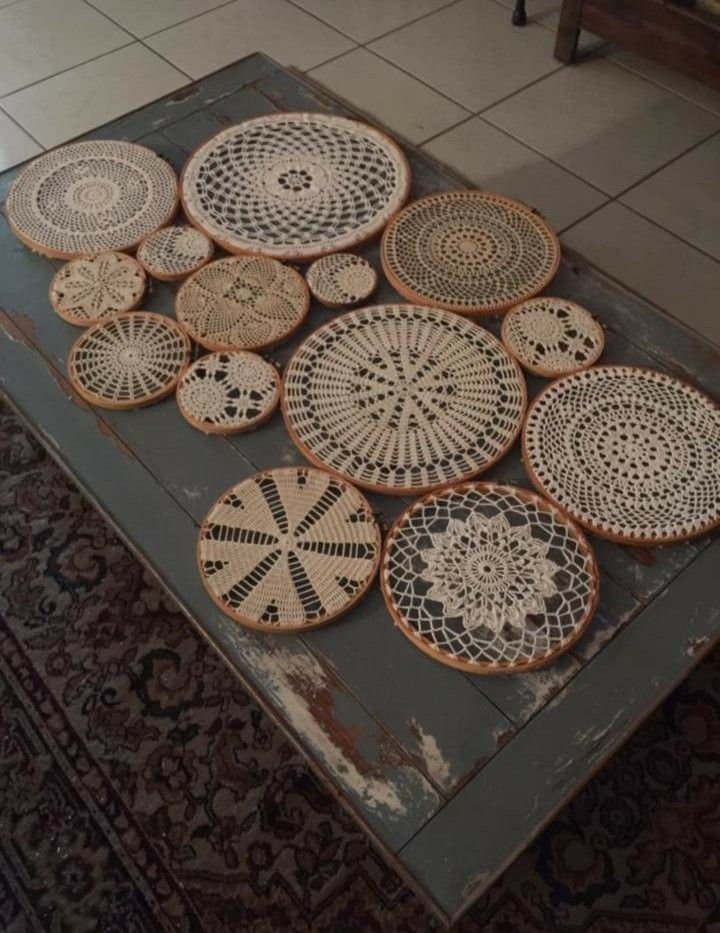
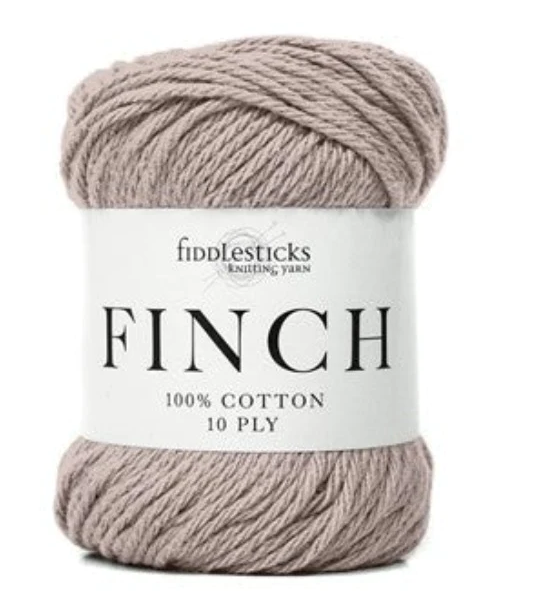
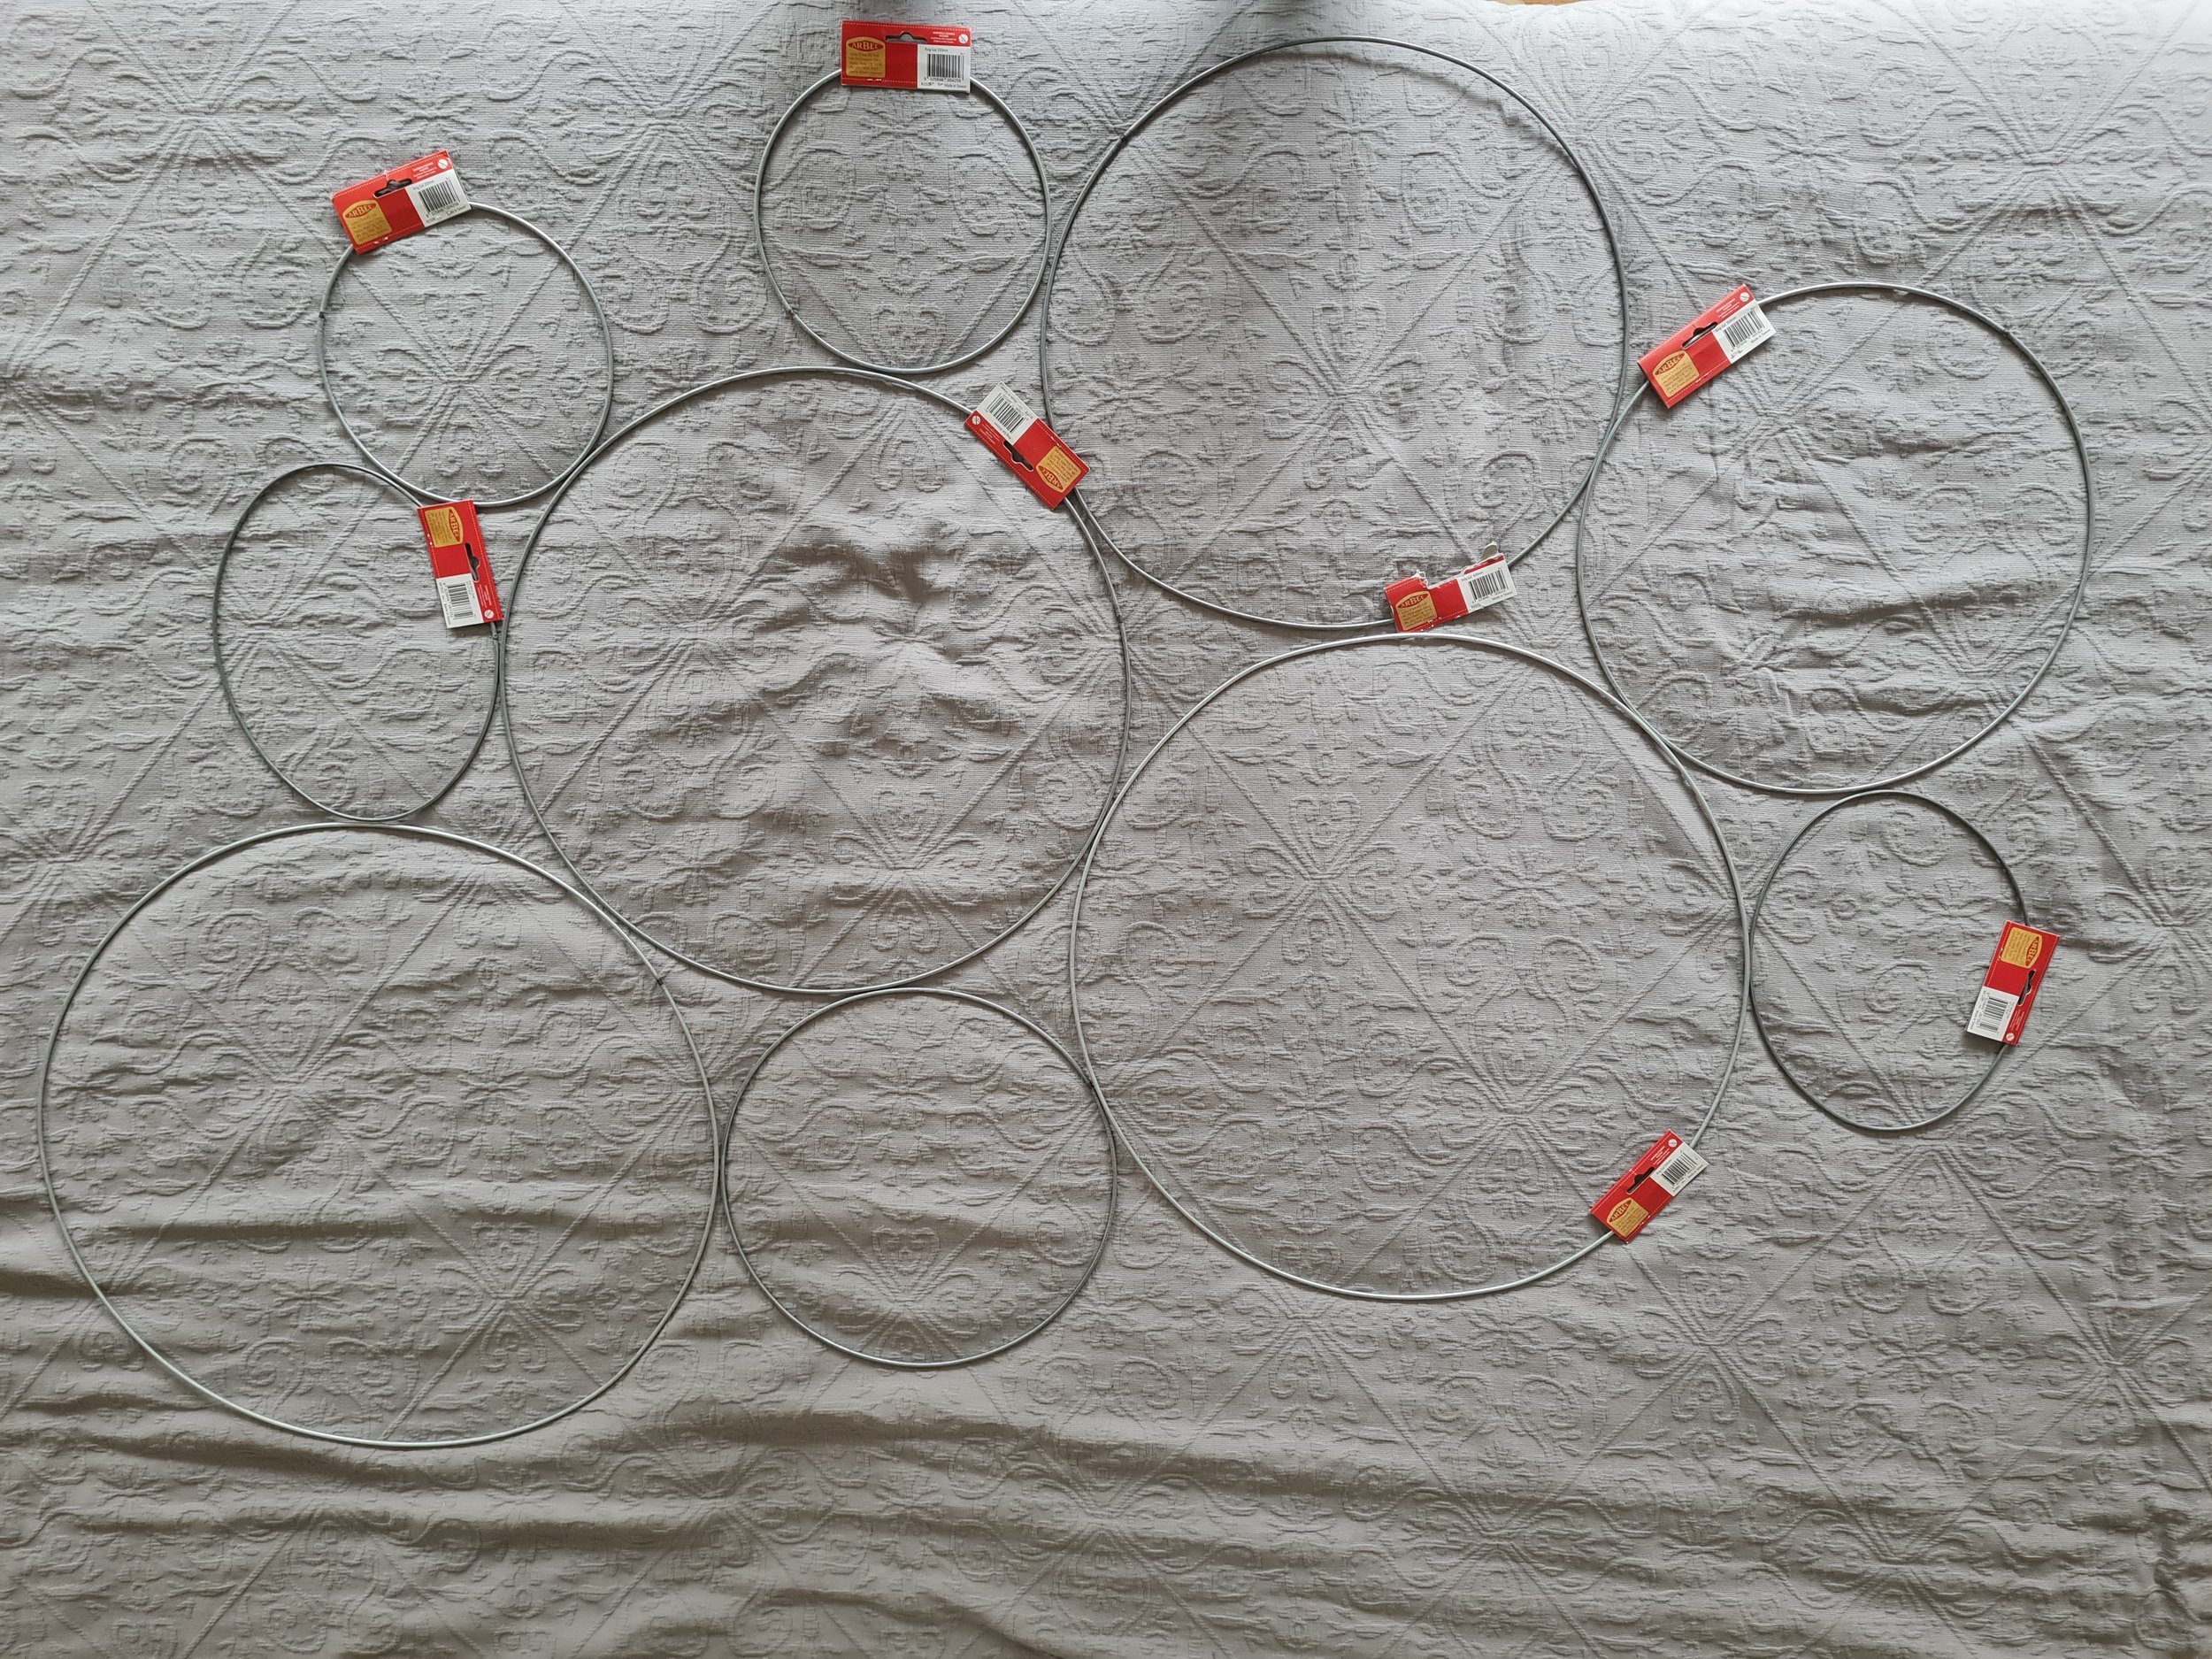
Figuring out the number of and layout of the hoops was a trial and error process. I grabbed a bunch of hoops in different sizes and started laying them out on my bed until I had a layout I was happy with and a good variety of sizes among the hoops. There were many many different versions of the layout even while I was making the hoops.
Hoop 1
I received the yarn and was ready to get started the day before this pattern was released and as soon as I saw that it was live, I got making it and I had finished it by the next day I was so excited!
Margot’s Mandala by Emily from The Loopy Stitch - Emily released this pattern for free recently for the inaugural Mandala Day, a day Emily created to celebrate these wonderful creations! It is a beautiful, simple yet eye-catching Mandala.

Hoop 2
The Ripple Effect Mandala by me! While this pattern was designed using a fingering weight yarn, this version was worked up lovely in a 10 ply yarn so I didn’t need to complete the whole pattern and was able to stop it at the size I needed. I made sure to have one of the ripples sitting over the hoop to create a bit of interest. I did this by sewing the mandala to the hoop through the round before the final ripple to make the ripple sit in the right place.

Hoop 3
Starlight Starbright Mandala by me! I really enjoyed seeing this mandala worked up in a neutral colour palette. When I designed this pattern I made it up in a vibrant orange, peach and white and I love how different it looks with a totally different colour palette.

Hoop 4
Salutations Mandala by Emily from The Loopy Stitch. Yes again, another pattern from Emily, because she is an incredible designer! Now this pattern wasn’t made full size either. I finished this up at round 16 instead of the full 22 rounds because of the hoop sizes I was working with. I didn’t want to end up with 9 large hoops all the same size. I wanted to mix them up! But I will say that pattern is well worth the $5. It’s a beauty!

Hoop 5
And our last pattern from Emily of The Loopy Stitch is one of her free patterns, Just another Mandala. It is a great beginner friendly pattern, and is available free on her website. I think it’s a sweet addition to the cluster.

Hoop 6
Next up is a pattern I have made in a lace weight yarn and I loved it so much that I had to bring another version of it to life. It’s the Number 3 pattern from The Juno Collection by Grace Fearon. She is an incredible doily designer and I have made many many of her patterns.

Hoop 7
It’s worth noting that these last three hoops are all partial patterns. I’ve taken a pattern and made it up to the size of the hoop I had to fill and stopped there. But this pattern I have on my list to make full size because the full pattern is beautiful! It is the Florence pattern by Grace Fearon.

Hoop 8
This pattern holds a special place in my heart. The first time I made this pattern, it was the first project I picked up after I had my daughter, our third child. I remember not being able to concentrate when I was pregnant and once I had her, I finally felt like I could pick up a hook again!
It is the Illusion Mandala by Lilla Bjorn Crochet. This pattern is overlay crochet, which leaves no gaps and creates a dense fabric, and you are able to create such beautiful patterns across the top.

Hoop 9
And the final hoop is the Gidget Mandala by me. Again this is a partial pattern, but I love this little star in the middle and thought it would make a sweet small hoop to go with the cluster!

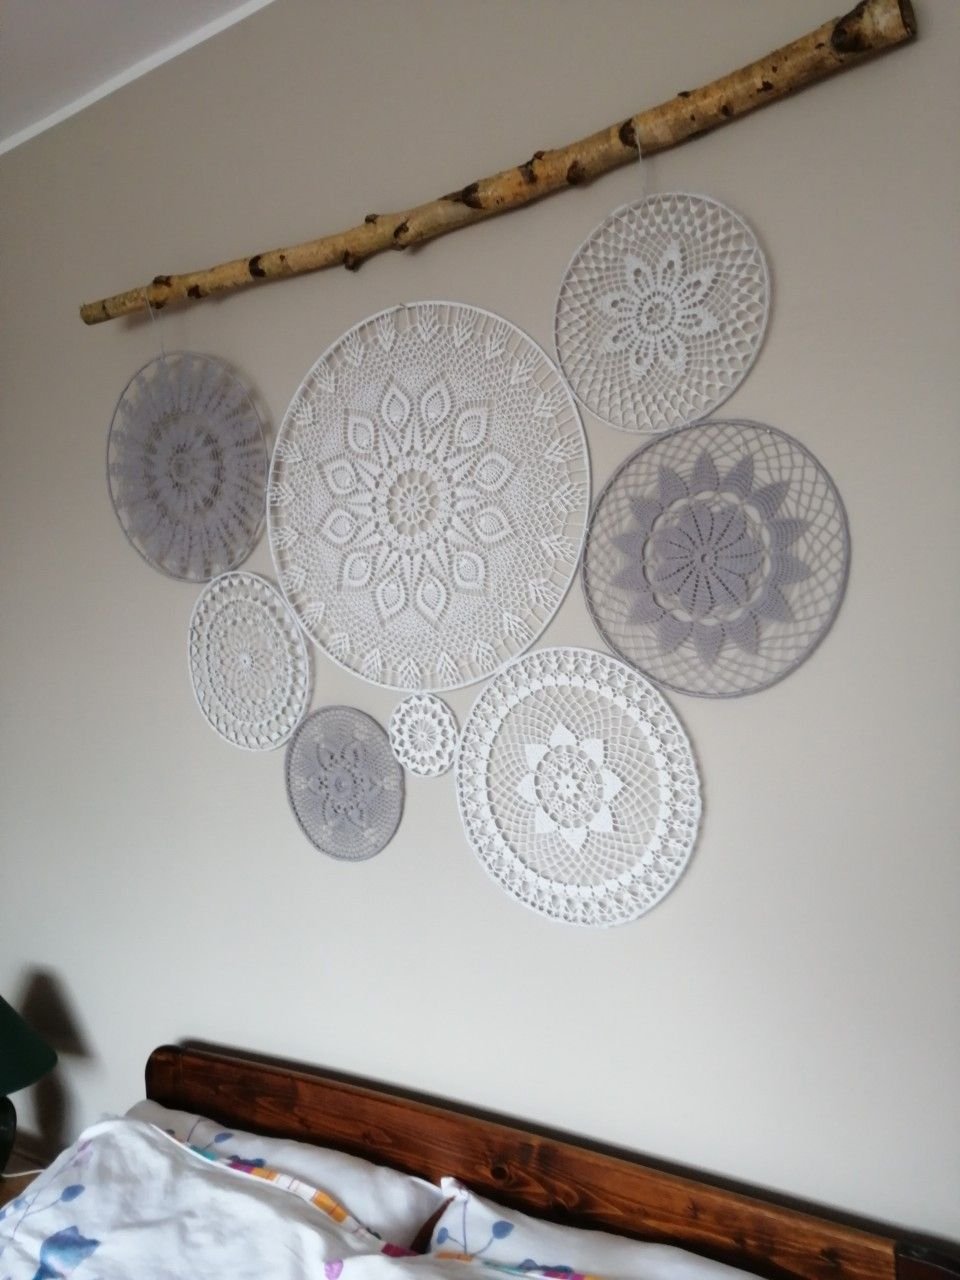
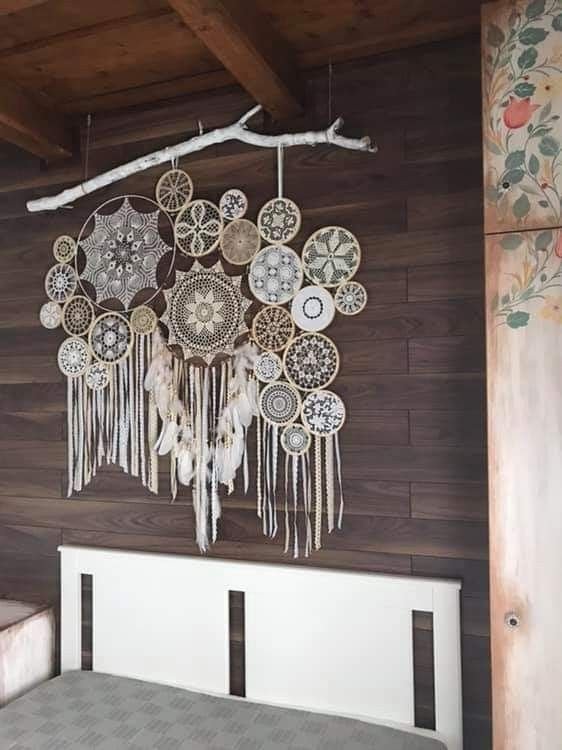
So now that you’ve seen the break down and details of each individual hoop, let’s all take a moment to admire the finished wall art hanging in it’s home. My client did an incredible job with these photos. All credit goes to her for these following photos. I know I’d be happy with these all on my bedroom wall!


I hope you enjoyed seeing the behind the scenes process of how this wall art was created. I’d love to know what colours you would choose for your home.
