
Learning to upcycle thrifted goods
Are you like me and want to update your home but don’t have the budget or desire to go and buy new furniture? I have the desire for different furniture and décor, but I do not have the budget or desire for brand new things. I can’t tell you how many other homes I have been in and noticed they have the same dining table as me, or they have the same coffee table as me, and it just makes me bored now. Are all our homes the same? At least those of us who shop at Amart Furniture and other mass produced places because that’s all the budget allows when you are furnishing your first home. And this is no shame to them, I do love our dining table, I just wish all of my friends didn’t also have it too!
This leaves me with two options and I am currently doing both. Update what we have and scour marketplace and op shops for something going cheap. I am currently scouring marketplace and op shops for mismatched timber chairs to replace our old pleather chairs where the cushion is flat and uncomfortable. I am loving the look of the mismatched chairs and have only spent $85 on 5 chairs so far. I am slowly working on updating some of the furniture we have and getting cheap things off Marketplace and updating them. I am certainly not putting out professional finishes or fancy marbling effects, but I am having fun and feeling satisfied with making something better than it was before.
For inspiration I like to follow a few different Instagram and Youtube account that I will share with you at the end of this post, but I will tell you, I am totally intimidated by the Youtube and Instagram upcycling world.
These accounts are all excellent sources of ideas and inspiration and new techniques I wasn’t aware of, but man they make me compare myself with them hardcore! I am doing my best to not let that stop me from doing what I want to do, but I definitely always have a pause when I see a new video come out that has like 8 new projects in it. I have to remind myself that they don’t have 4 young kids and they are further along their journey than I am.
So as I try and forge ahead in my own imperfect way, I am going to still upcycle and make things and share them in a timeline that I am capable of with my 4 kids, living with my in-laws and our limited space at home. Just keeping it real guys! I will not have the most beautifully styled photos of my after product to show you because I just don’t and I am still learning how to style things so it doesn’t look like I just dumped some random things on a table.
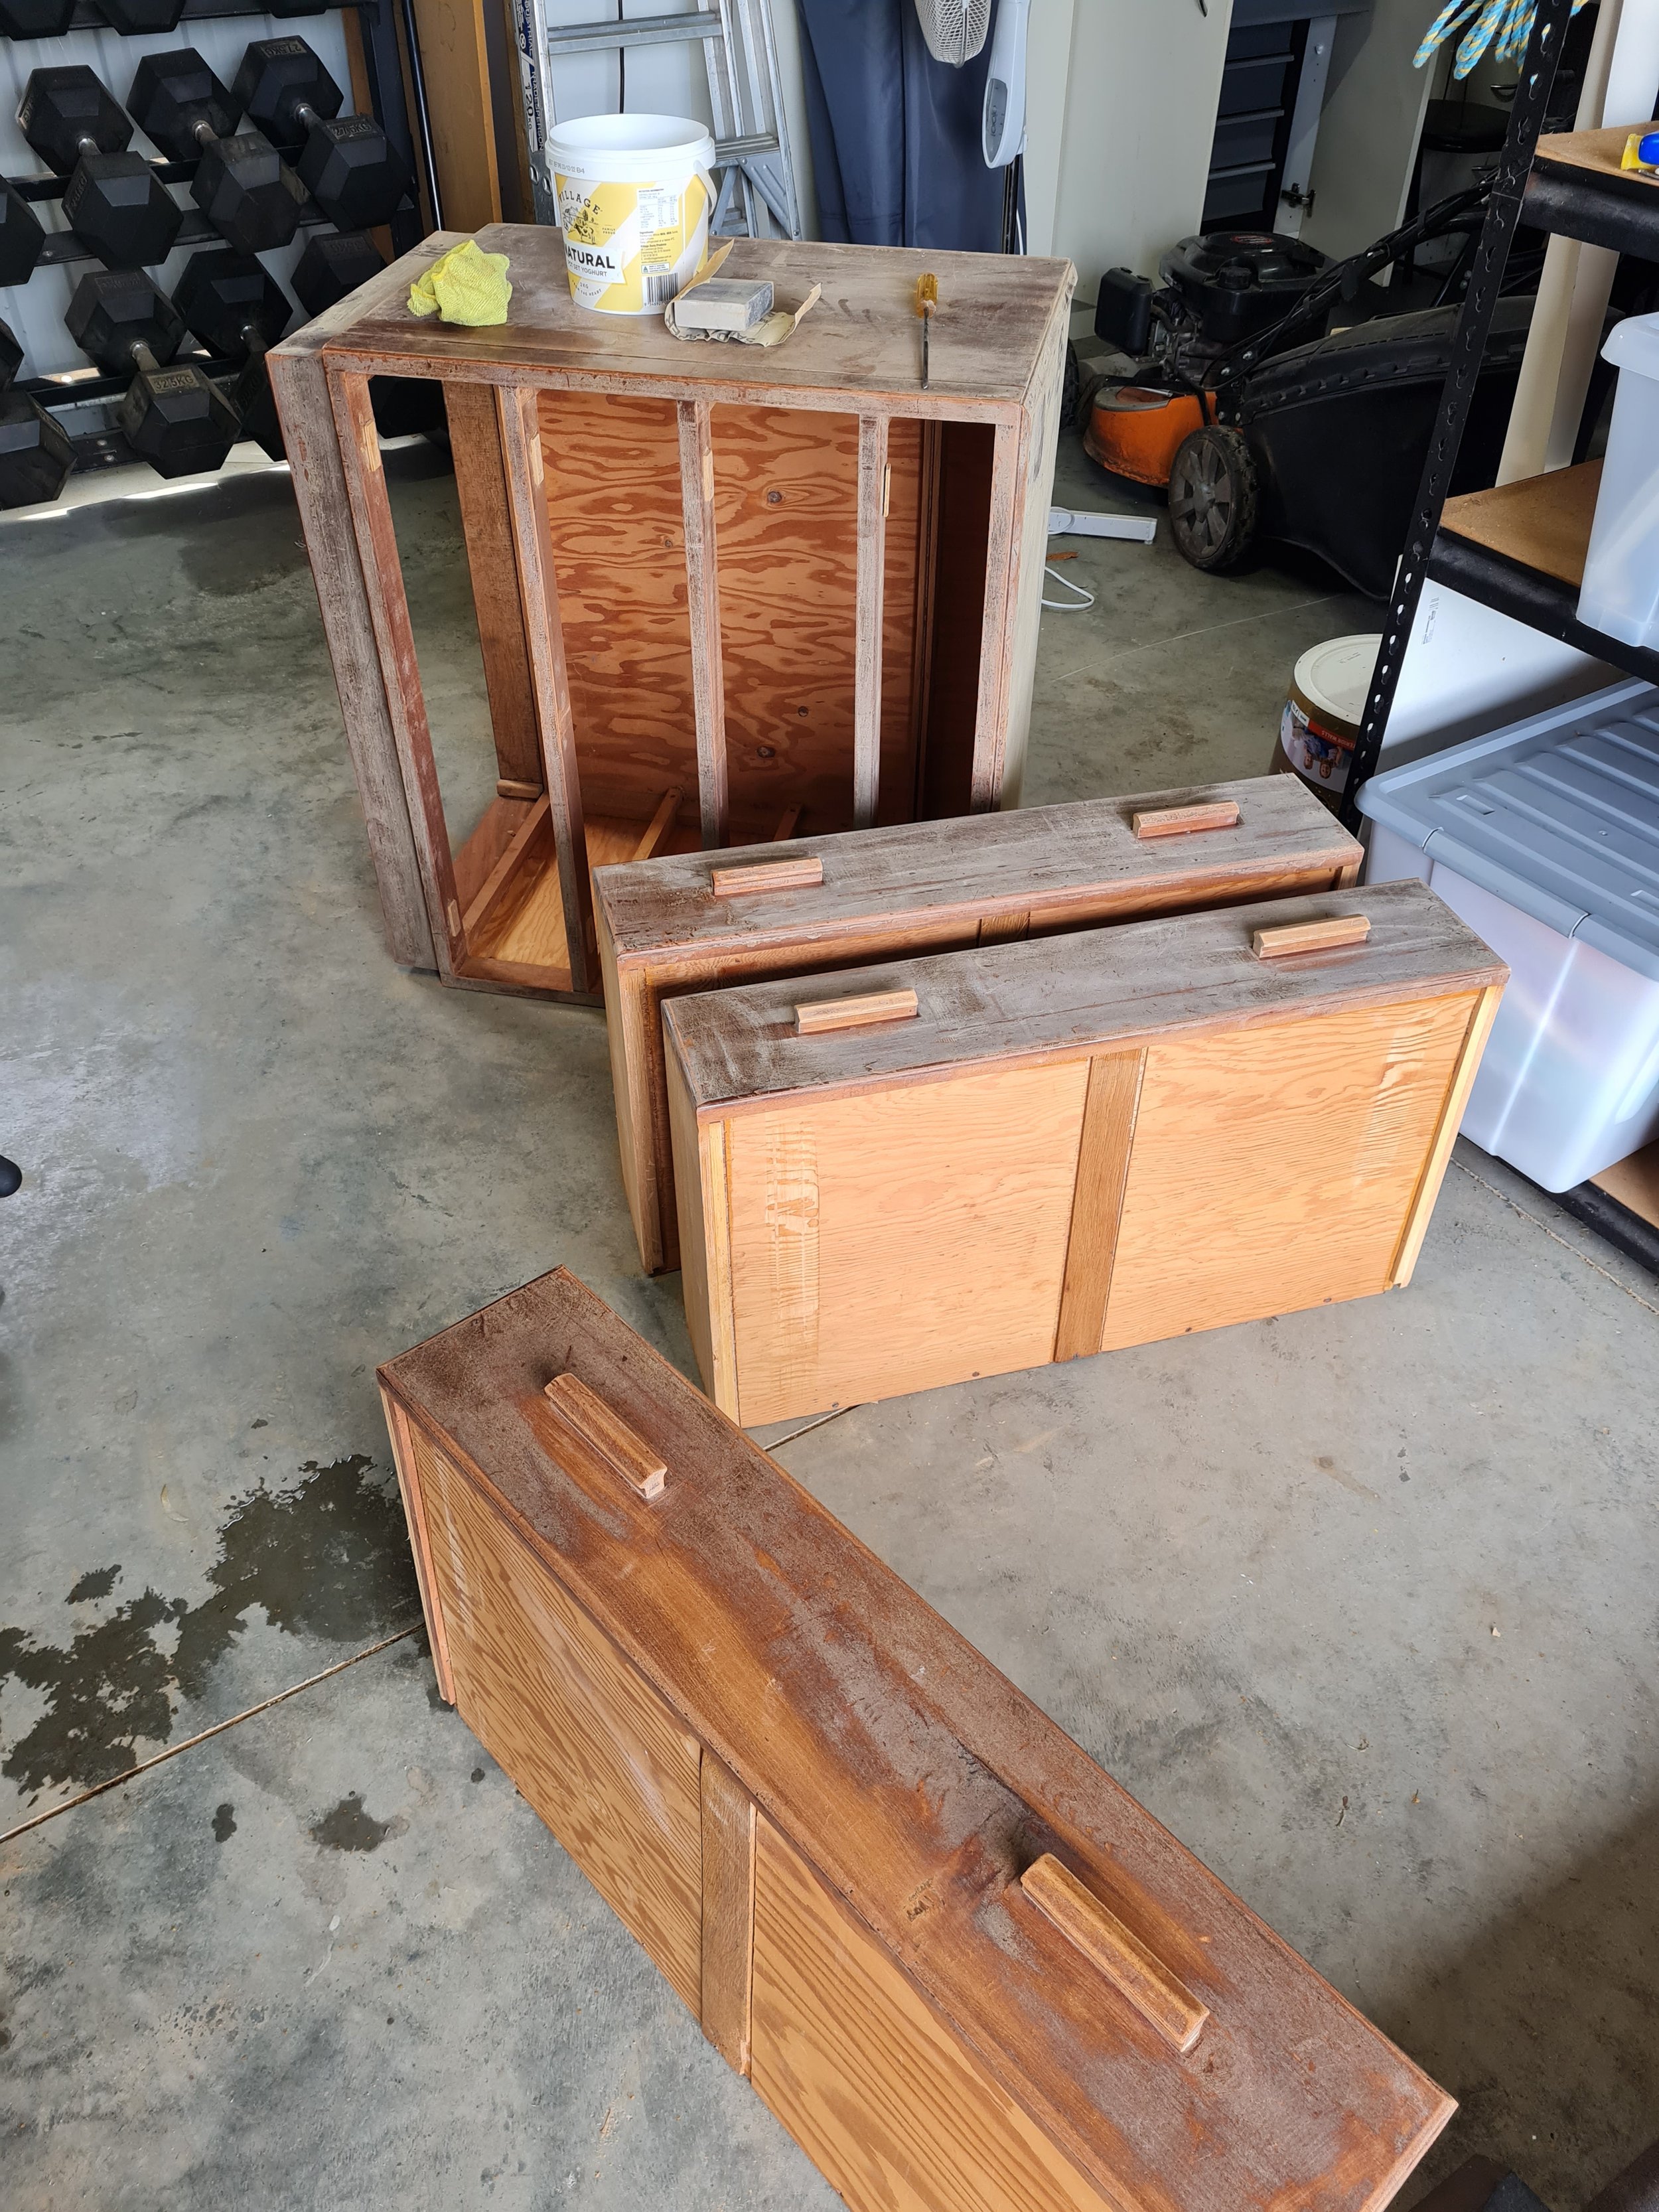
Free chest of drawers
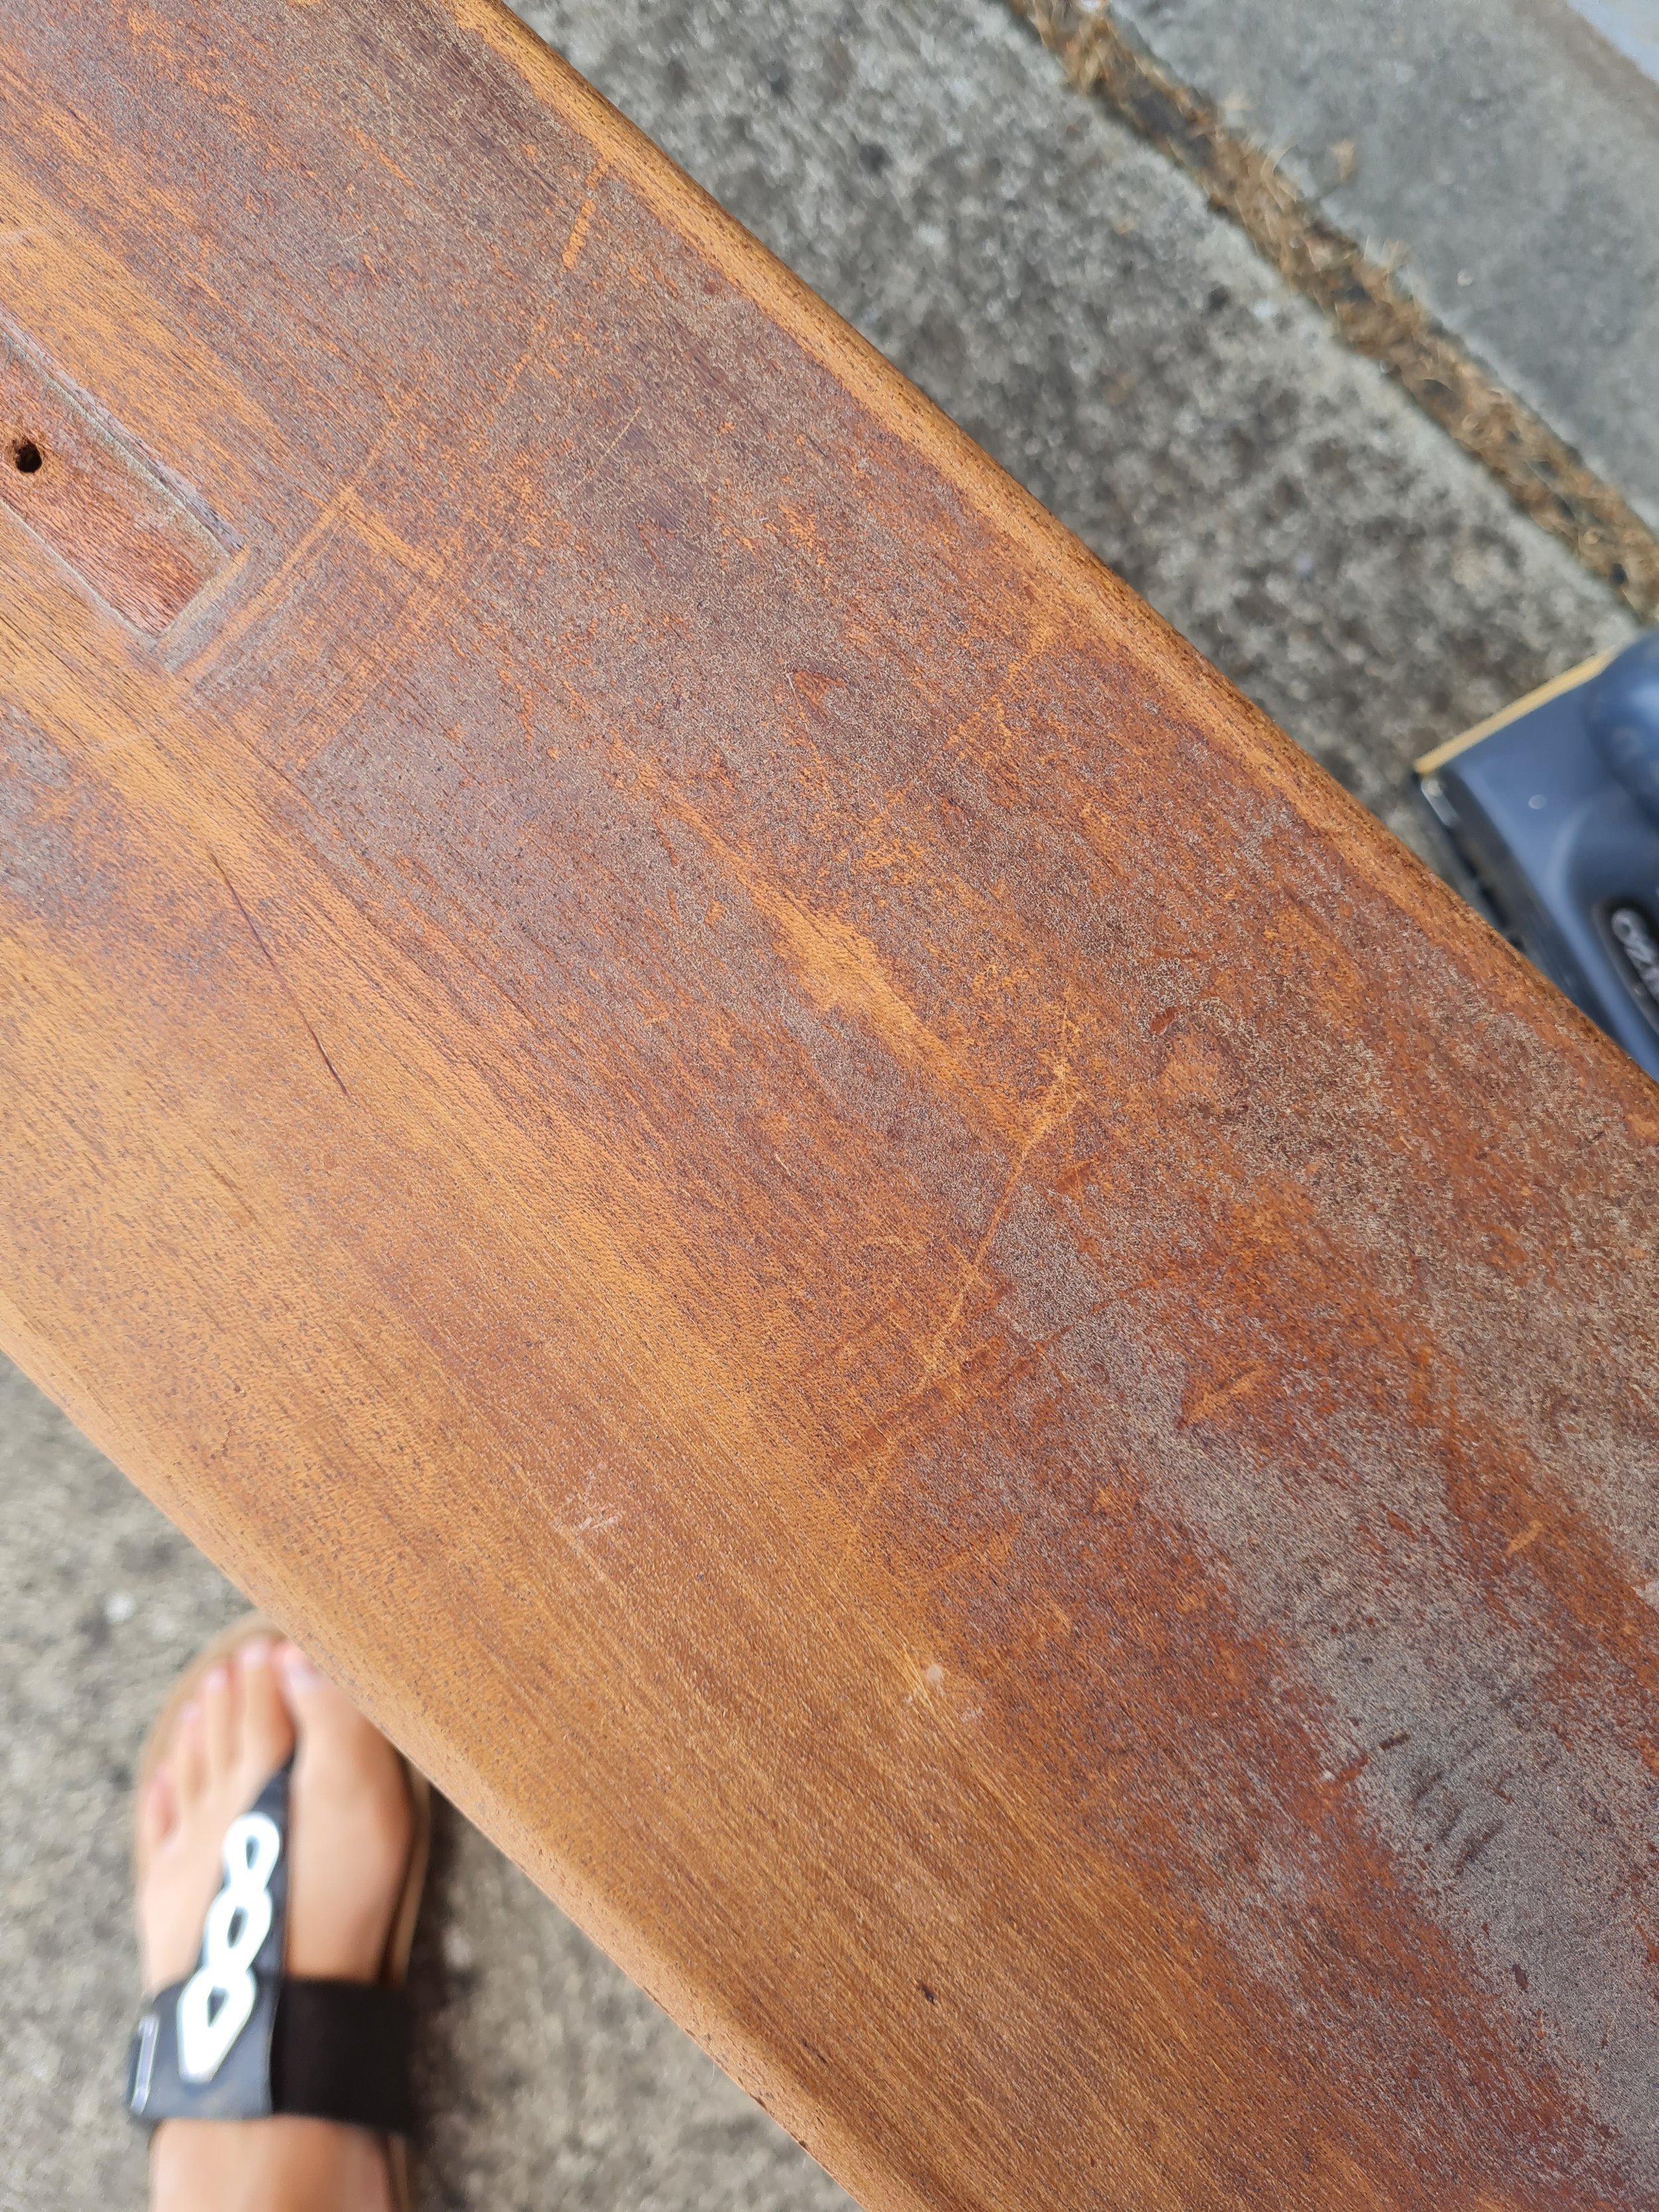
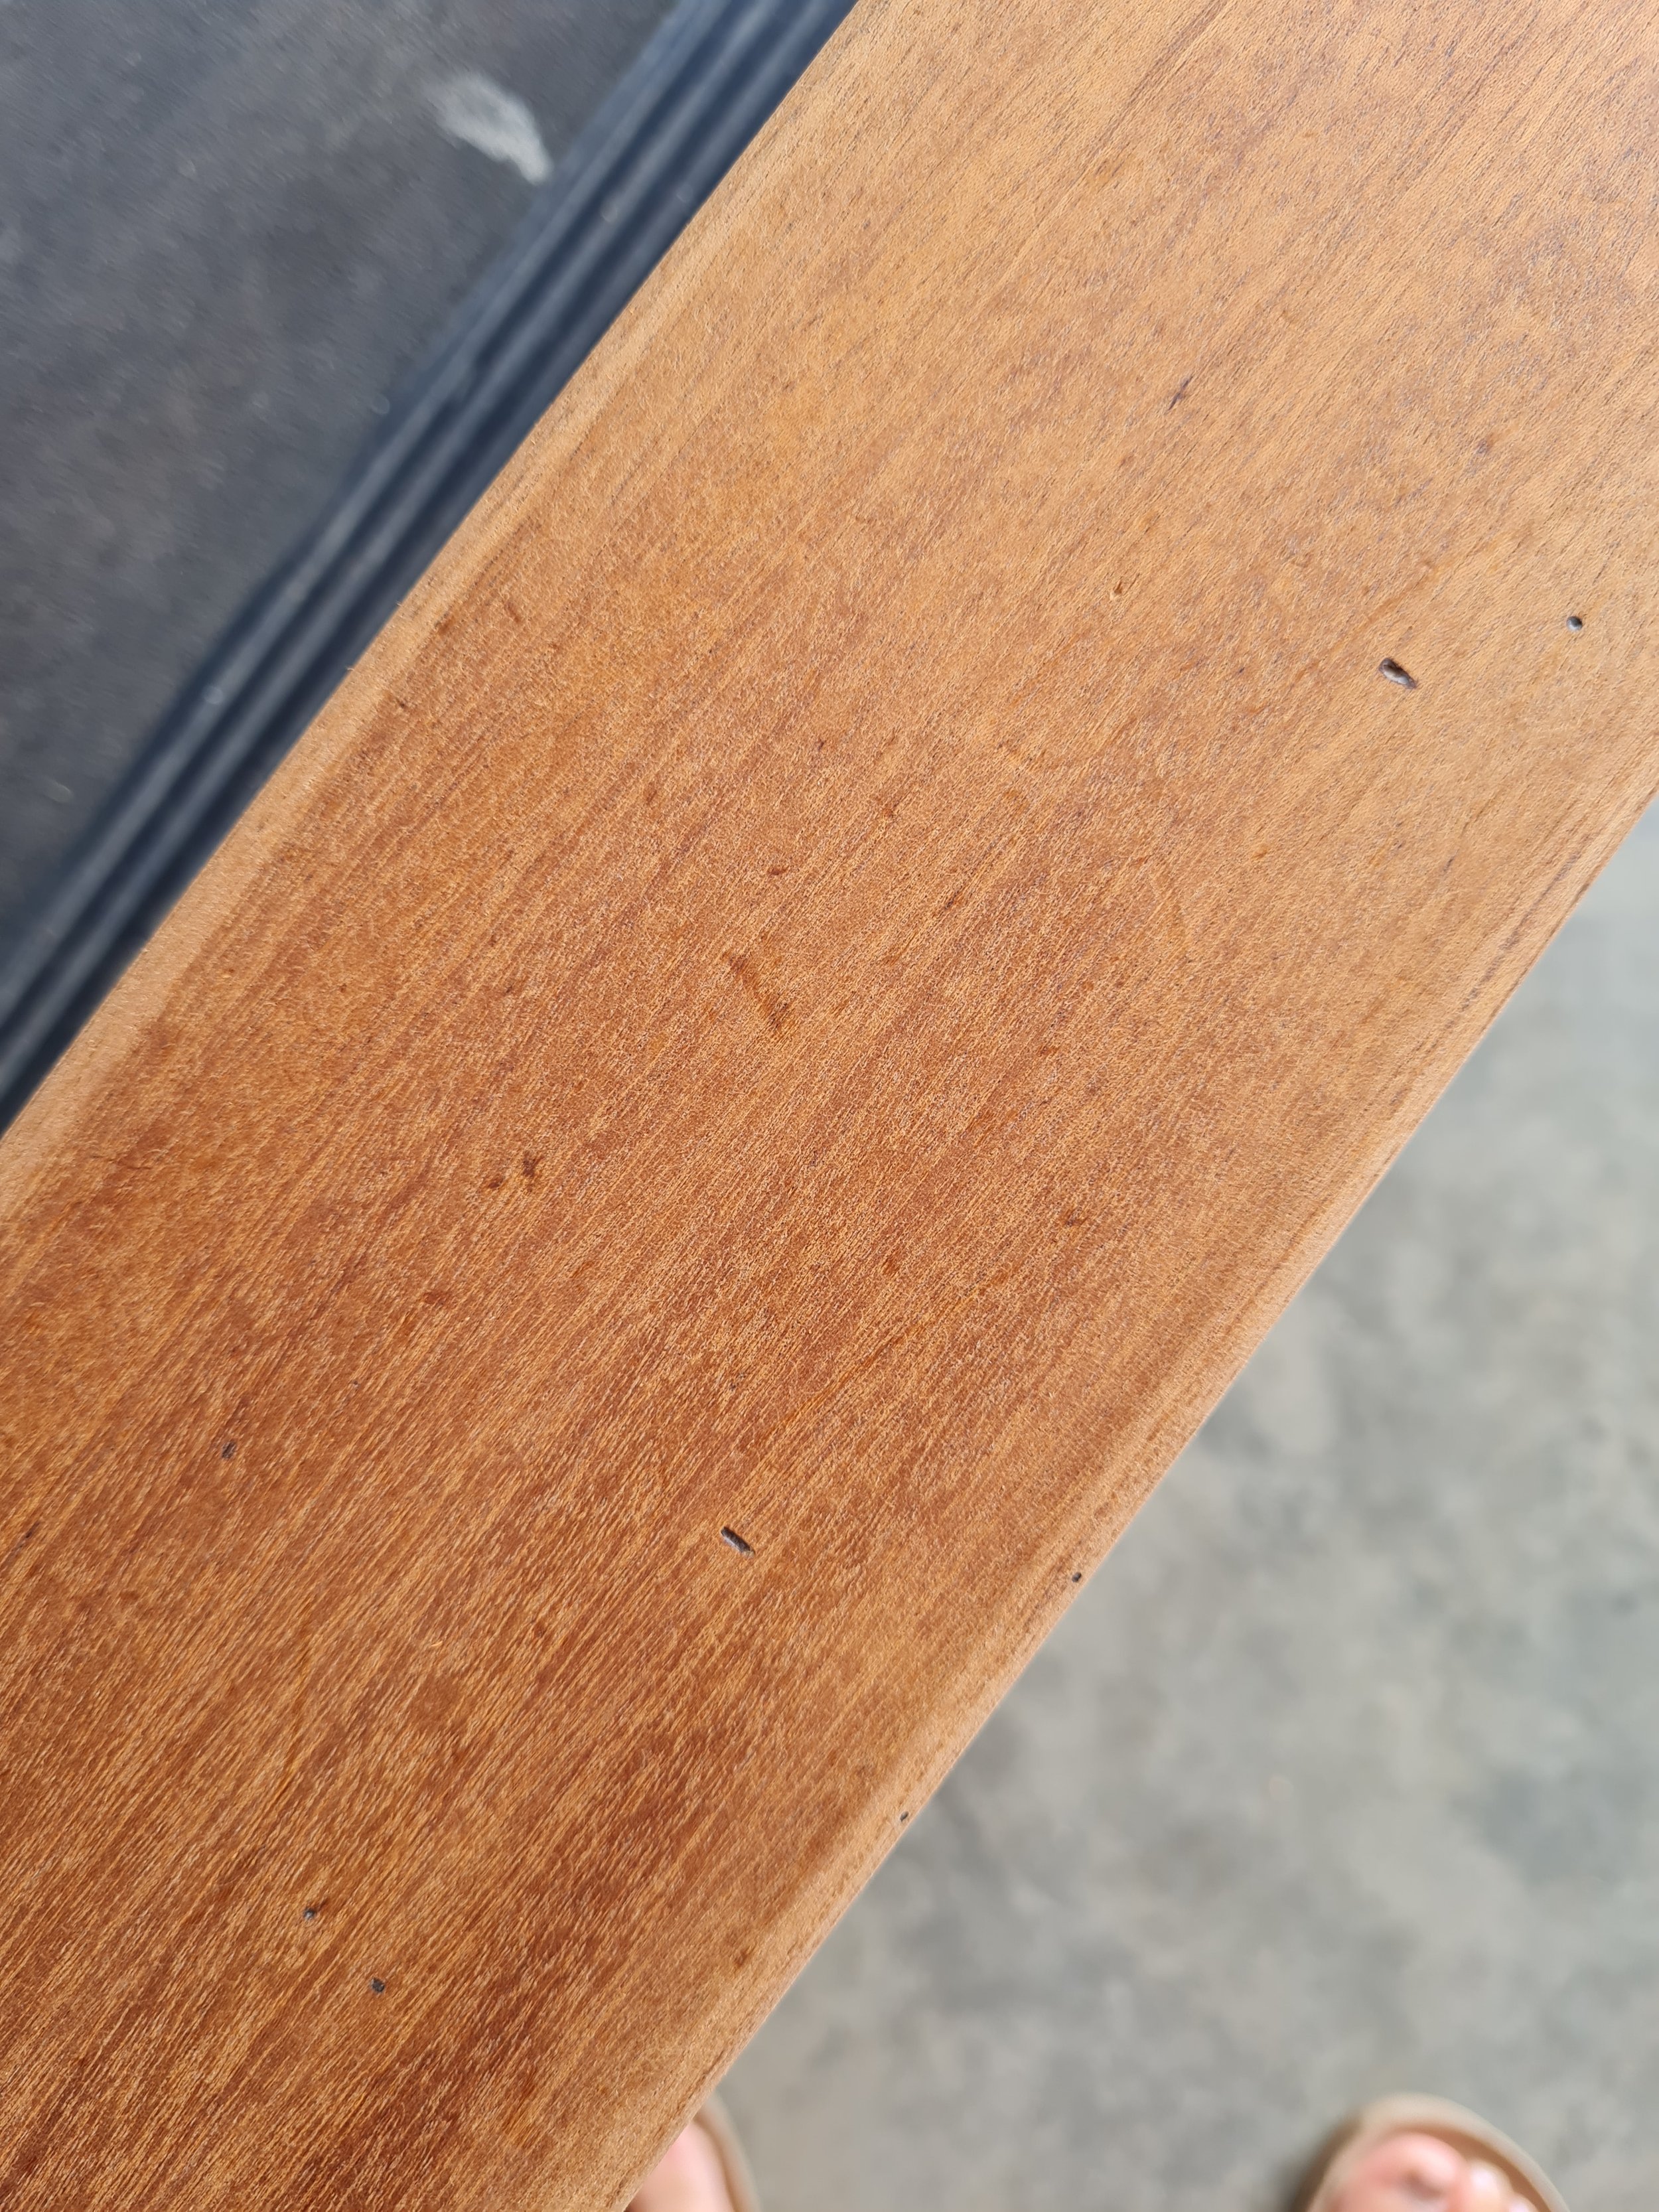
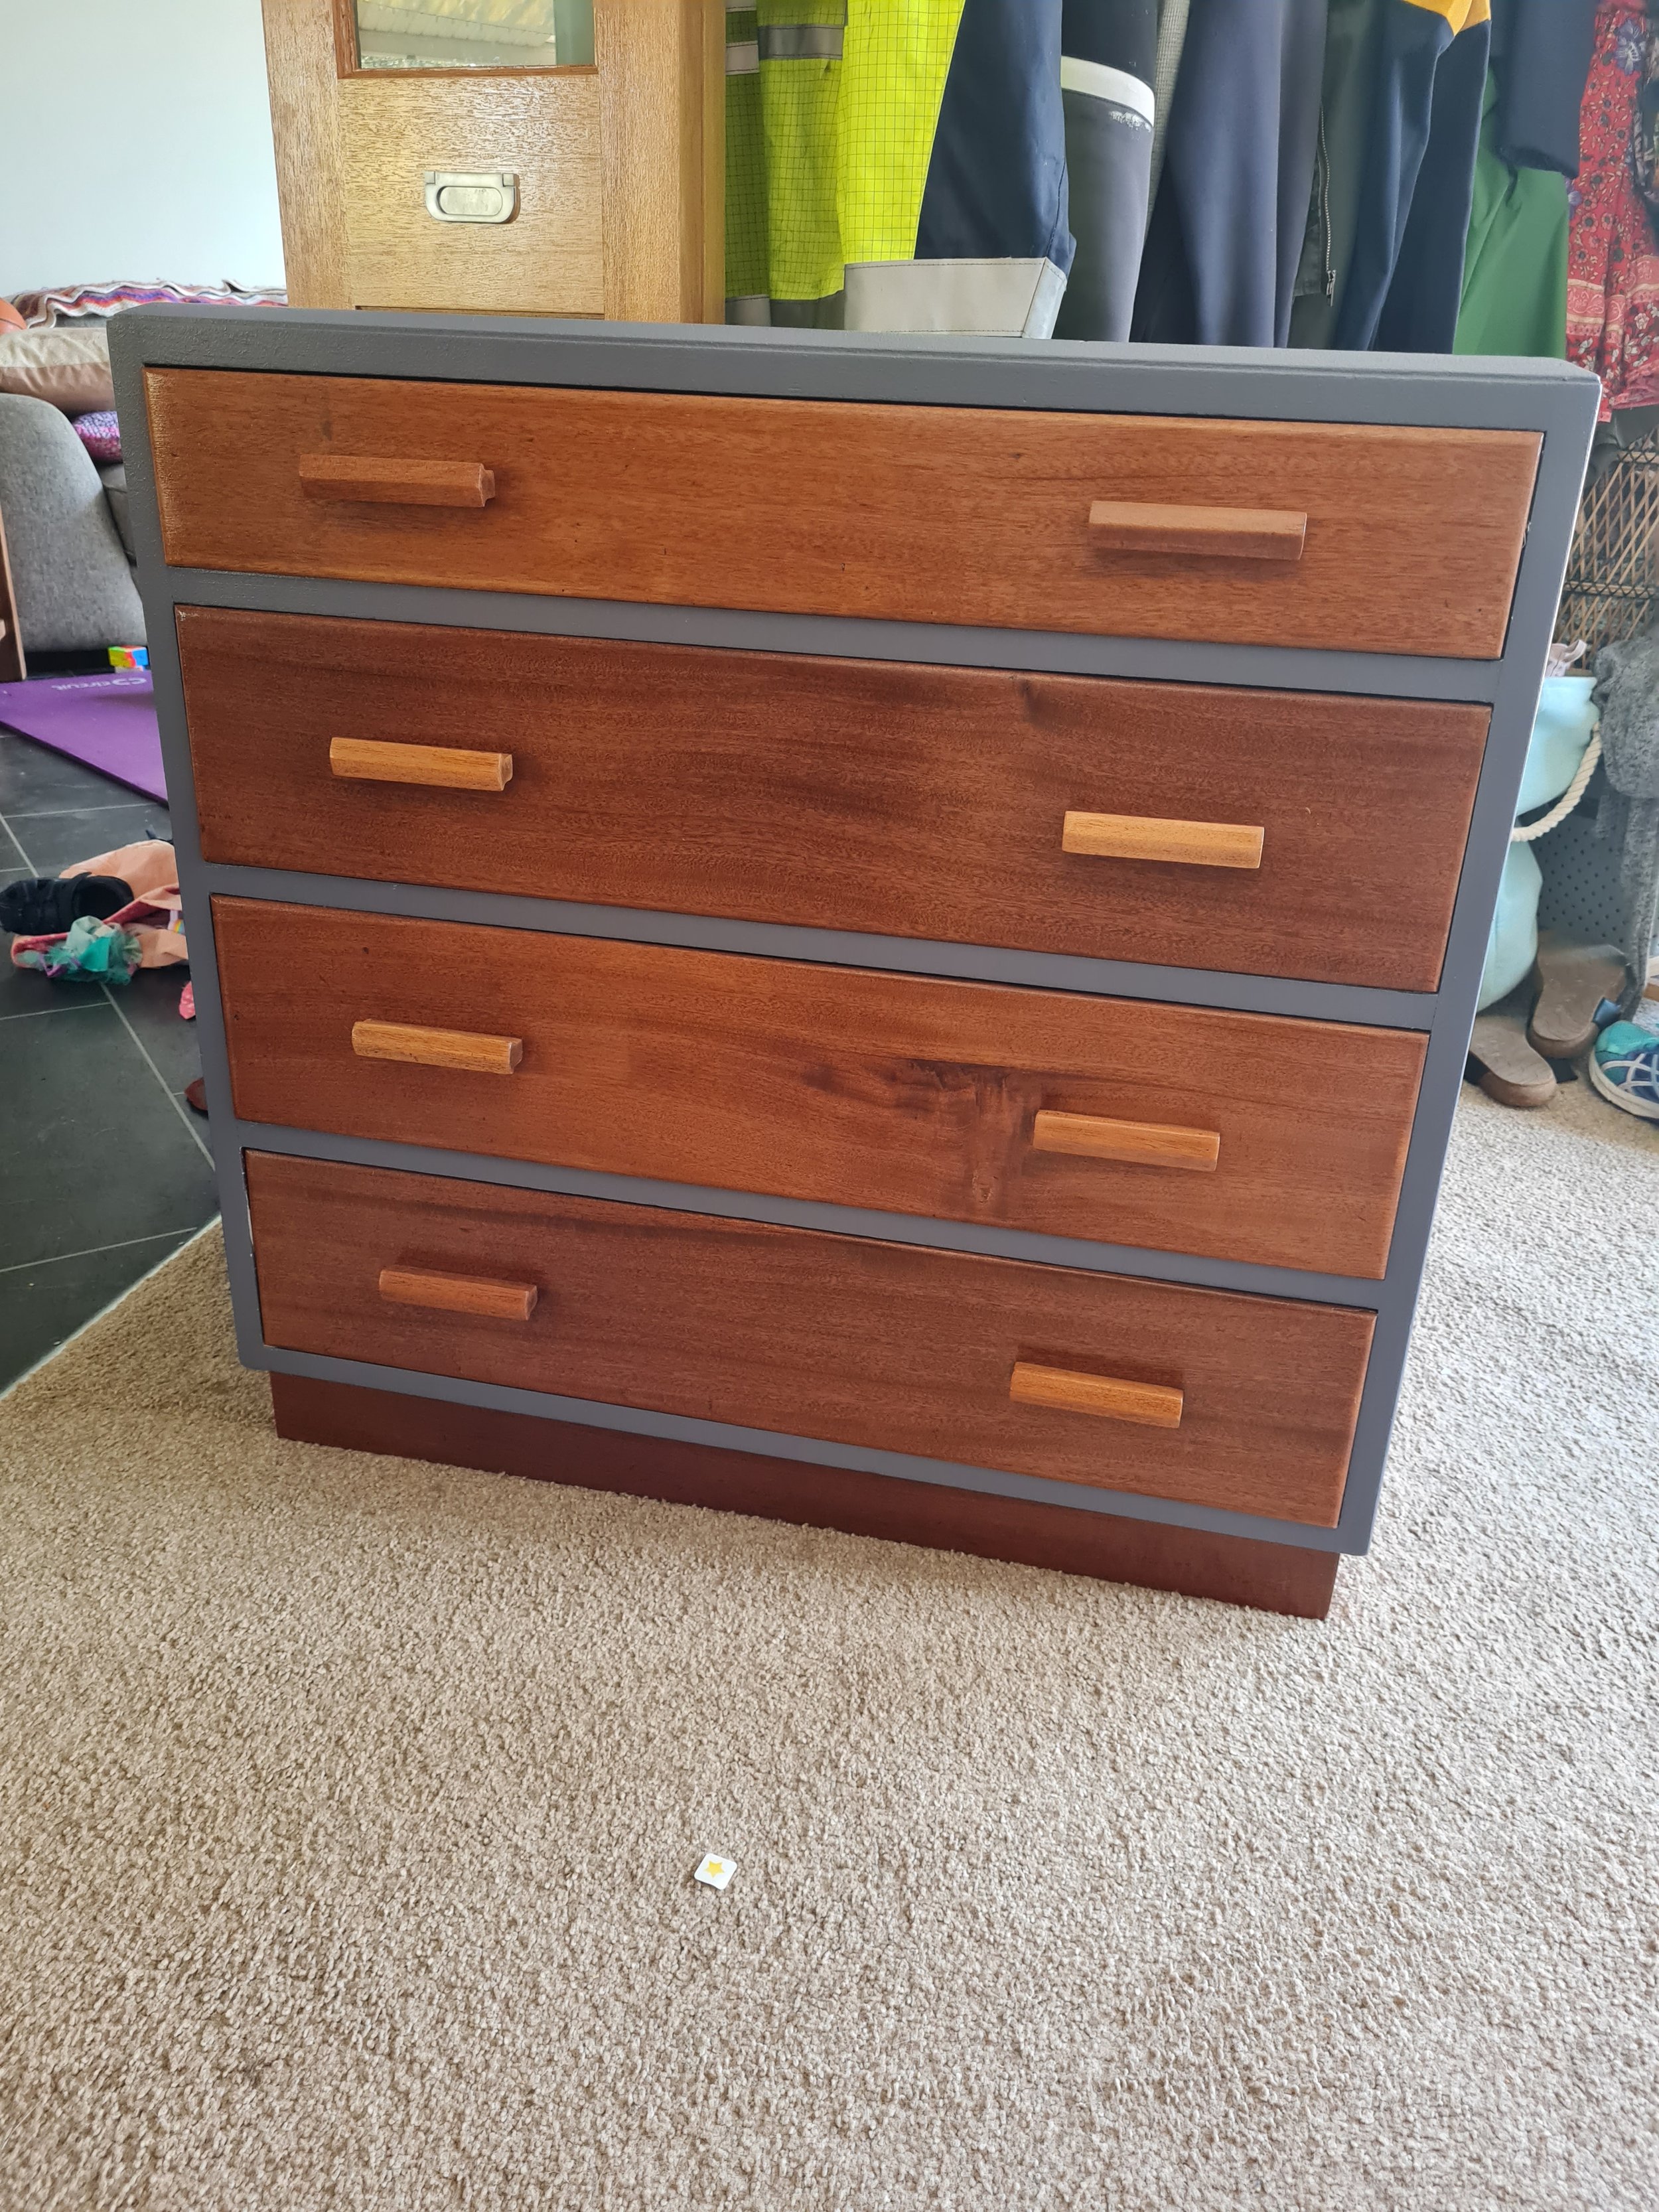
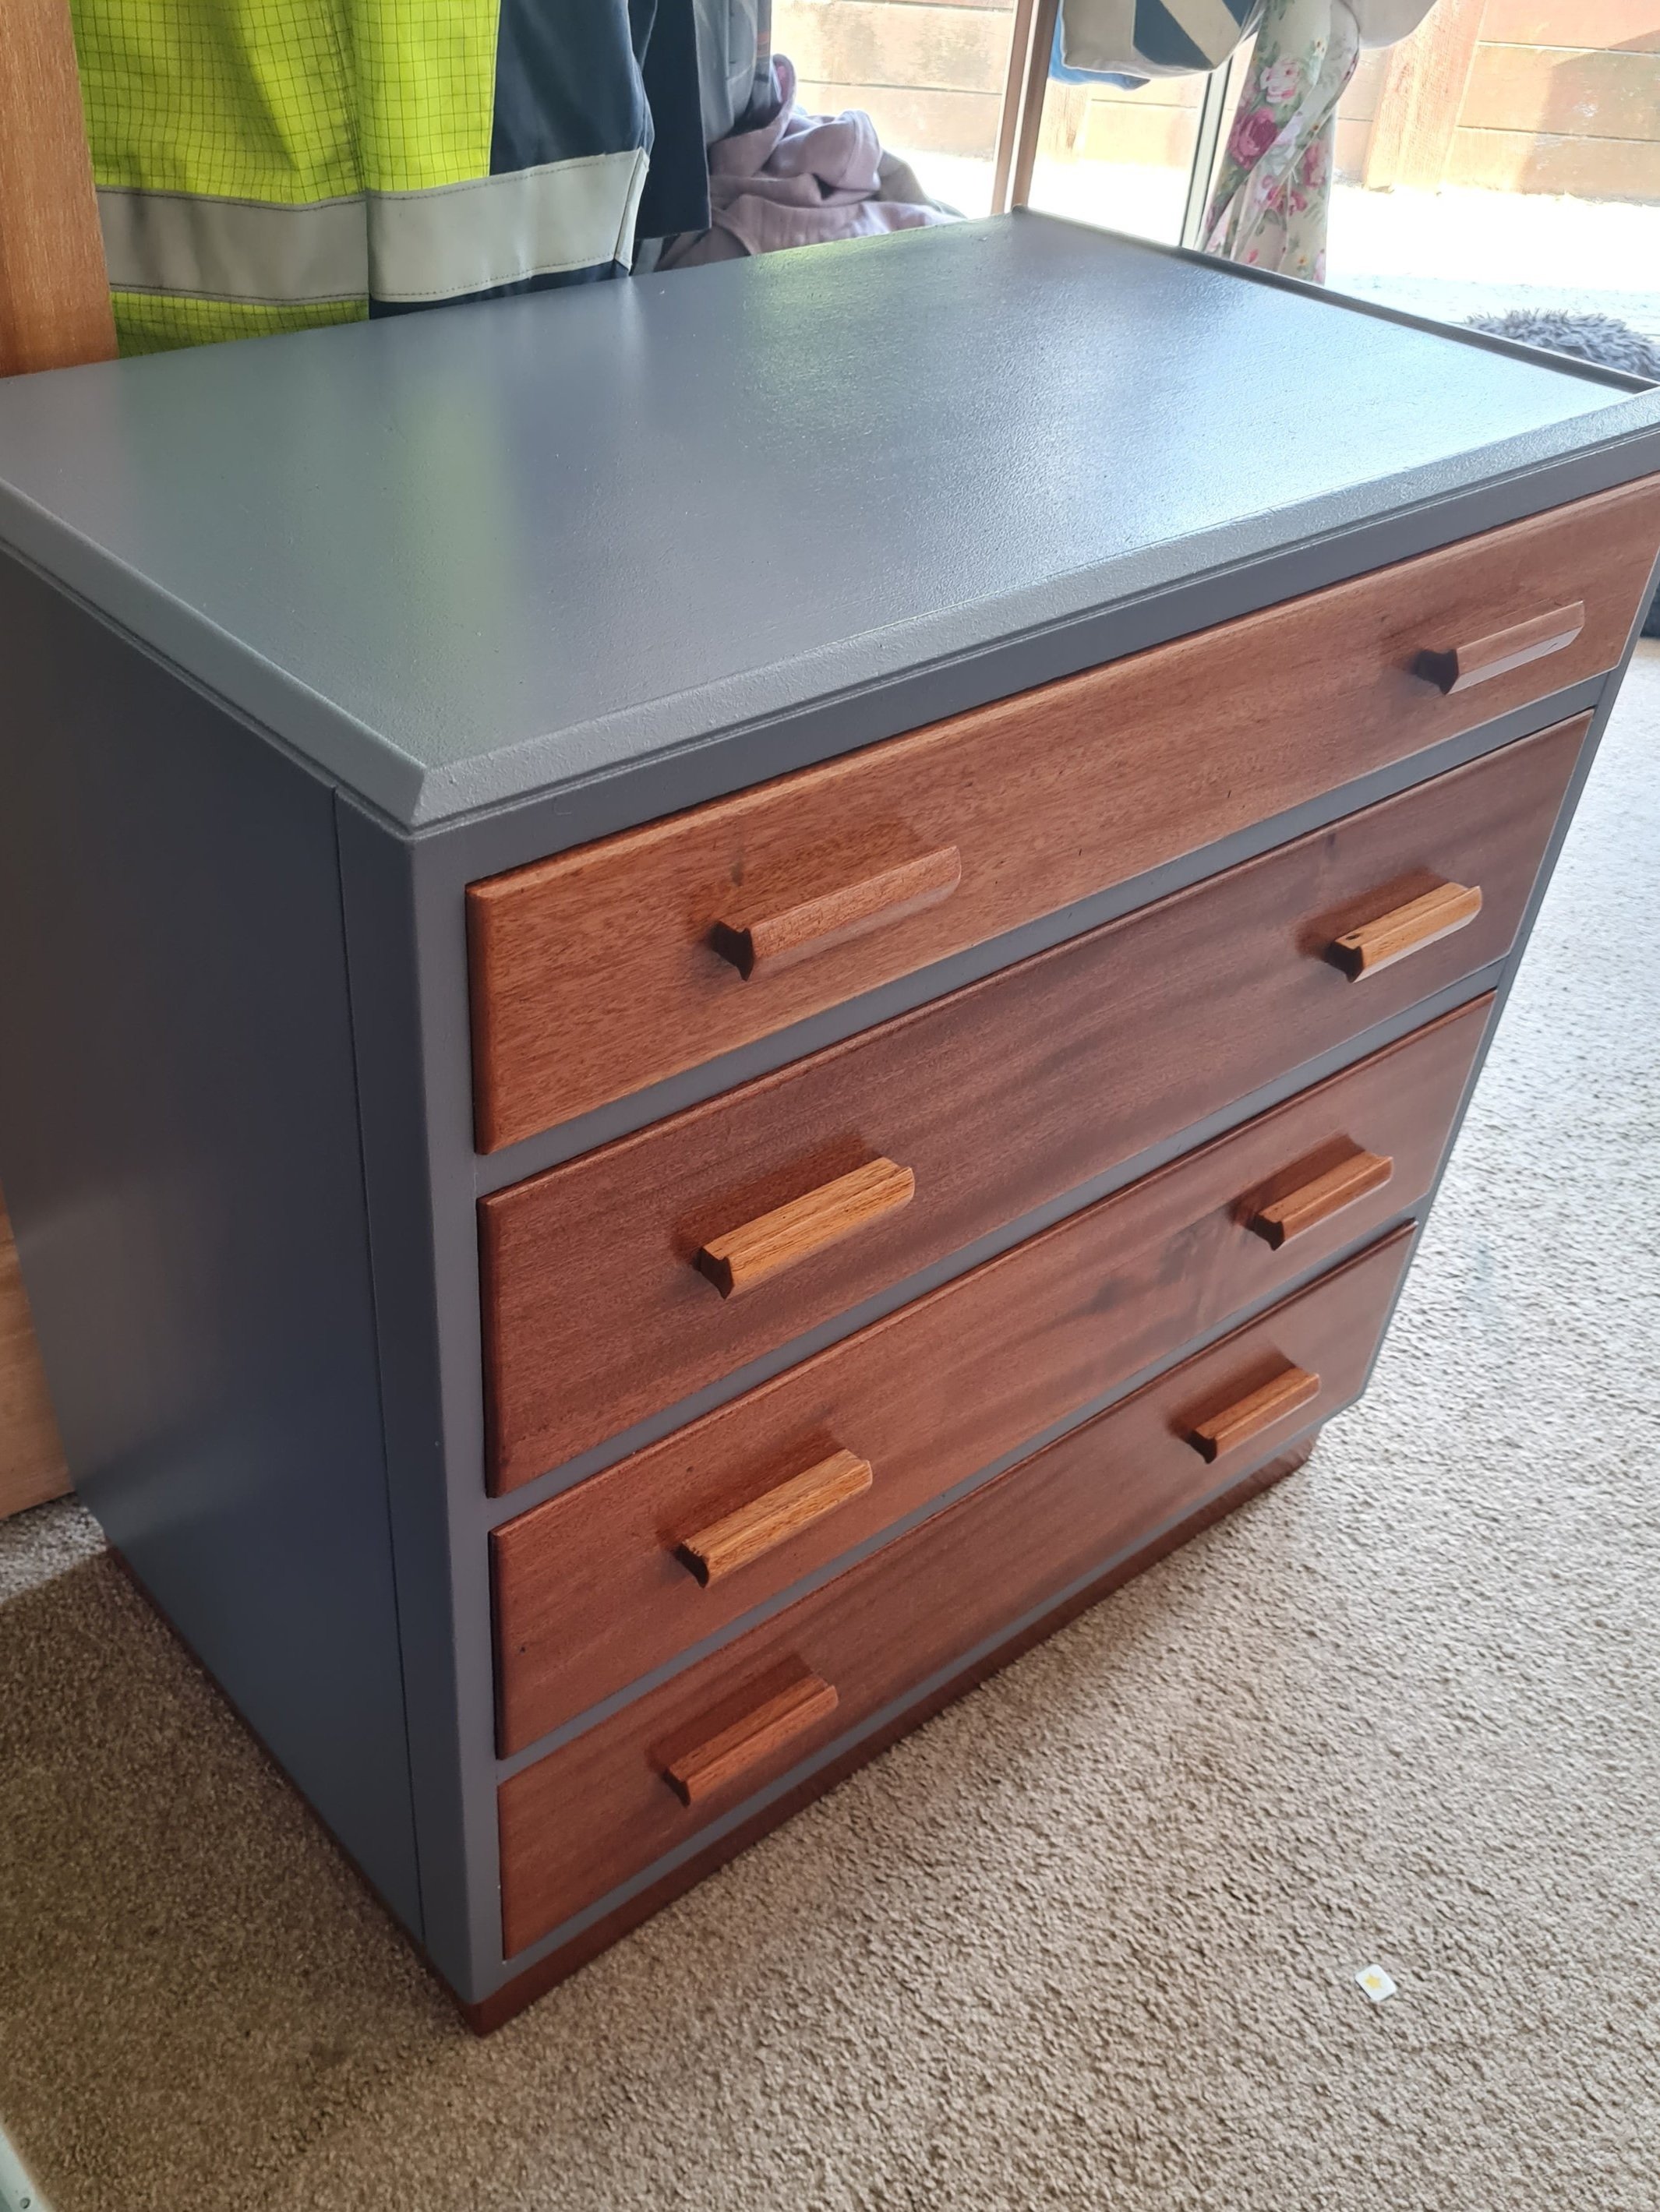
First up is a chest of drawers I got for free from Facebook Marketplace. Now like a bad blogger I didn’t actually take a before photo before I got stuck in sanding it. No excuse for that, I was just too excited to get started! This set of drawers were given away for free as they tried to sell them but couldn’t get rid of them. The guys Mum was moving into a nursing home and apparently she bought these over from England in the 50’s and used to oil them every few years. The outside of the body is just a slightly damaged veneer, but the drawers are solid wood and lovely. I started to just scuff sand them as I didn’t like the dark dirty look and paint over all of it, but I quickly realised there was a lovely wood grain under there. So I took the handles off and sanded them and then sanded the whole face of the drawer right back to bare timber.
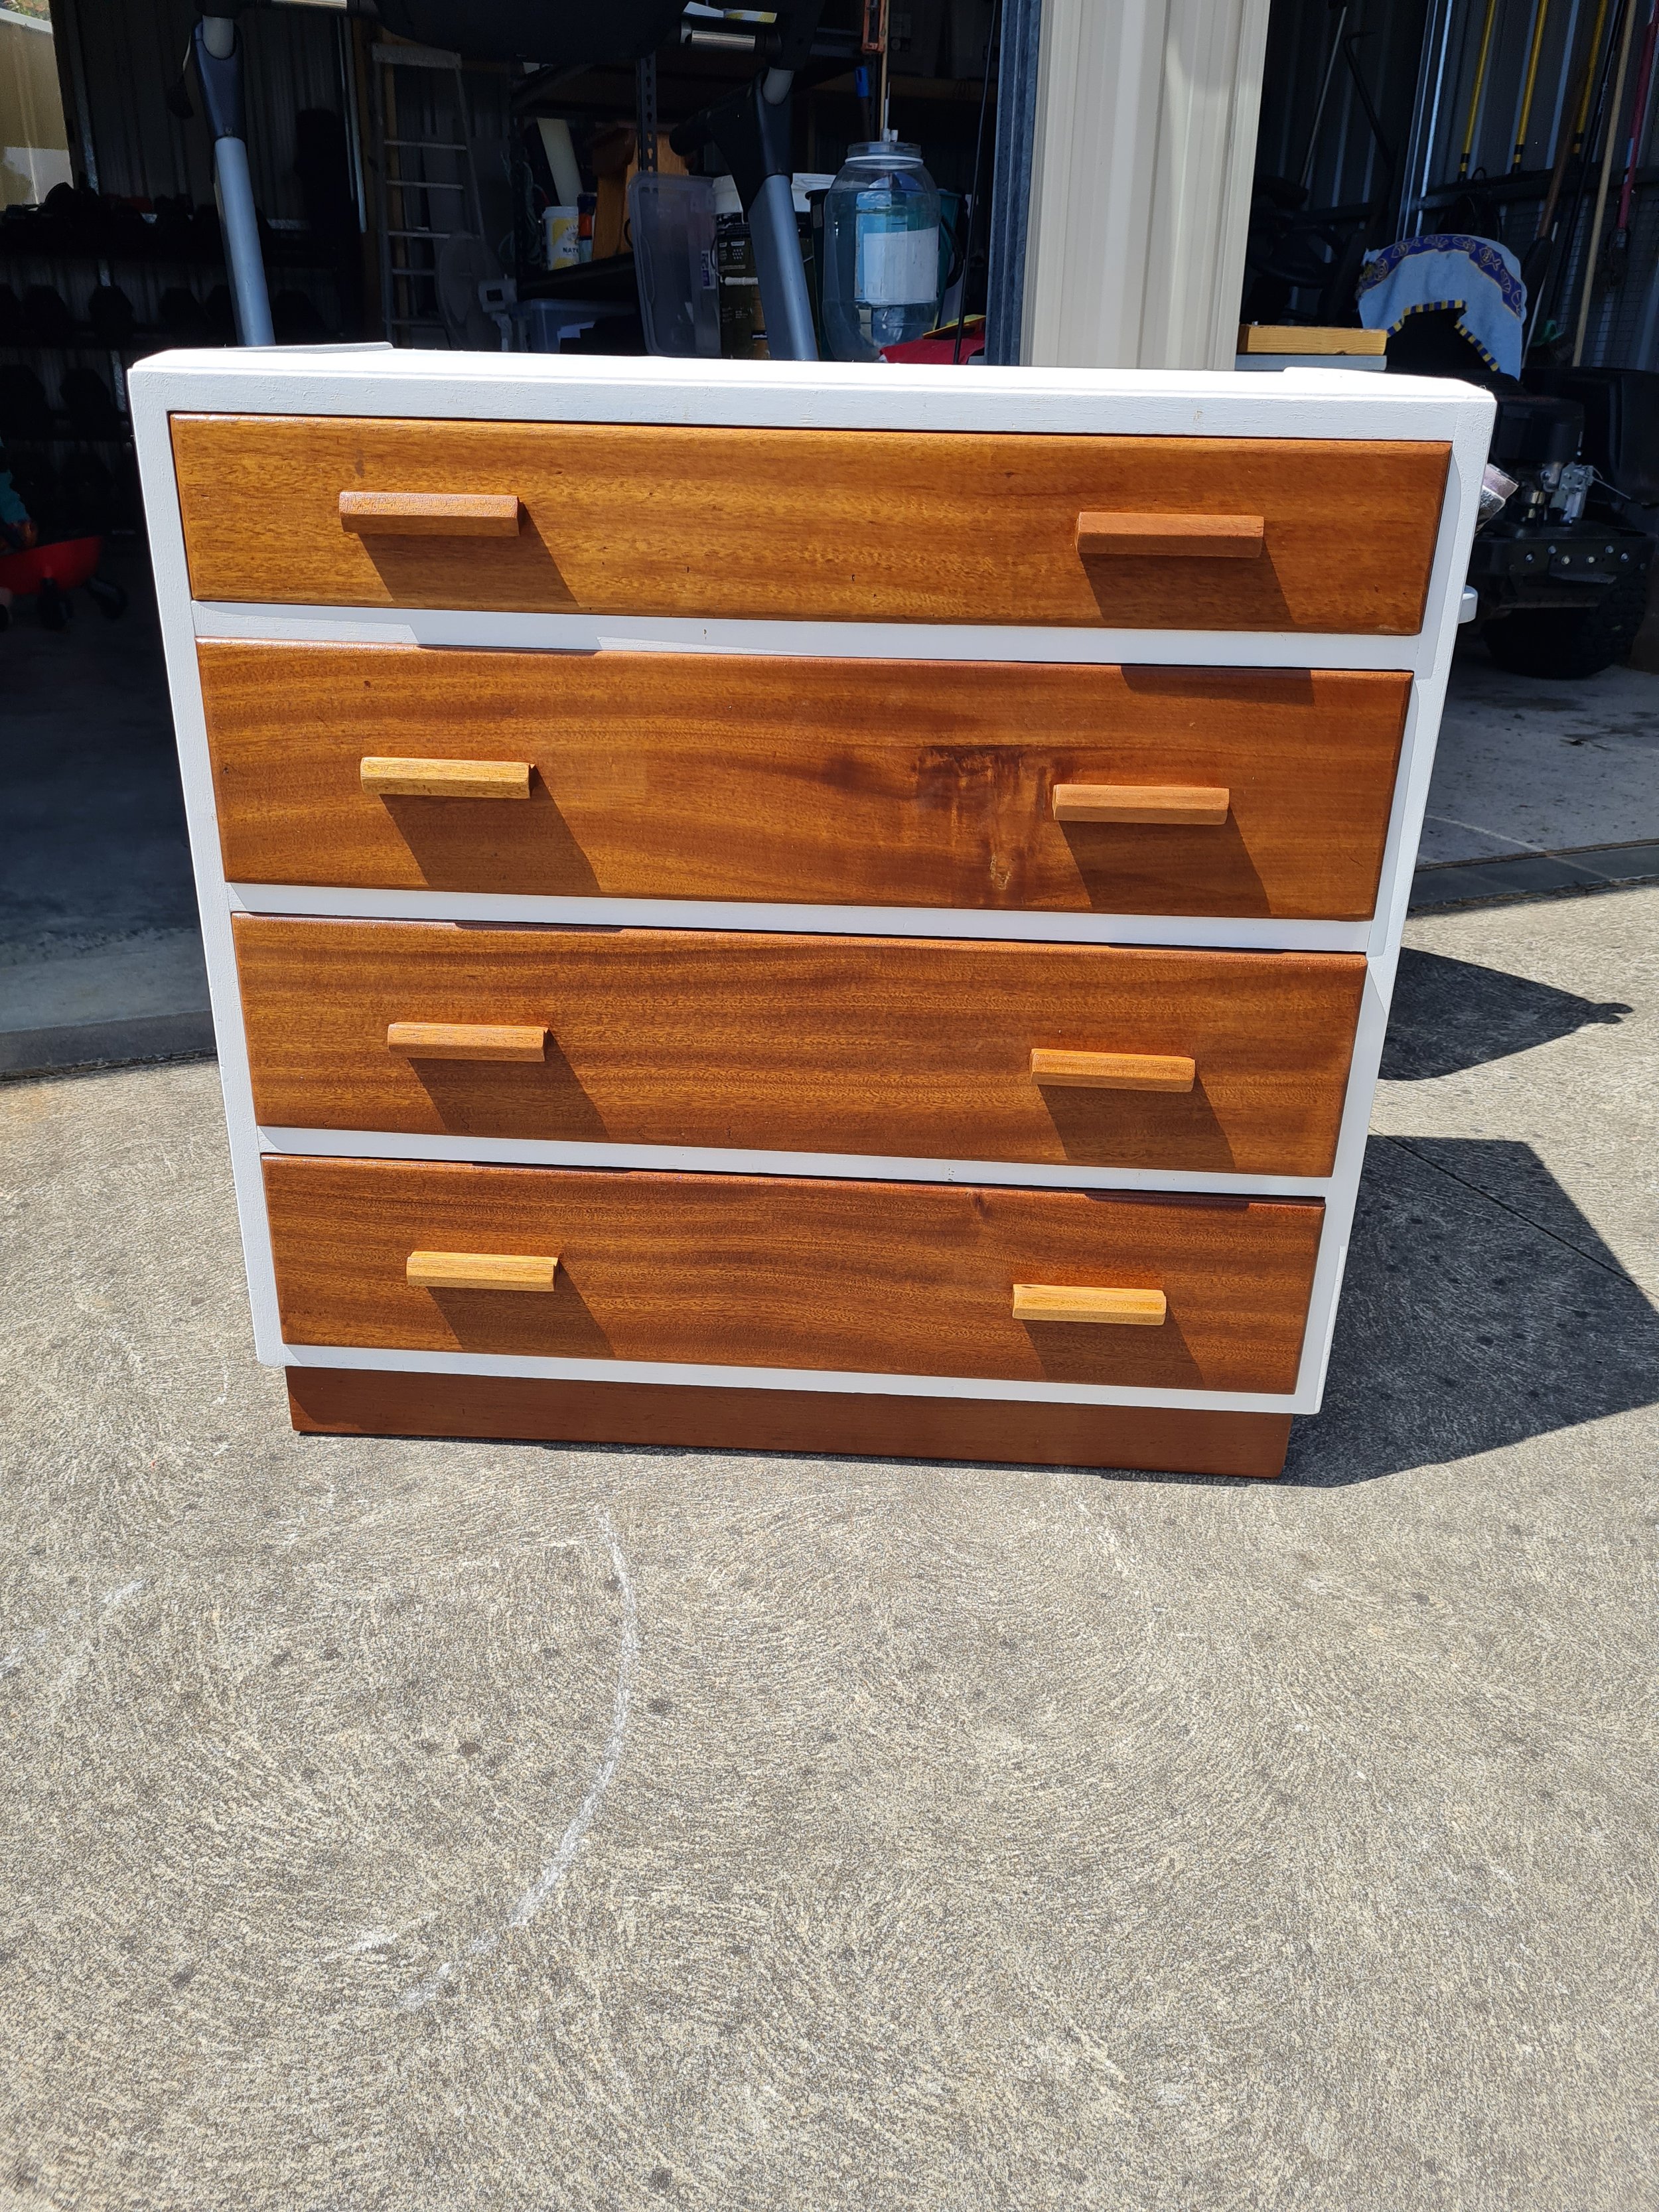
The drawers then got a clear coat to help the wood grain shine and I undercoated the body of the drawers. At the time I wanted a darker colour, but now that I look back at the white photo I kind of wish I painted it all white! Which do you prefer? White or Grey?
Anyway, I got a tin of grey enamel to cover the body of the drawers which would allow the timber grain to stand out from the rest and I am really happy with this low cost upcycle. It only cost me the grey enamel paint as we already had a clear varnish and the undercoat here at the house.
Bedside drawers
The next project I tackled was this set of drawers I got for free from my sister when she was clearing out her house to move to Queensland. The drawers were missing a handle when I got them so I picked out these gold handles from Bunnings, and because I like to use what we have here, I used the same grey as the chest of drawers above and a pink chalk paint I got from Kmart (Australian Kmart). My daughter Paige loves them, she claimed them as soon as she saw the pink and she regularly changes what she has in the drawers because they are her ‘special drawers’ as she says.


Planter
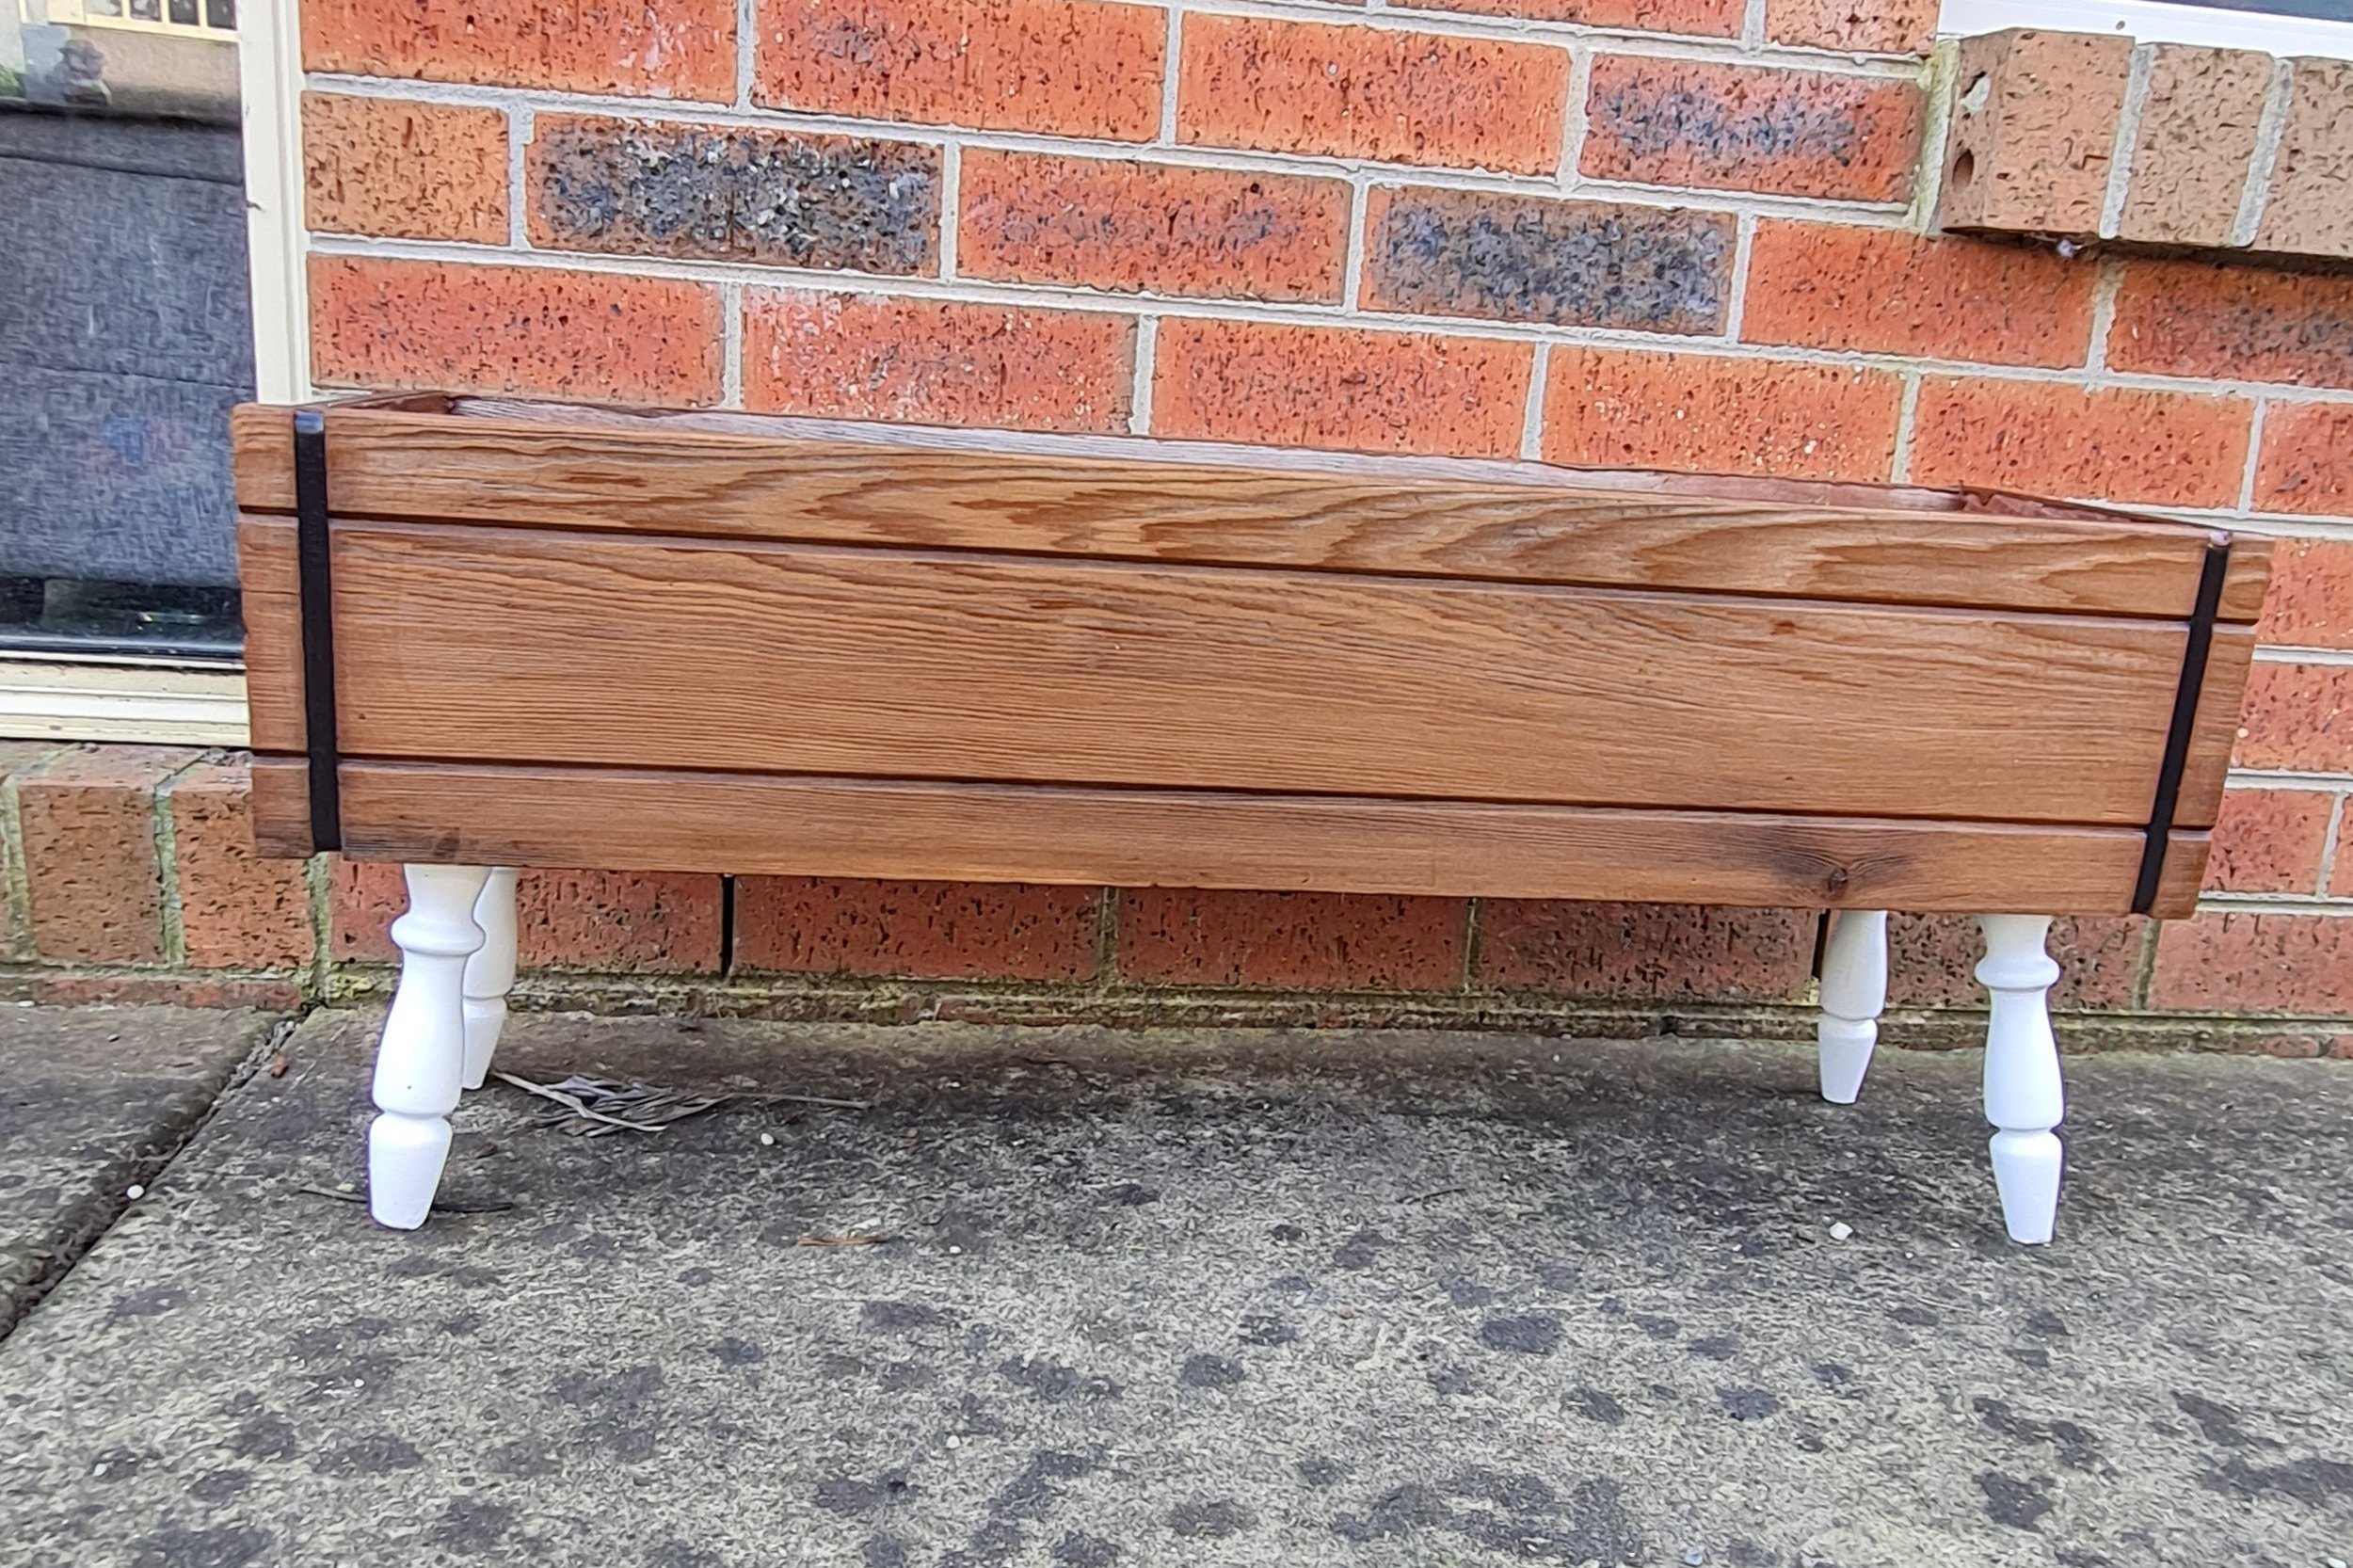
Here is another piece I was a blogger pro on and didn’t take a before photo. Thank you to Facebook who let me scroll back and find this photo in my history! I paid $20 for this on Marketplace, and it’s in a decent condition. One of the legs is a little wobbly but not too bad!
First up I gave it a sand and then it sat there for quite a while as I pondered what to do with it. I eventually just wanted to do something without having to buy lots of supplies, so I put a clear coat of varnish on it and used a basic white enamel on the legs. Again using what I have and not buying more if I don’t have to, that really is my motto!

I am also yet to buy any plants to go in this planter because it’s winter here in Victoria and I am going to wait until spring to fill it with different pots, probably a variety of herbs I think! And I am actually realising as I type this out that I’ll have to drill some drainage holes in it as it doesn’t have any drainage! Nothing like working on the run hey!
Kids play kitchen
Now this is a piece we already had, the kids got it as a Christmas present back in 2015(!!) but after it spent a few years living out in the kids cubby house at our old place, it needed some love. It had doors falling off, hinges broken, peeling paint and it had certainly had many hours of playtime.
So after seeing a friend customise her daughters play kitchen, I was inspired and this was next on the list! I have done some searching for a photo of this piece before I dug into it but all I can find is a half-unwrapped picture from when the kids got it! So the first pic you get is the undercoat, which might look a bit splotchy because I let Paige help me paint and she isn’t so good at doing it evenly just yet!

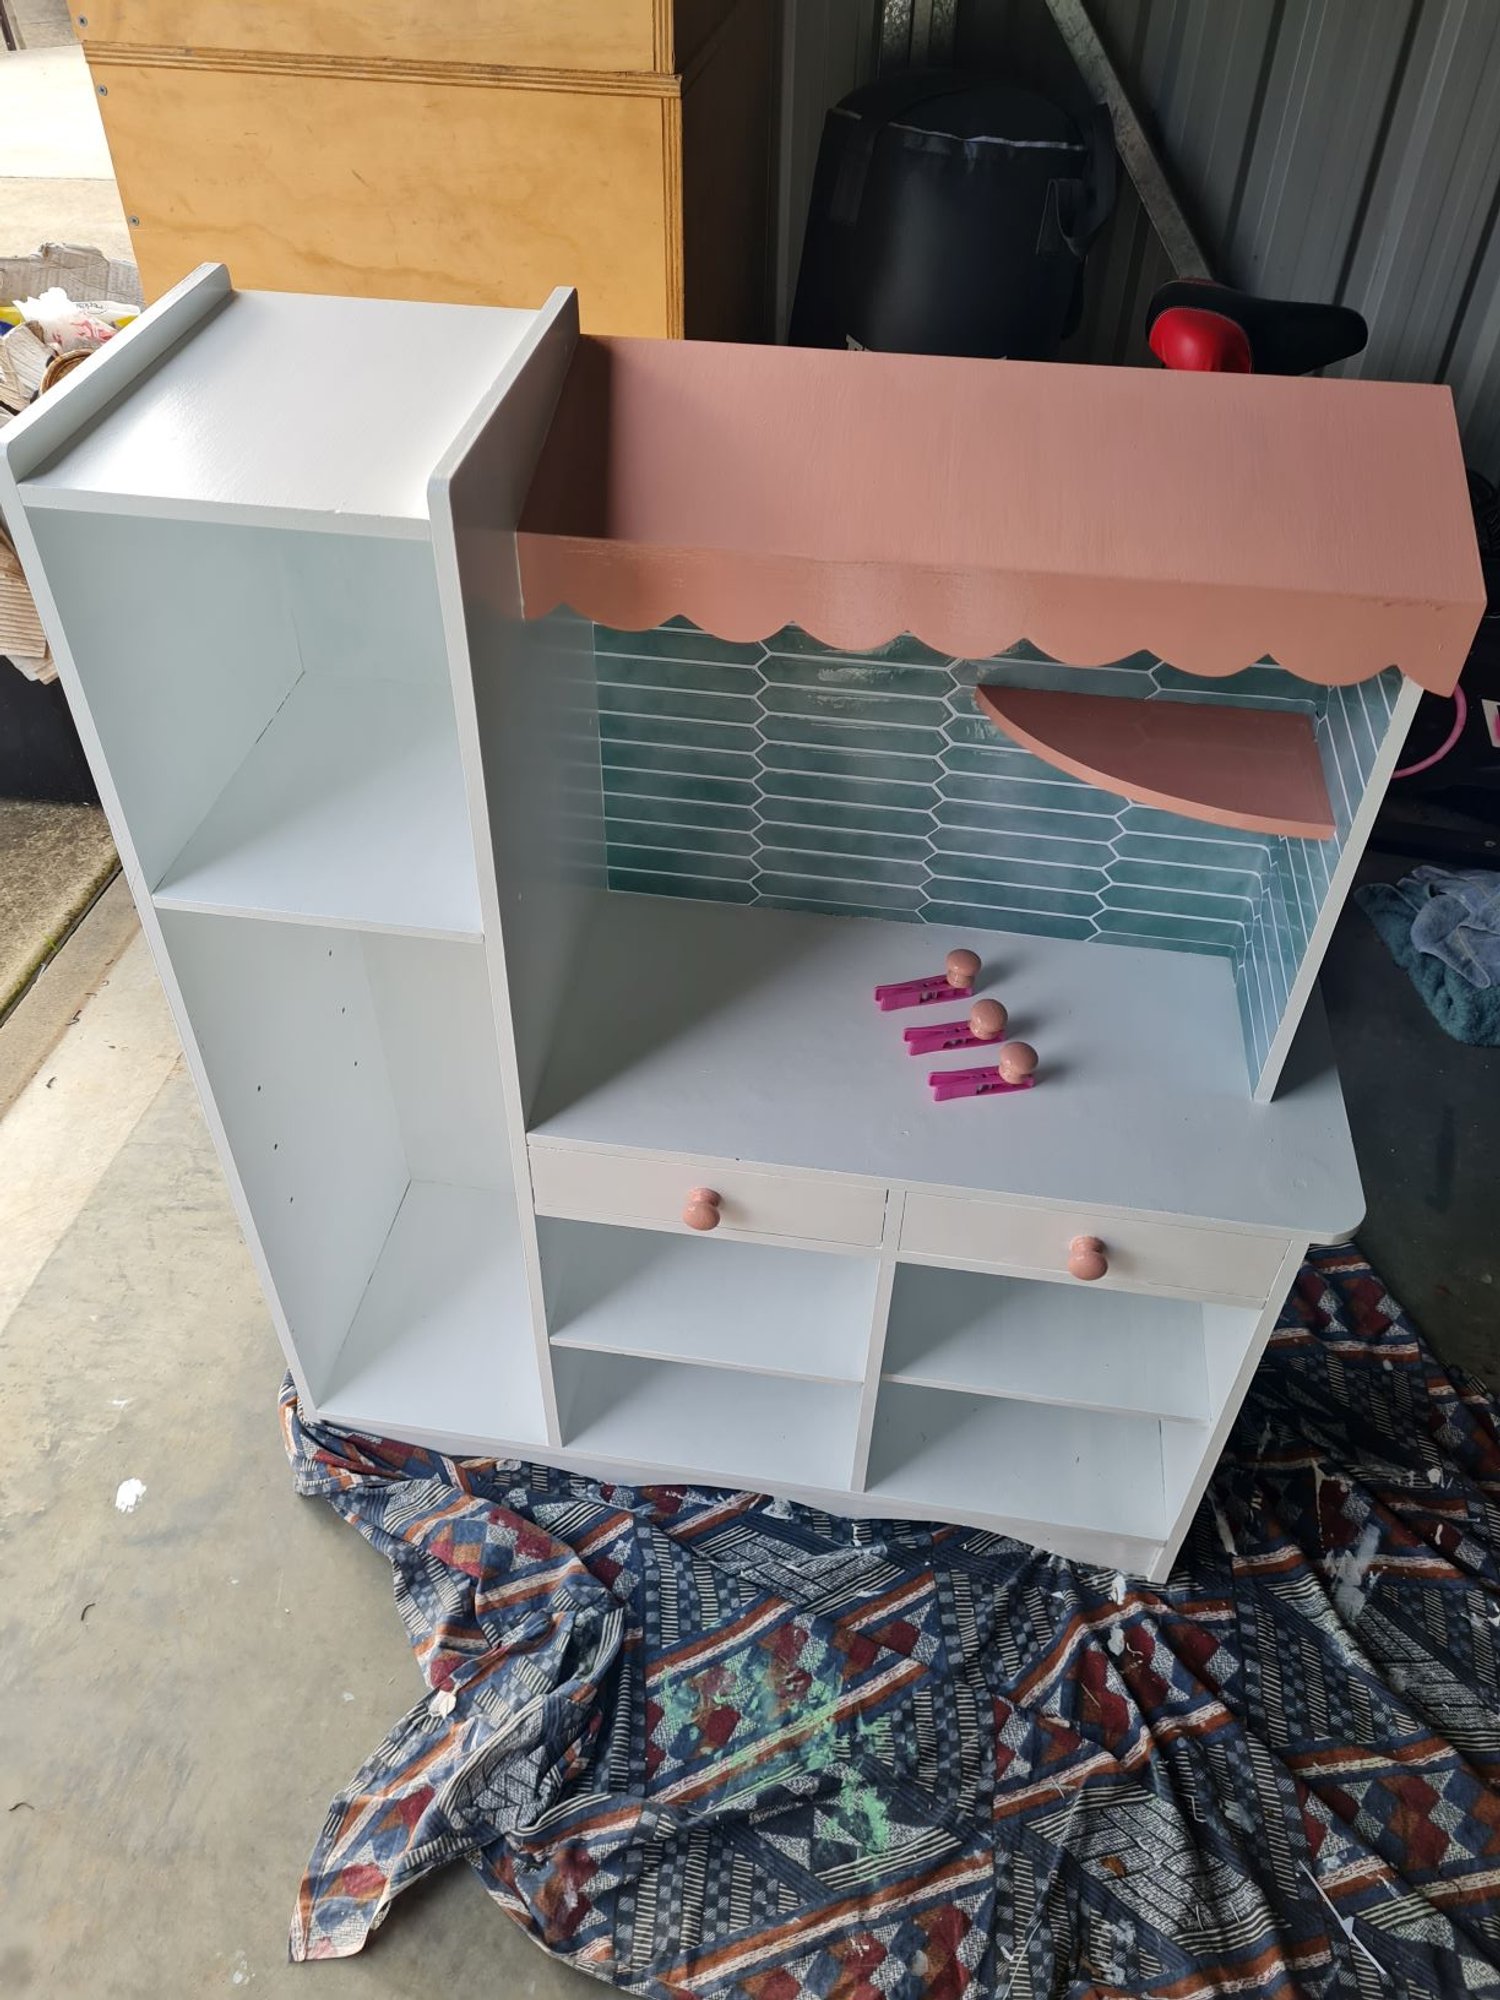
Now this project is the first one I’ve bought materials for in a long time. These green stick on tiles are from Kmart and while it was fiddly getting them around that corner and to fit seamlessly with the little shelf, they have come up lovely. They do have a funny texture to them so I’m not sure how well they would go with lots of wash and wear, but hopefully as this is a ‘play’ kitchen, I won’t have to wash them off too often, but I wouldn’t put anything past my daughter. Chances are I’d find her with a dough of some kind made up in her kitchen! I do keep finding utensils that go missing hiding in those little cupboards!
We had lost one of the cupboard windows as the kids broke one way back when, so I grabbed this holographic contact paper from Kmart too and covered the remaining 2 windows and made a replacement one out of cardboard and covered that as well. I think it ads a fun little aspect to it!

See what I mean about no professional fancy styled photos over here. Paige’s bright green saucepan and a toy under the cabinet and my catch-all basket for all that random stuff that ends up on the floor!
And are you seeing a trend with the colours yet? Using what we have, the same white enamel, grey enamel and pink chalk paint because that’s what I had. But I honestly love these colours together with the green tile. It’s not perfect, but my daughter loves it so much she gets upset when her brothers dare play with it!

Timber Bowl
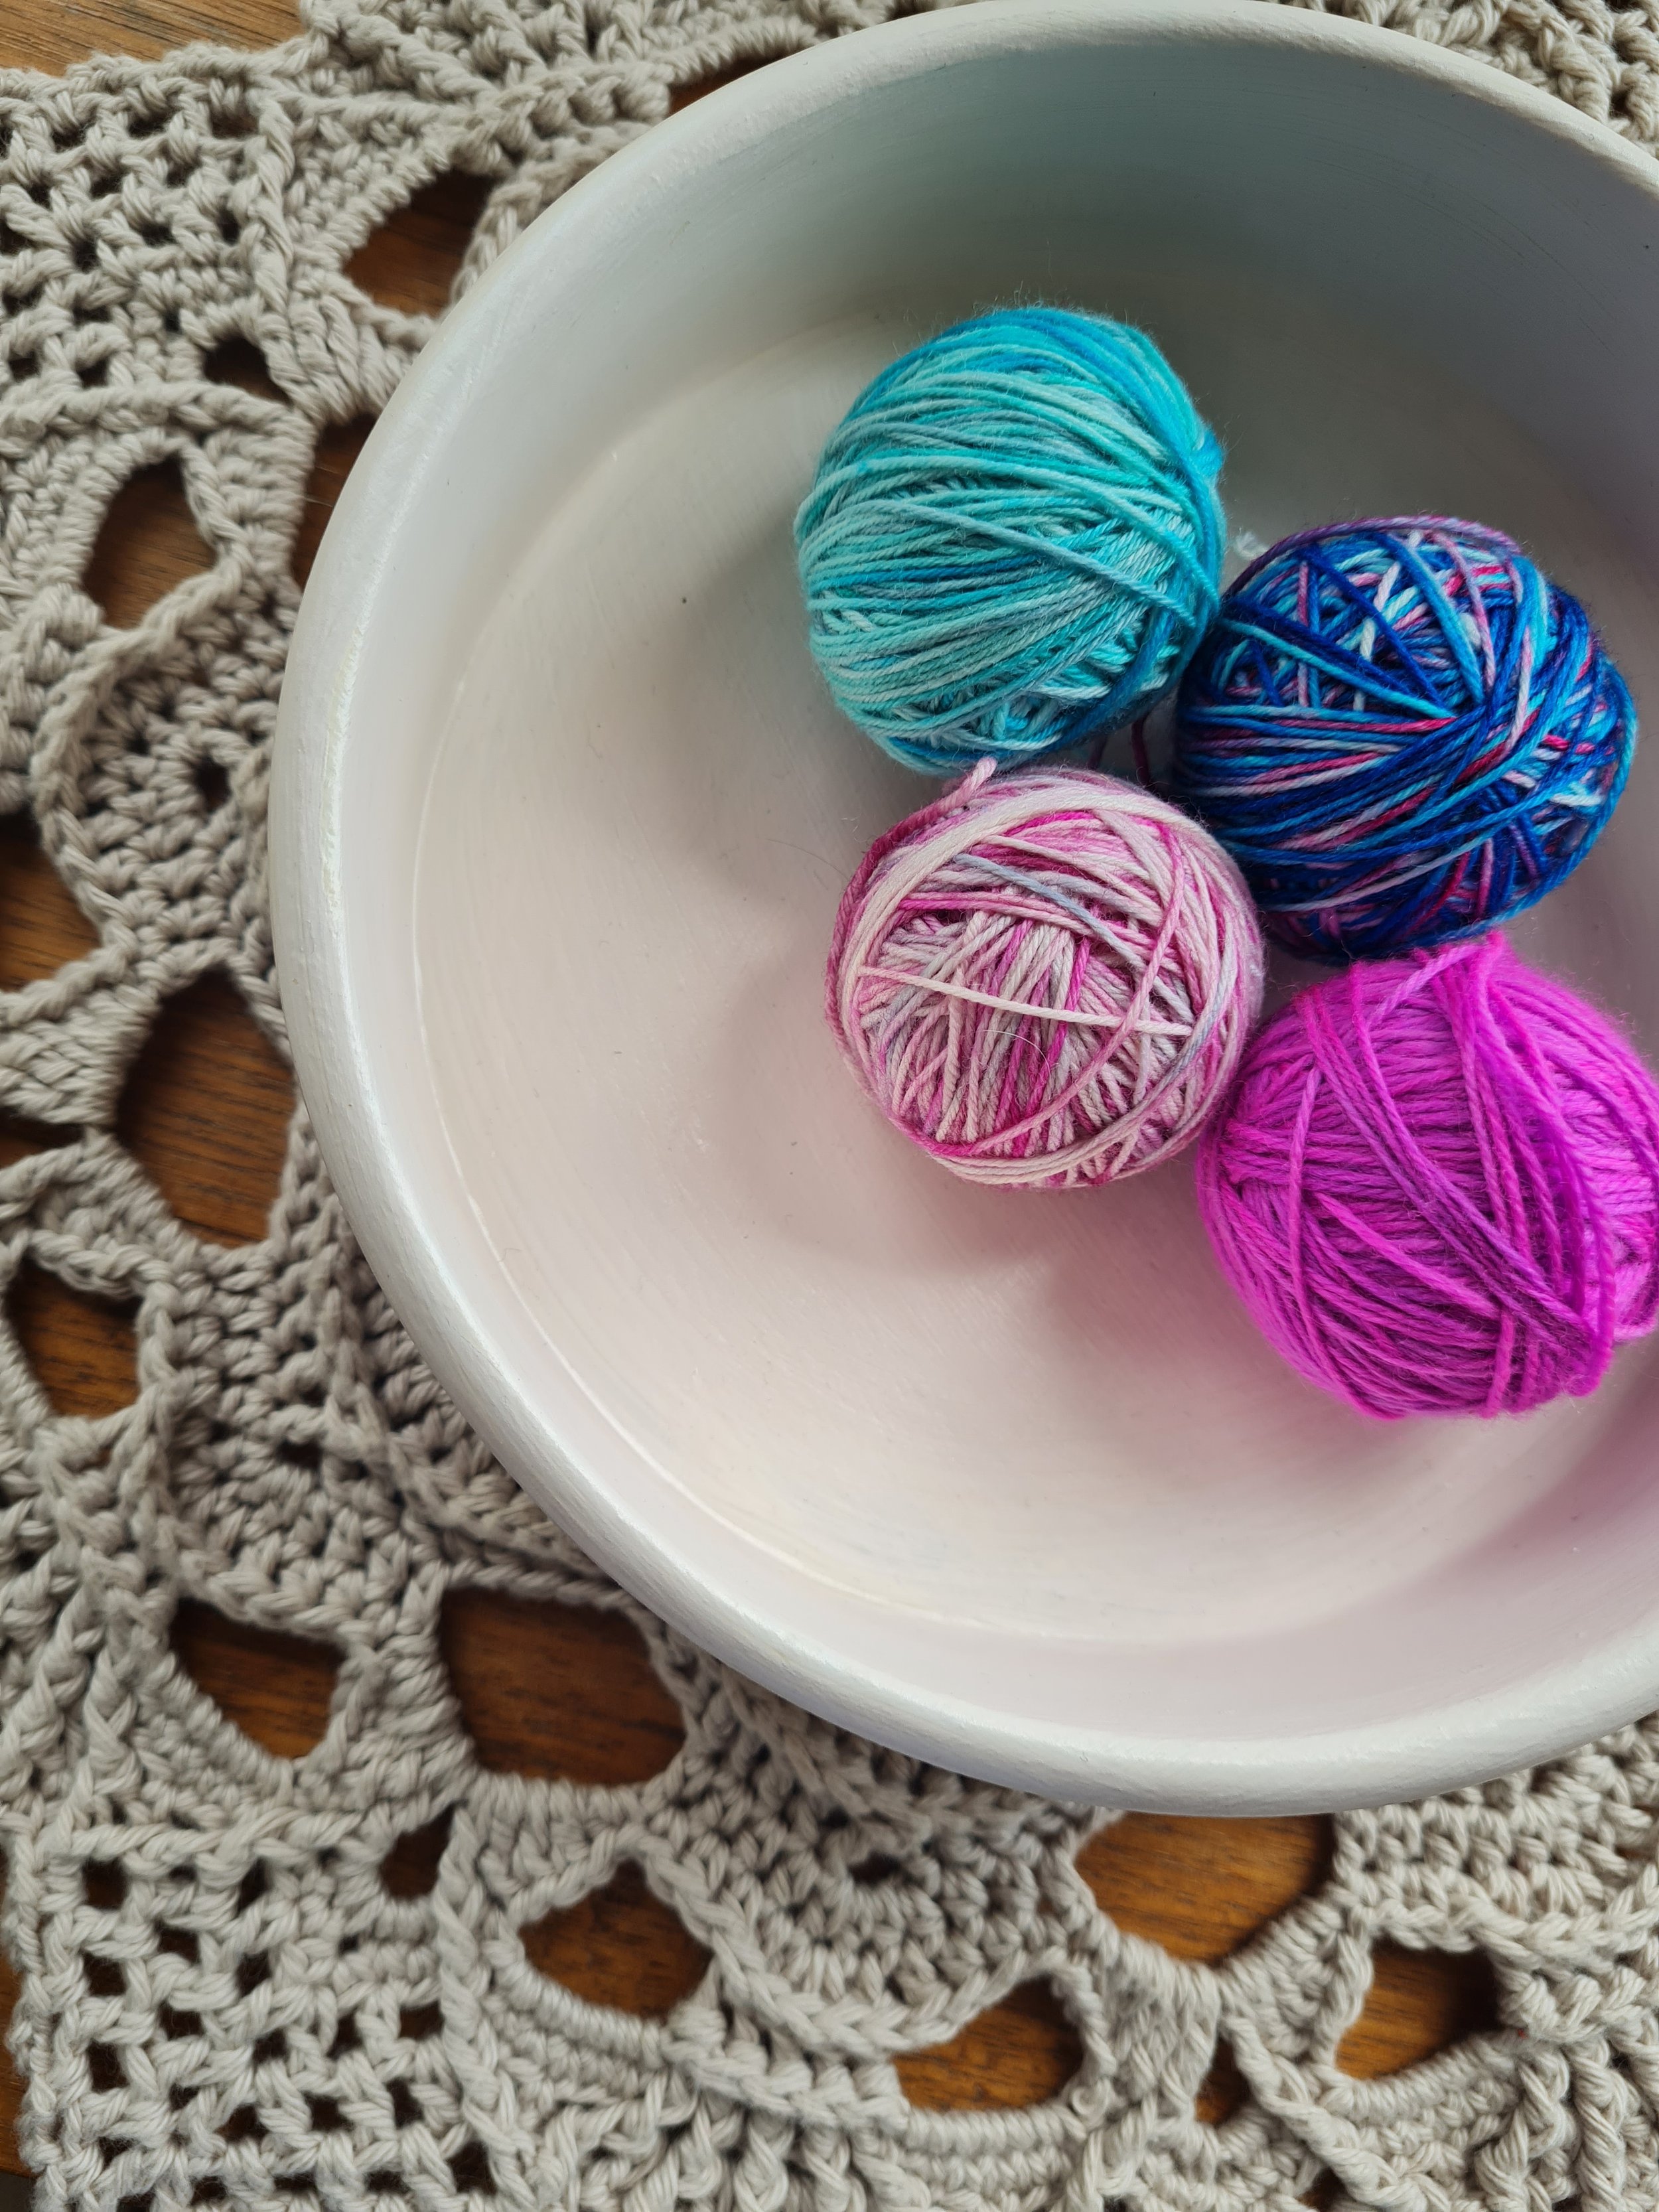
In my recent thrift shopping, I have noticed that I am drawn to timber bowls. And I loved the shape of this one when I found it.
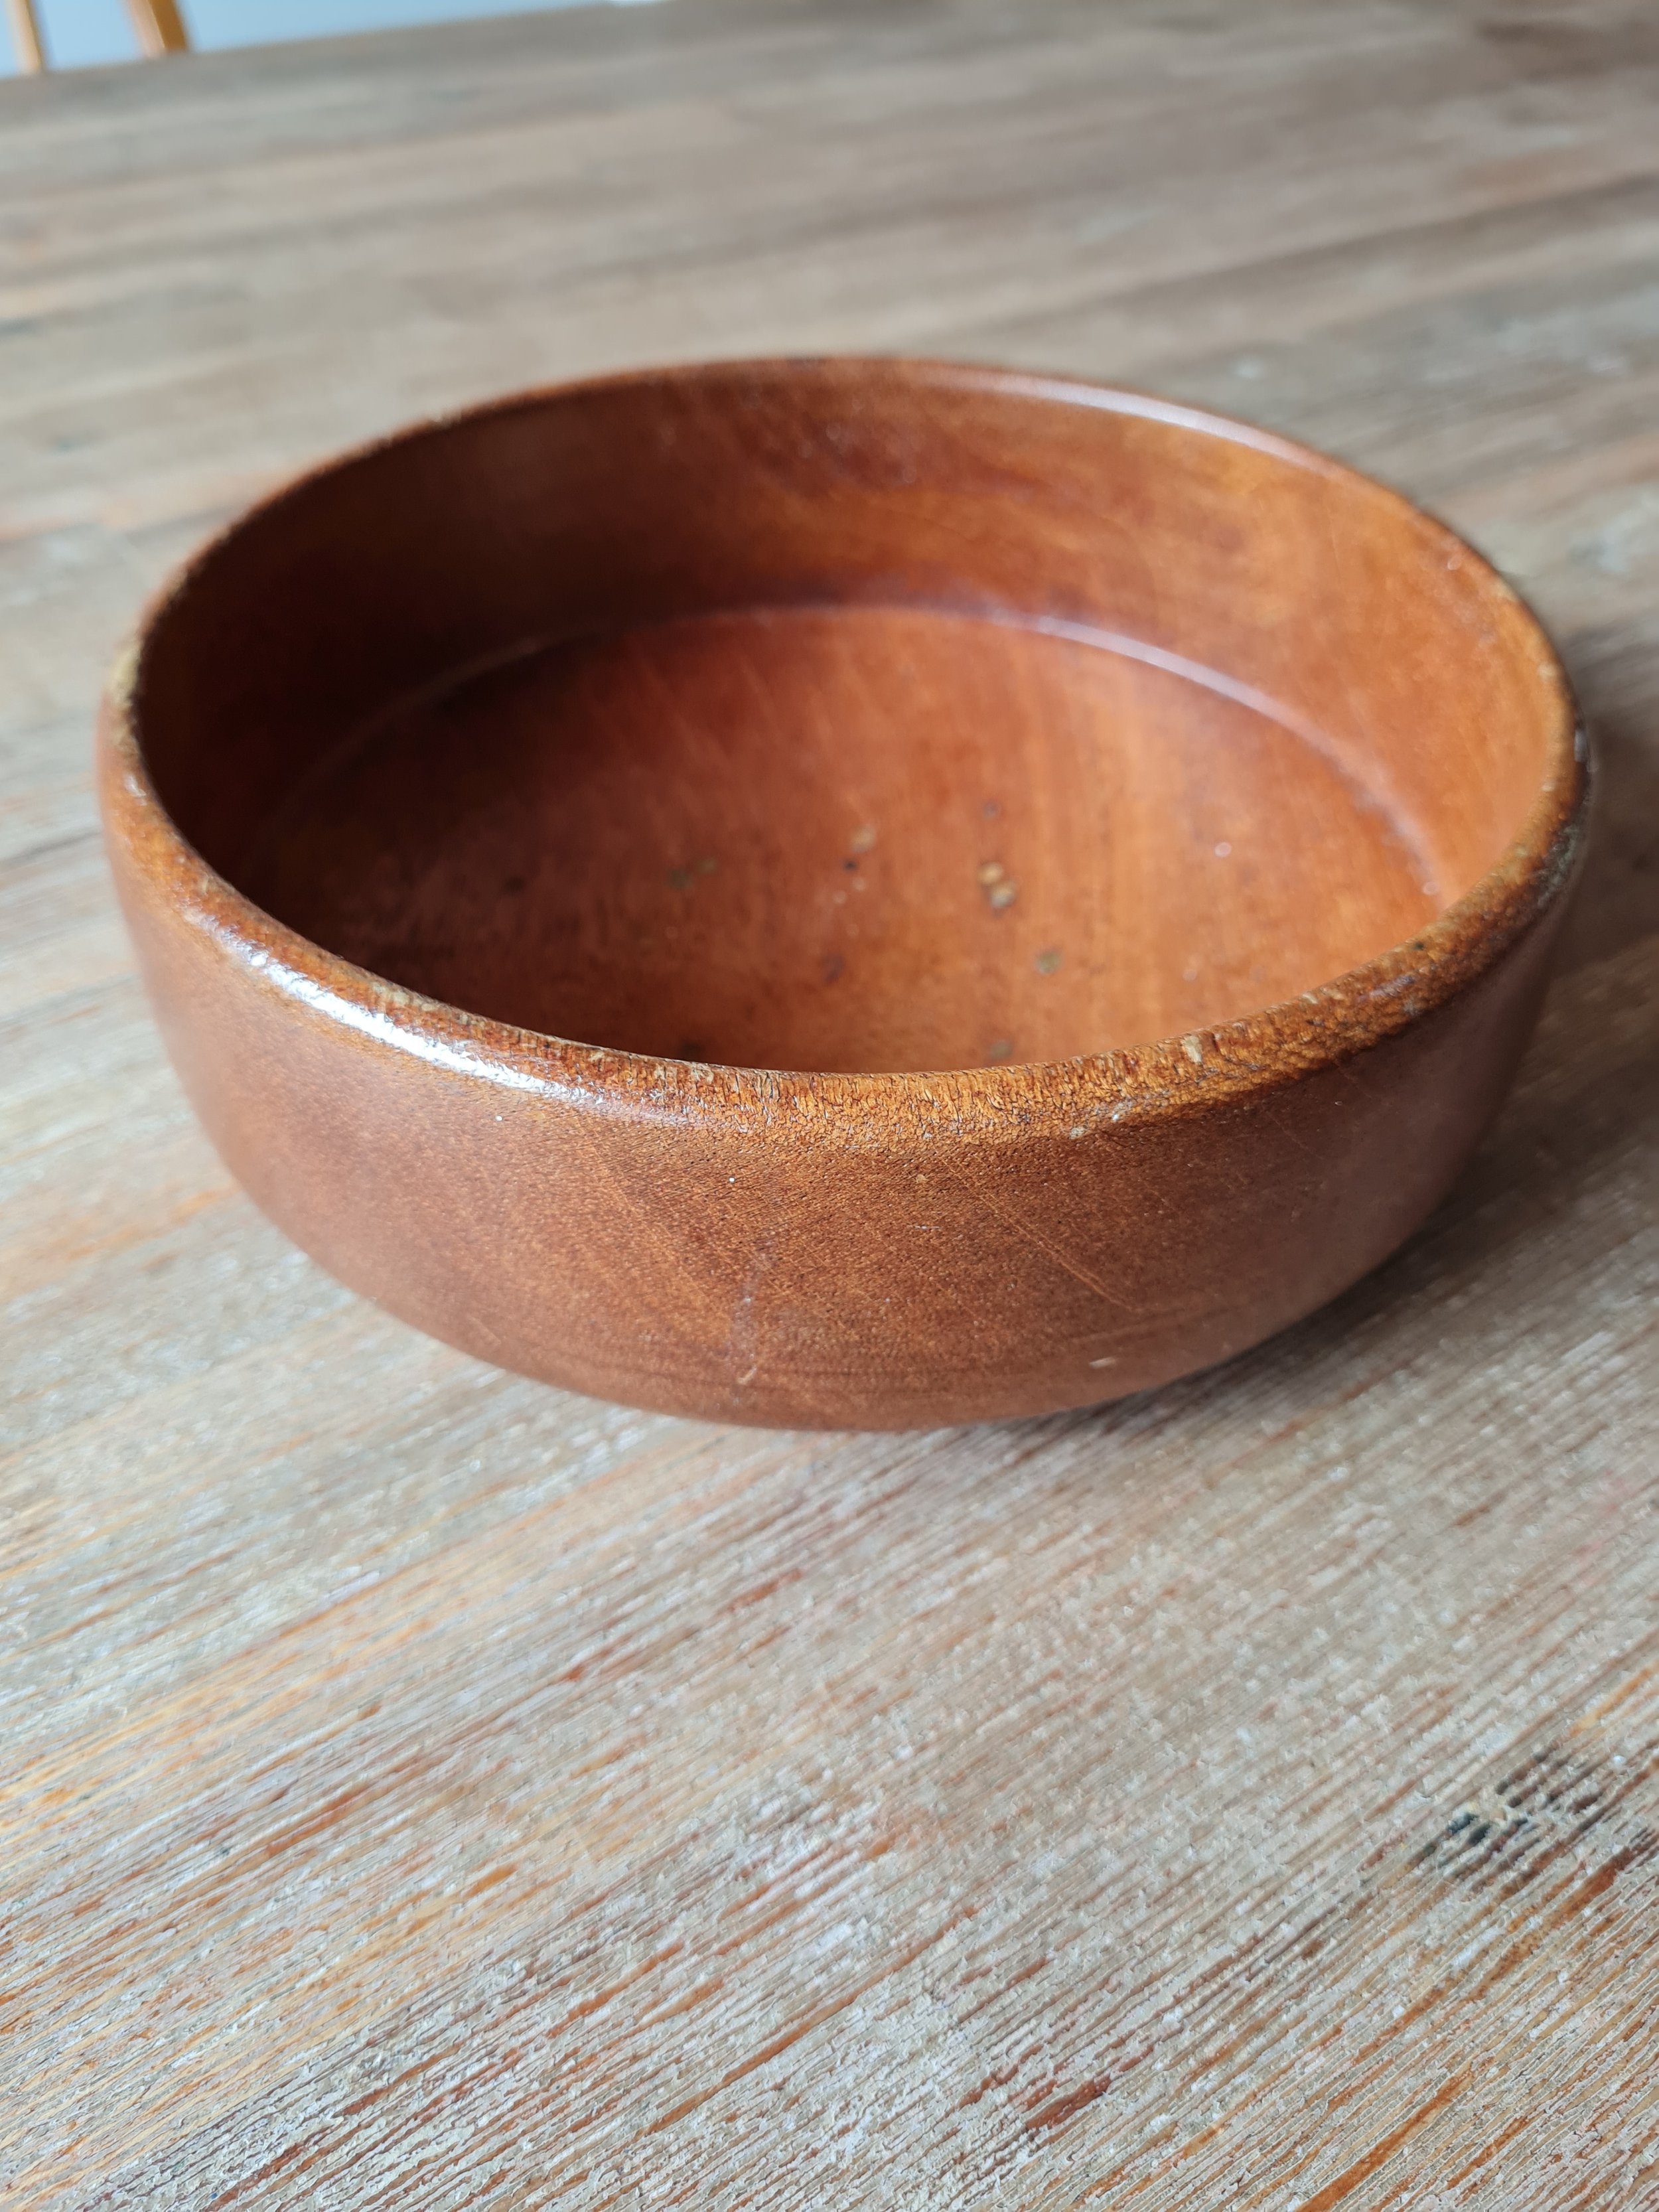

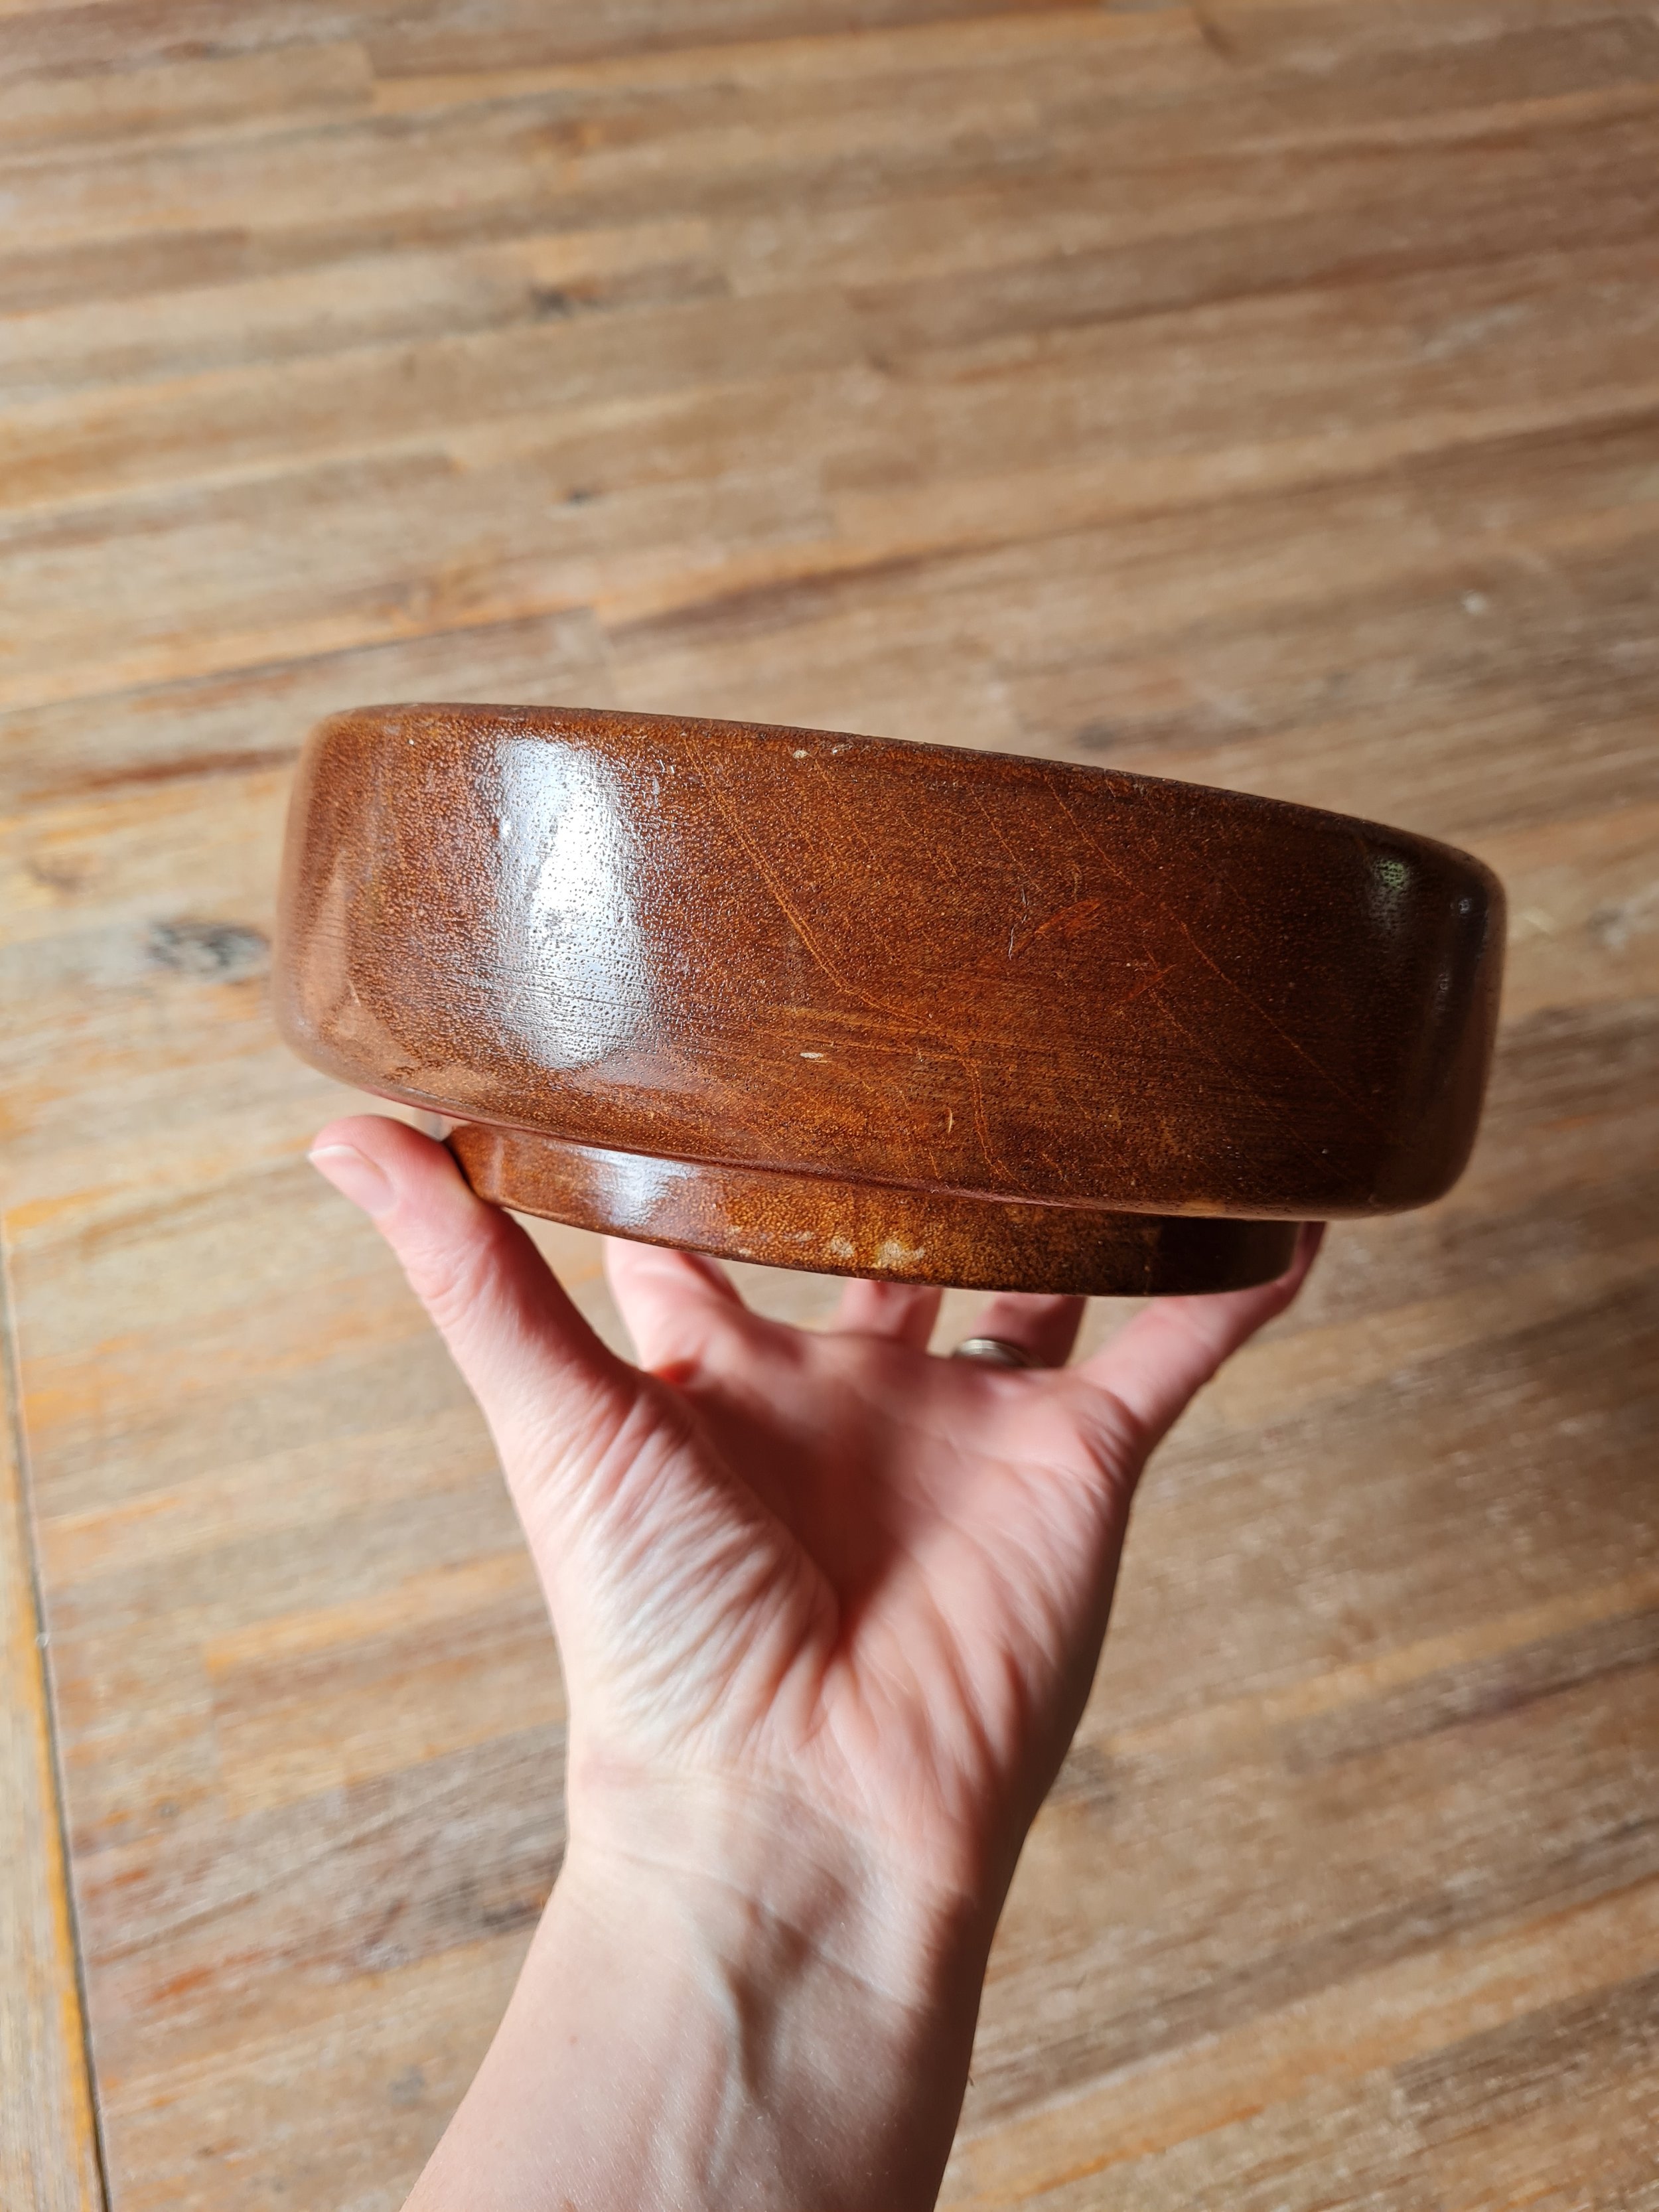
It is a little rough but with with a little love, I thought I could fancy it up a bit! Plus it was only $4, so totally worth it!
Now I had a bit of a fail with this bowl. I thought it would look nice painted in white and with a cute gold trim along that bottom, and it did, until I accidentally used an oil based ‘Clear Coat’, which turned out to have a yellow tinge and because I was doing it at night, in the shadows, I didn’t realise that there were massive drips!
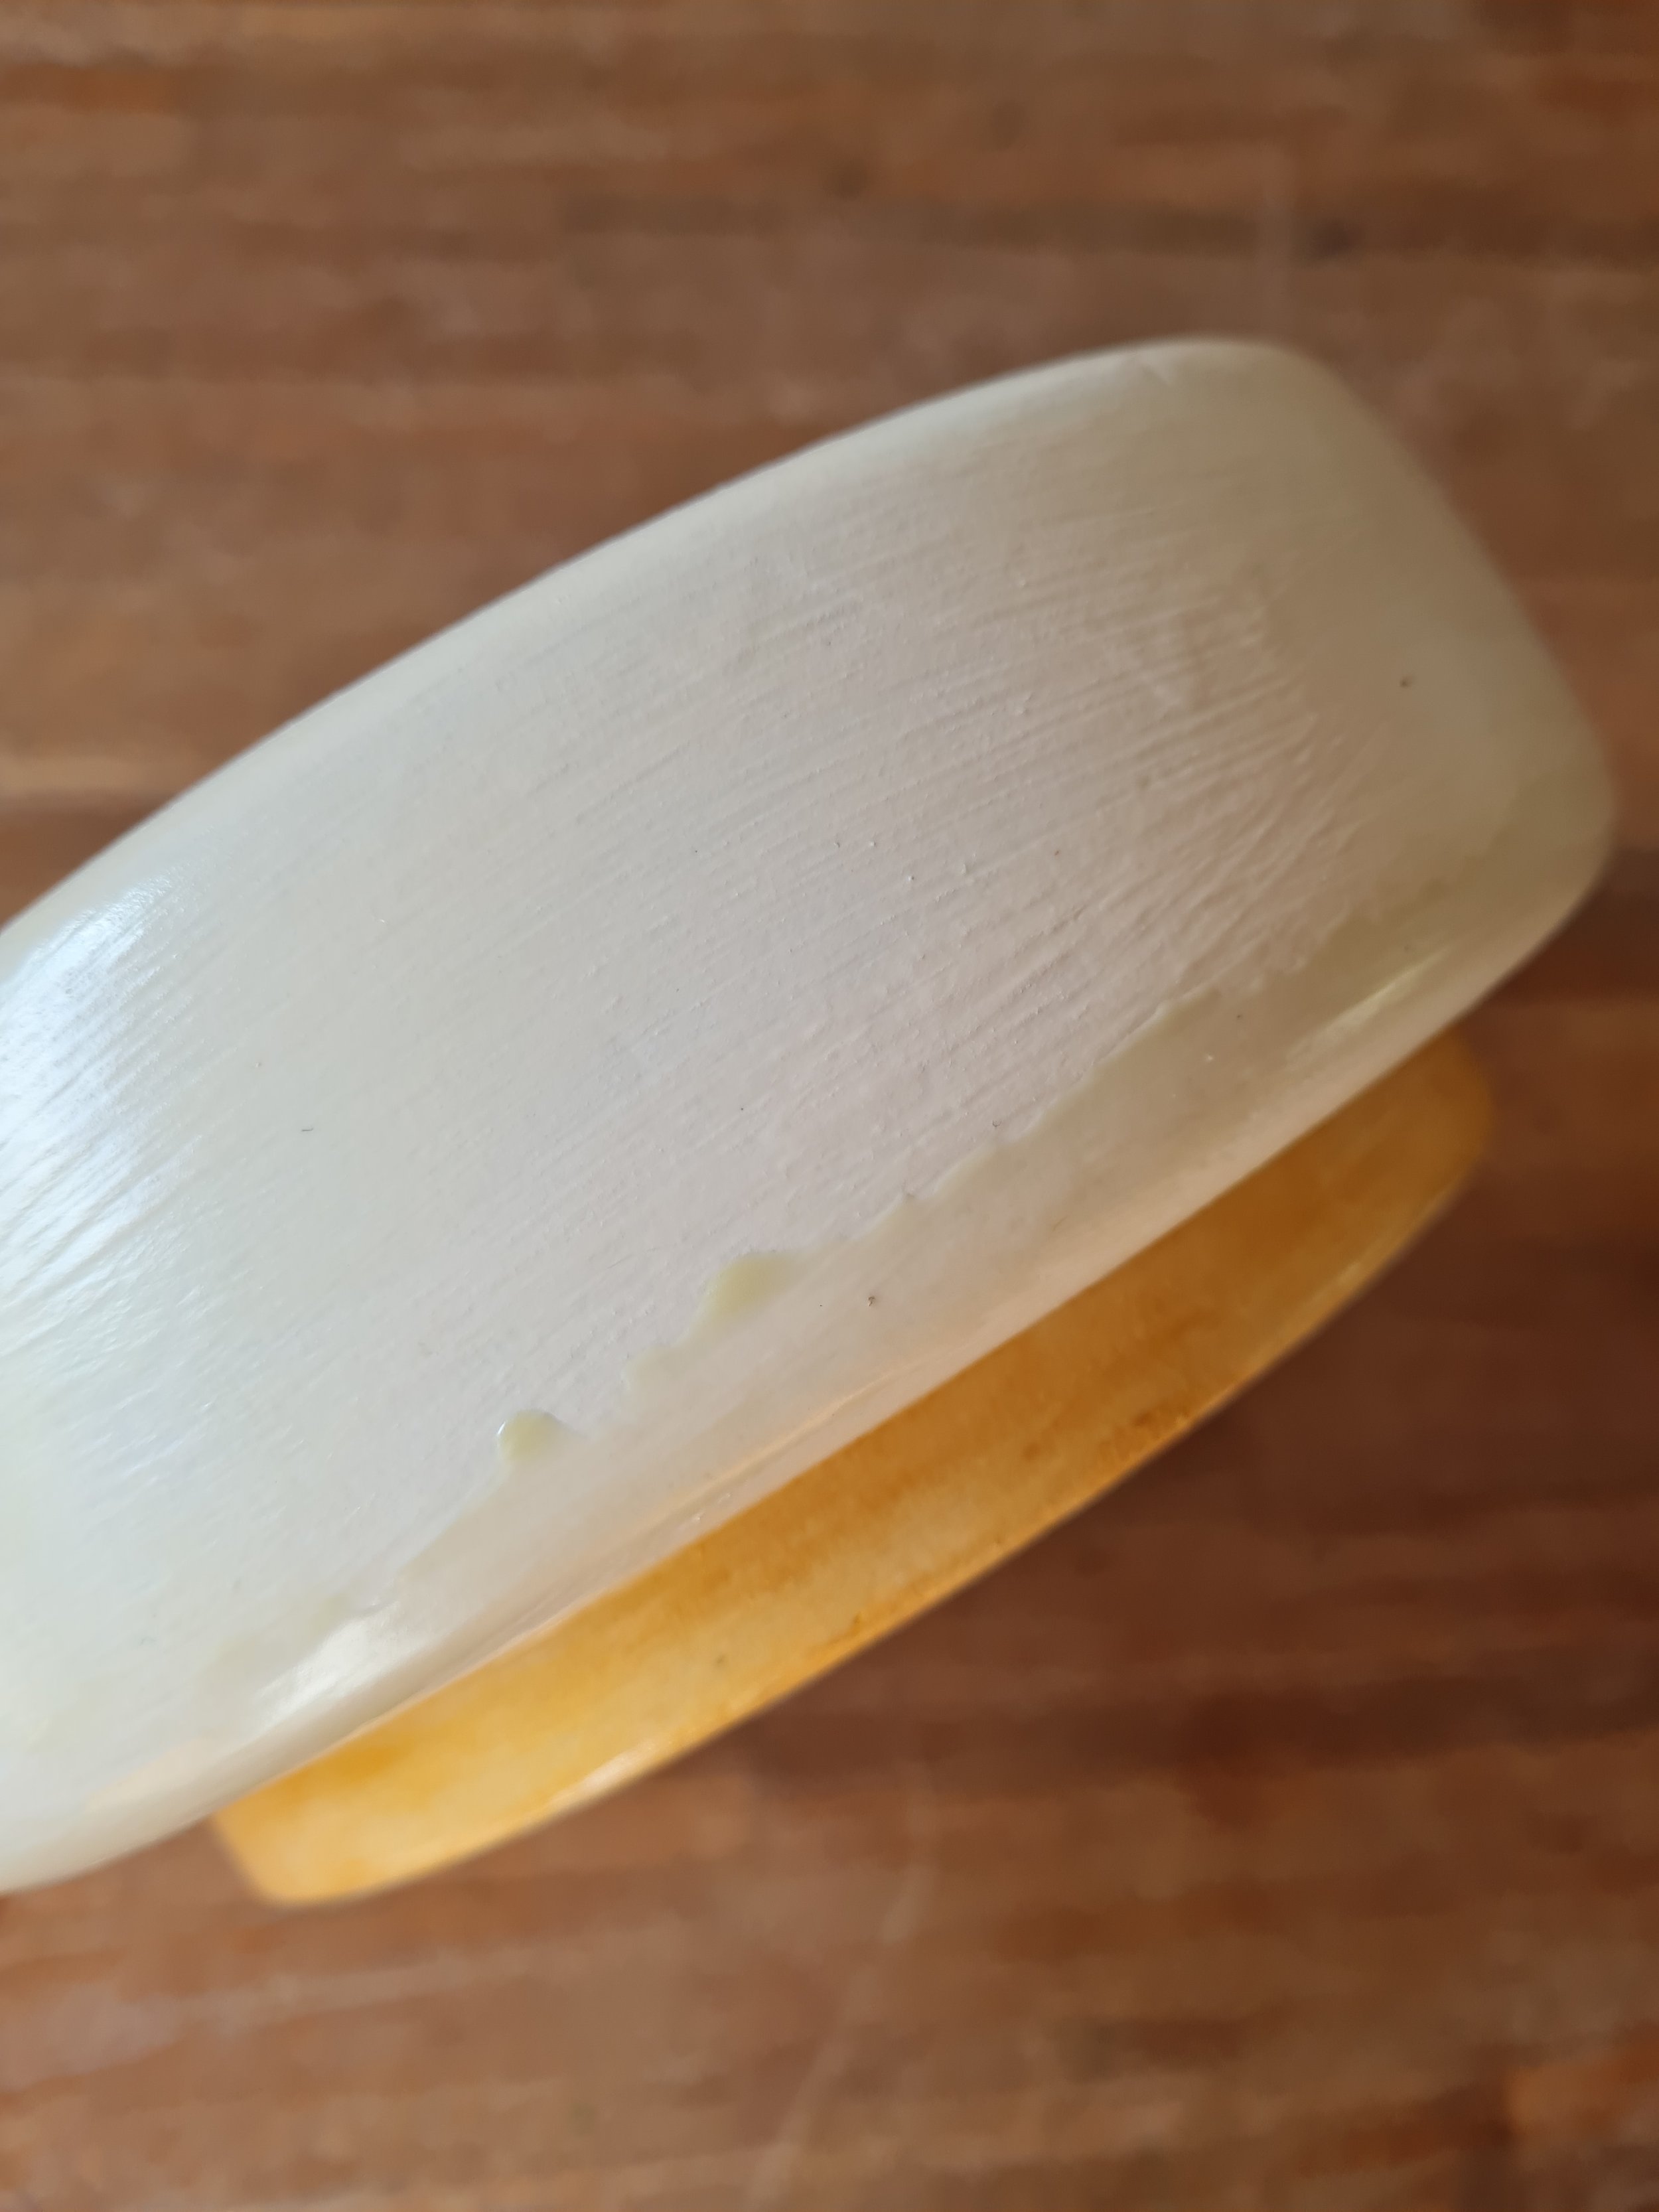
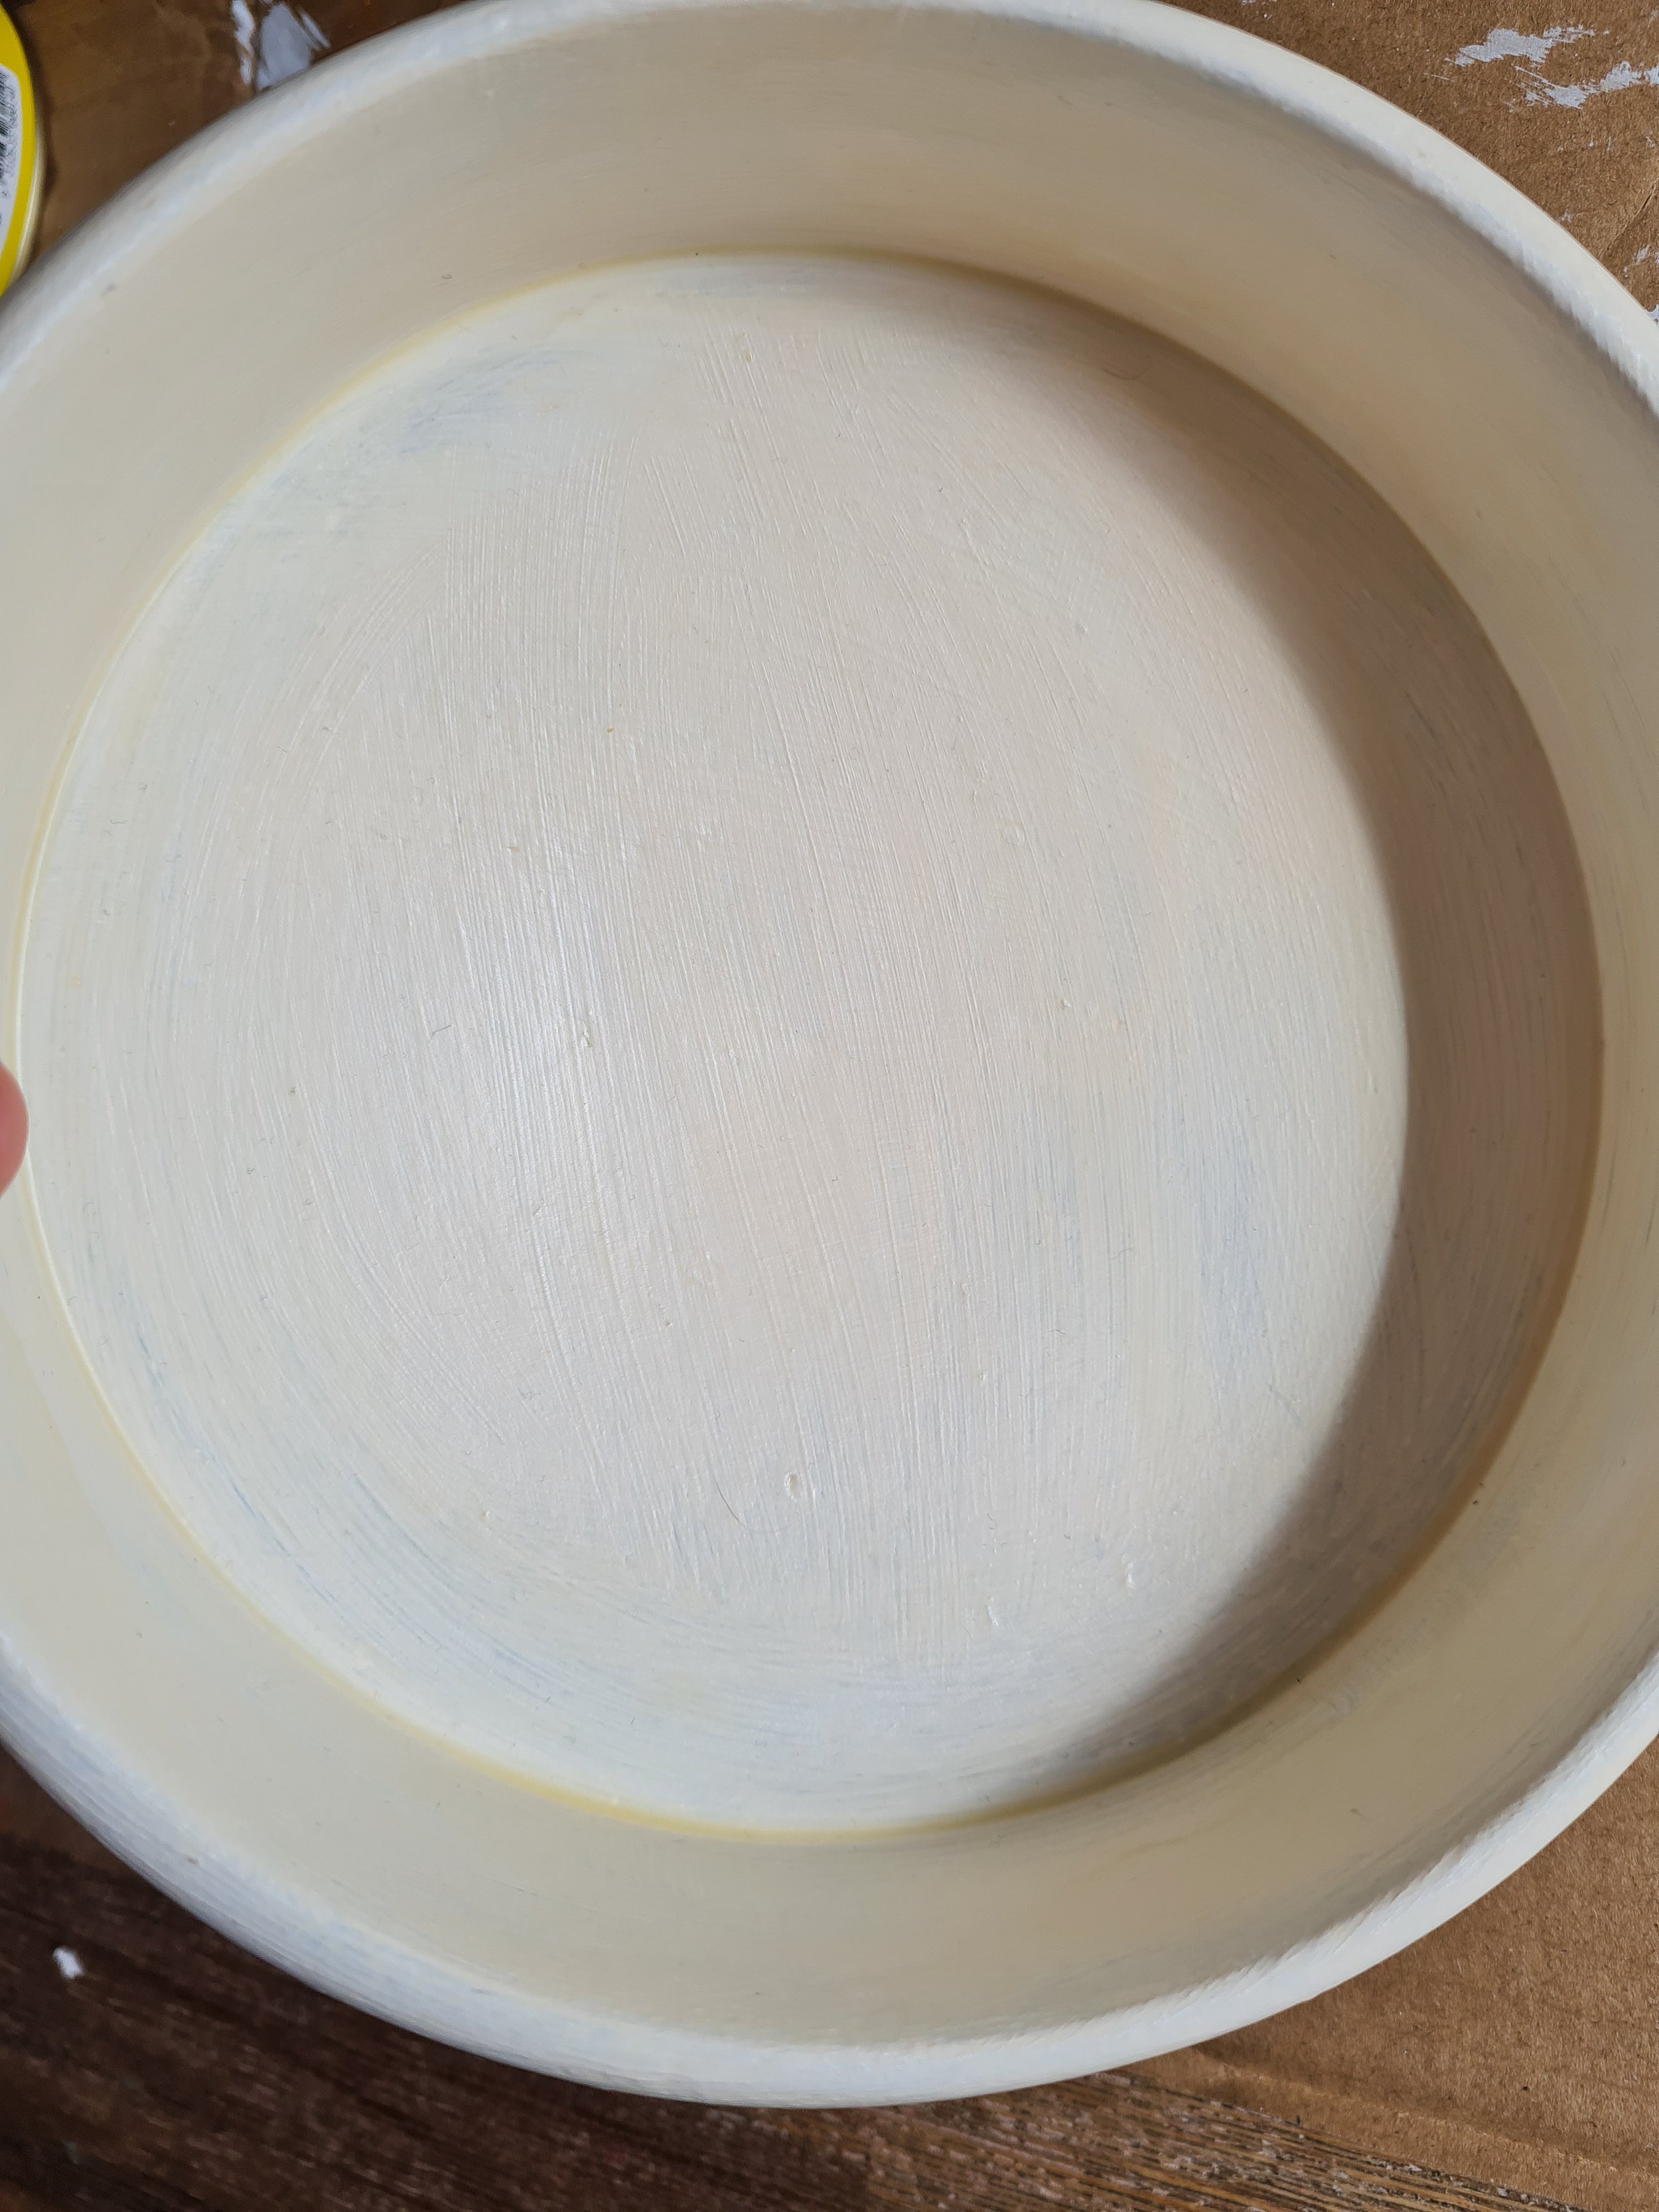
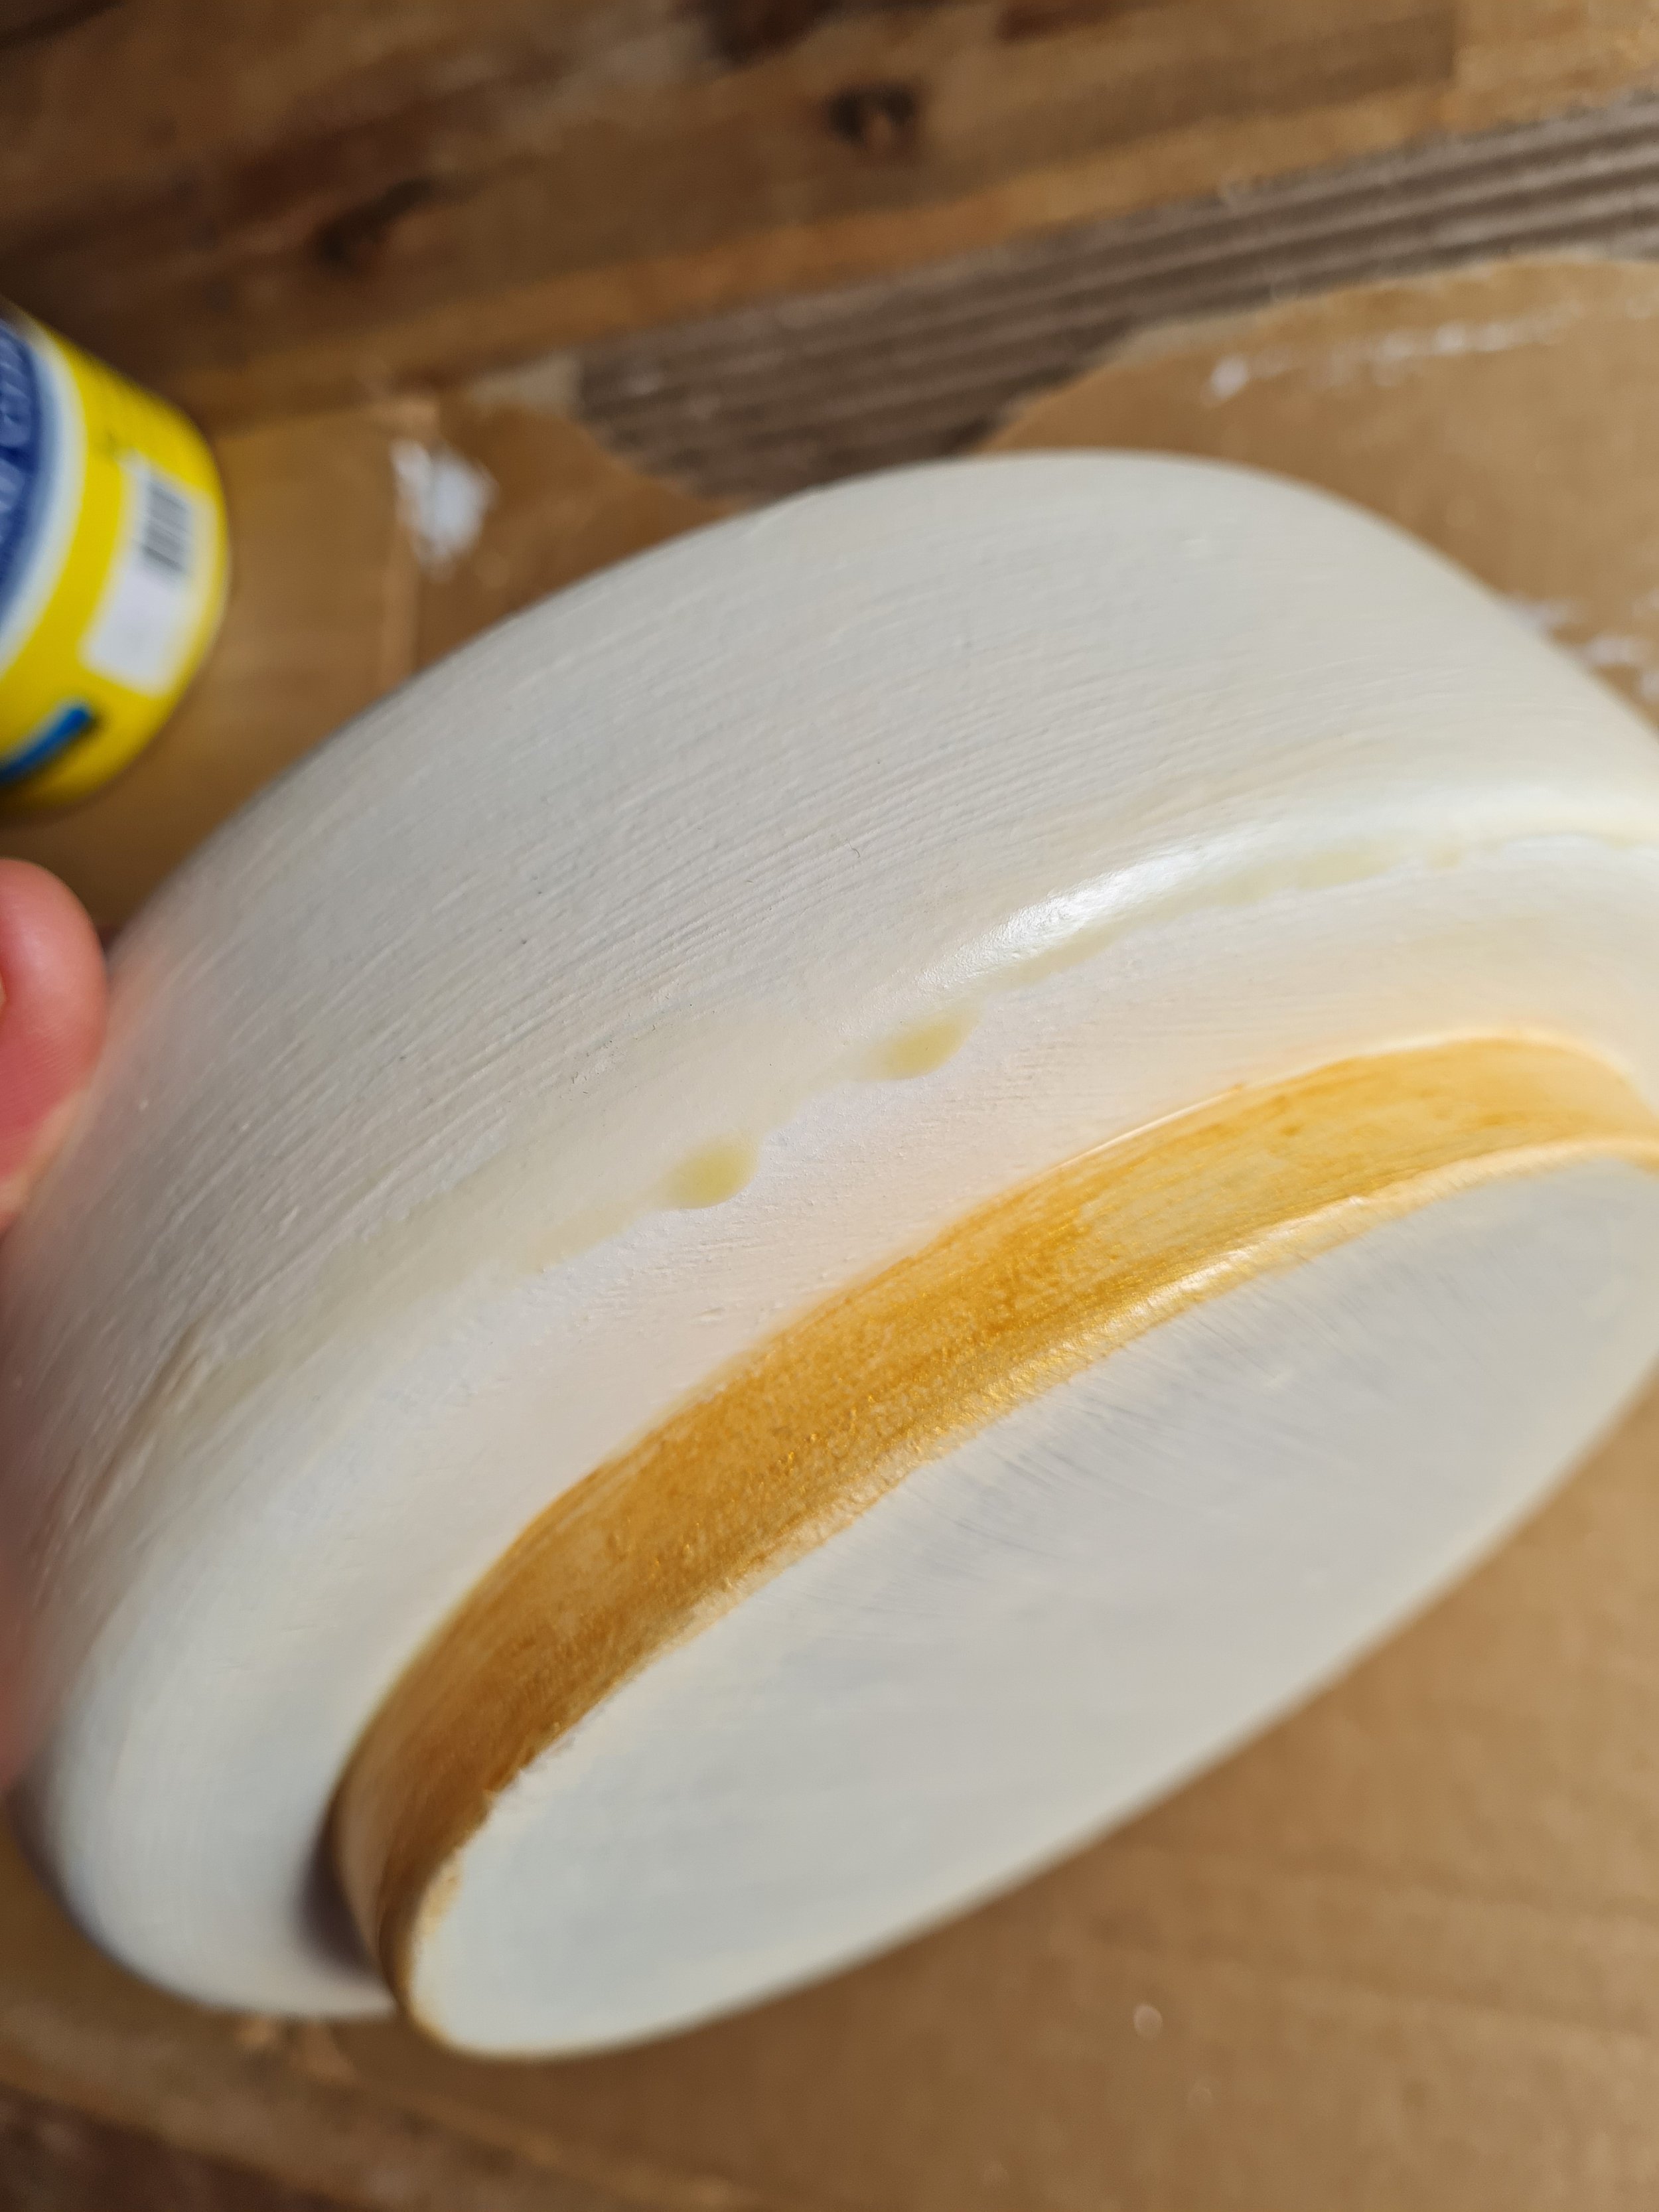
So I was super disappointed in the morning when I saw that. I put this piece into the naughty corner for a few weeks, then dug it back out again yesterday and did another coat of white over the top, and a proper water based clear coat with no yellowing.
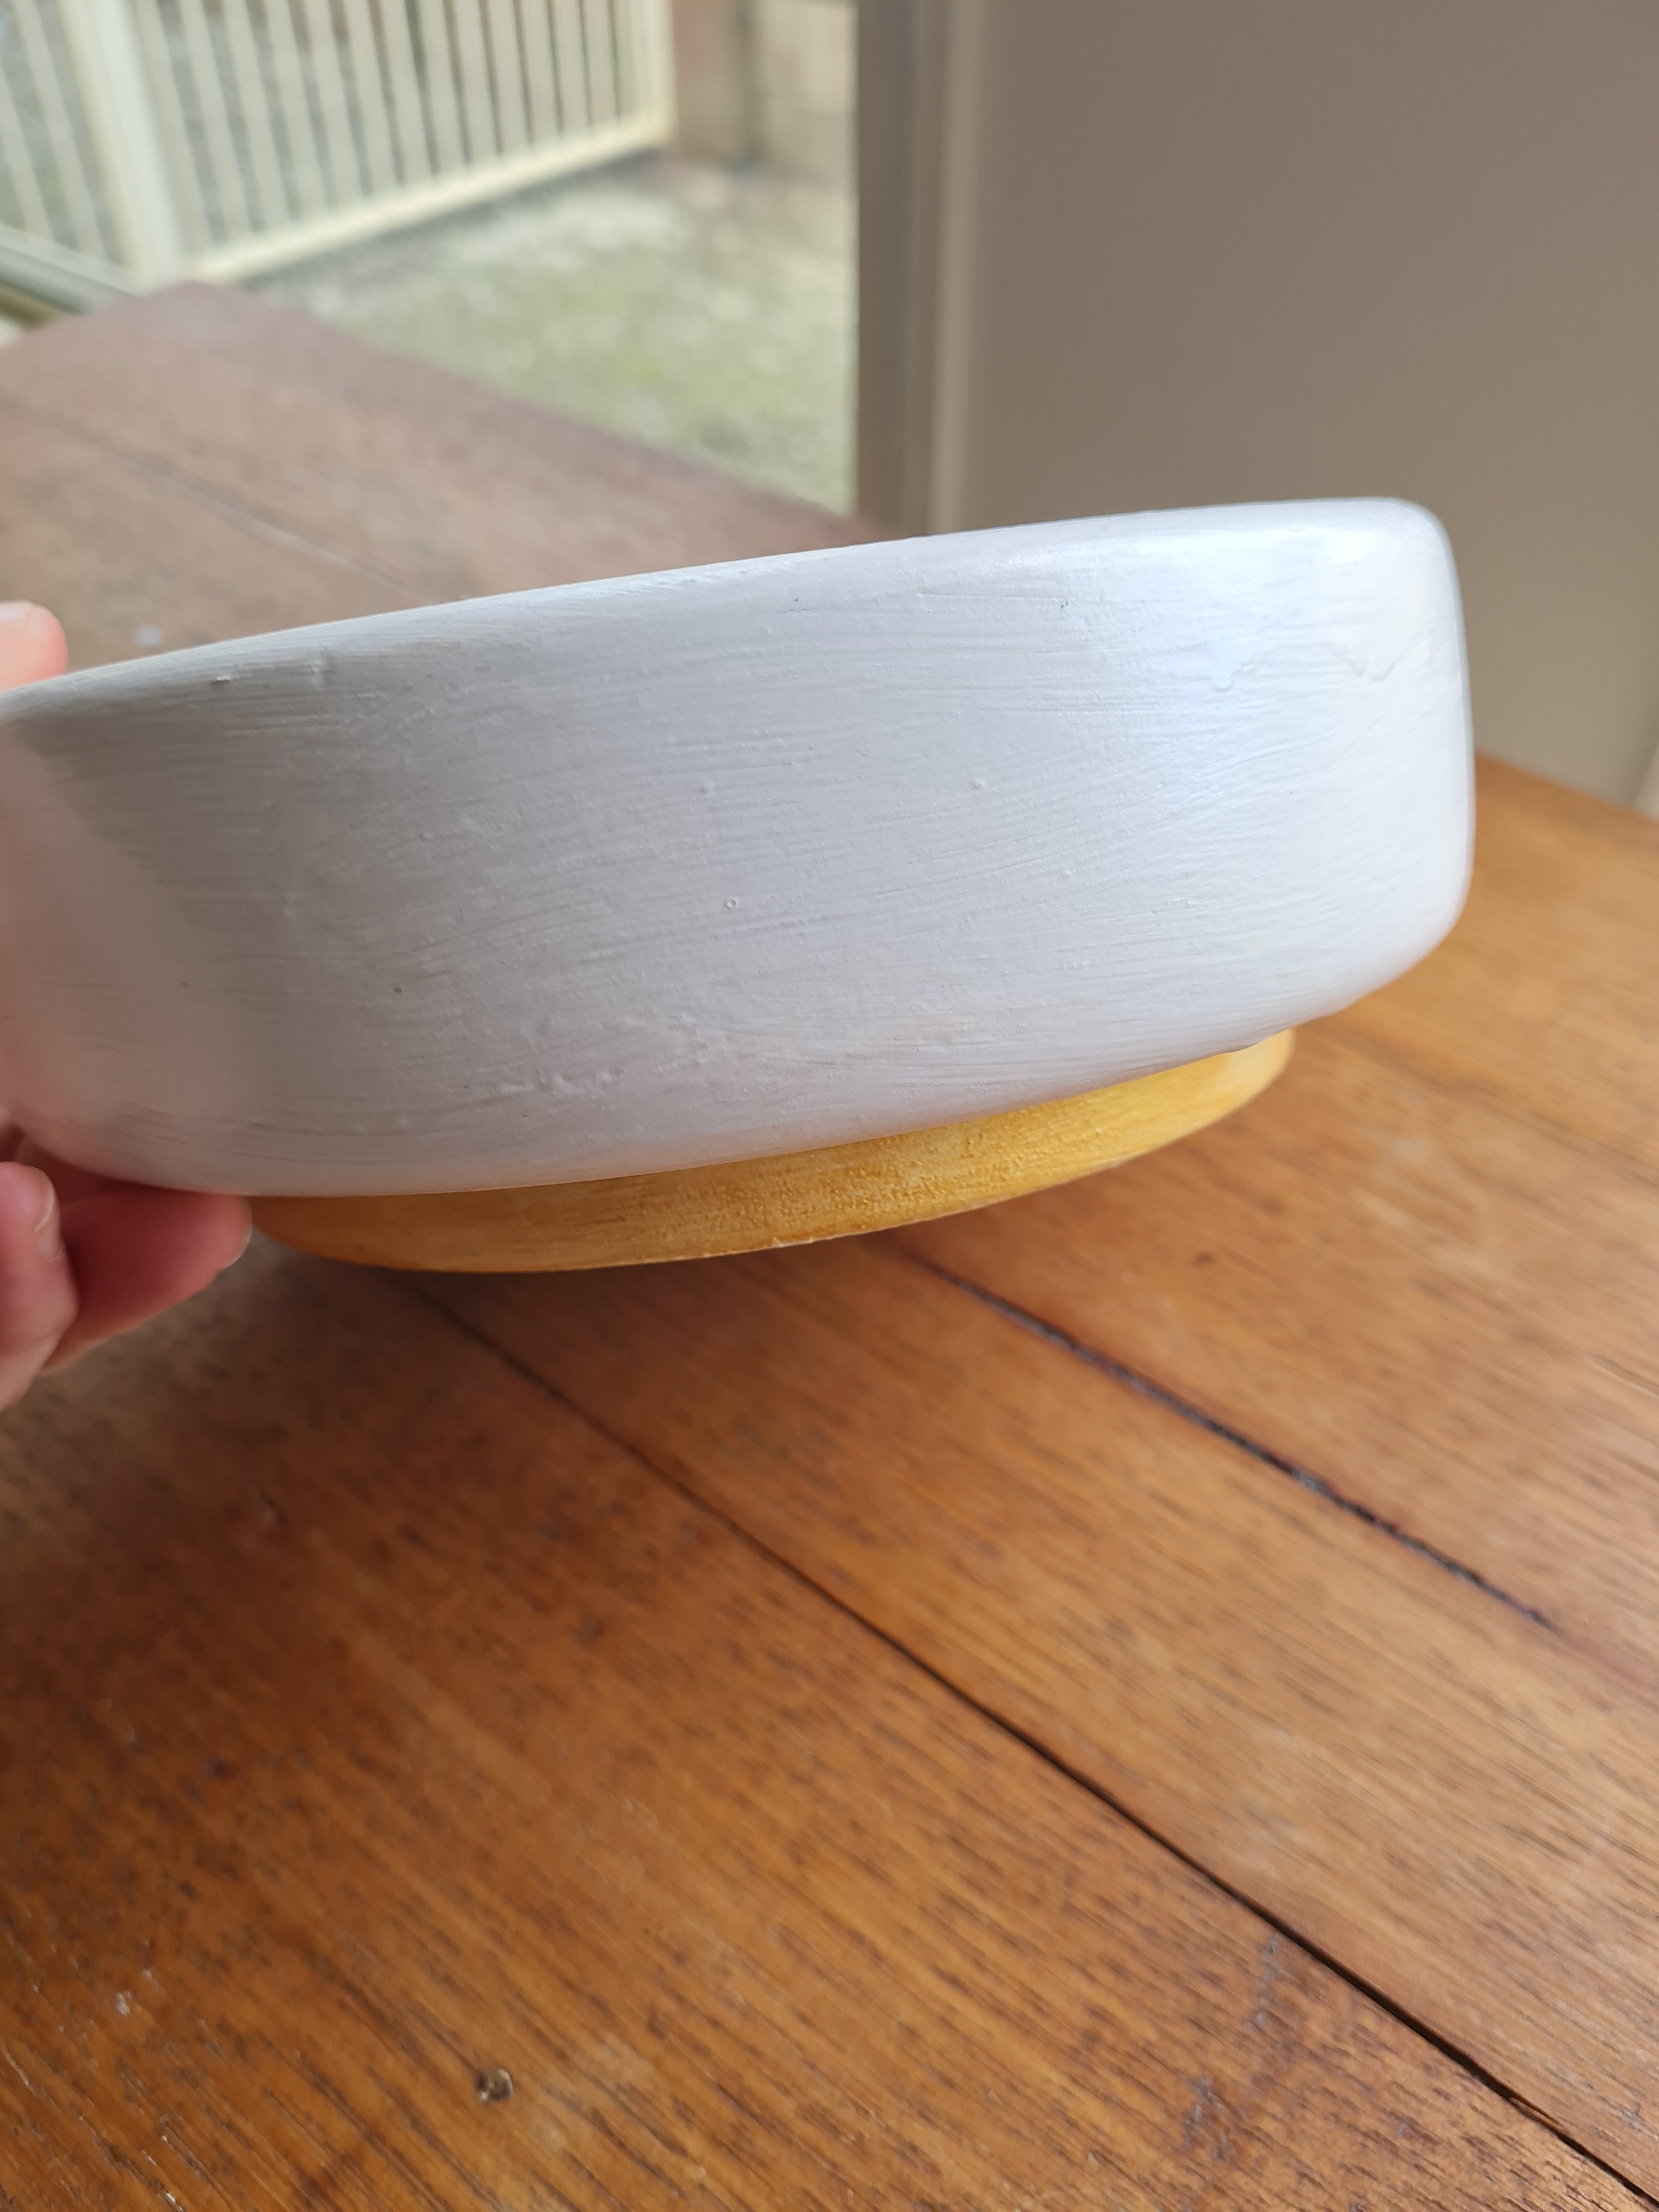
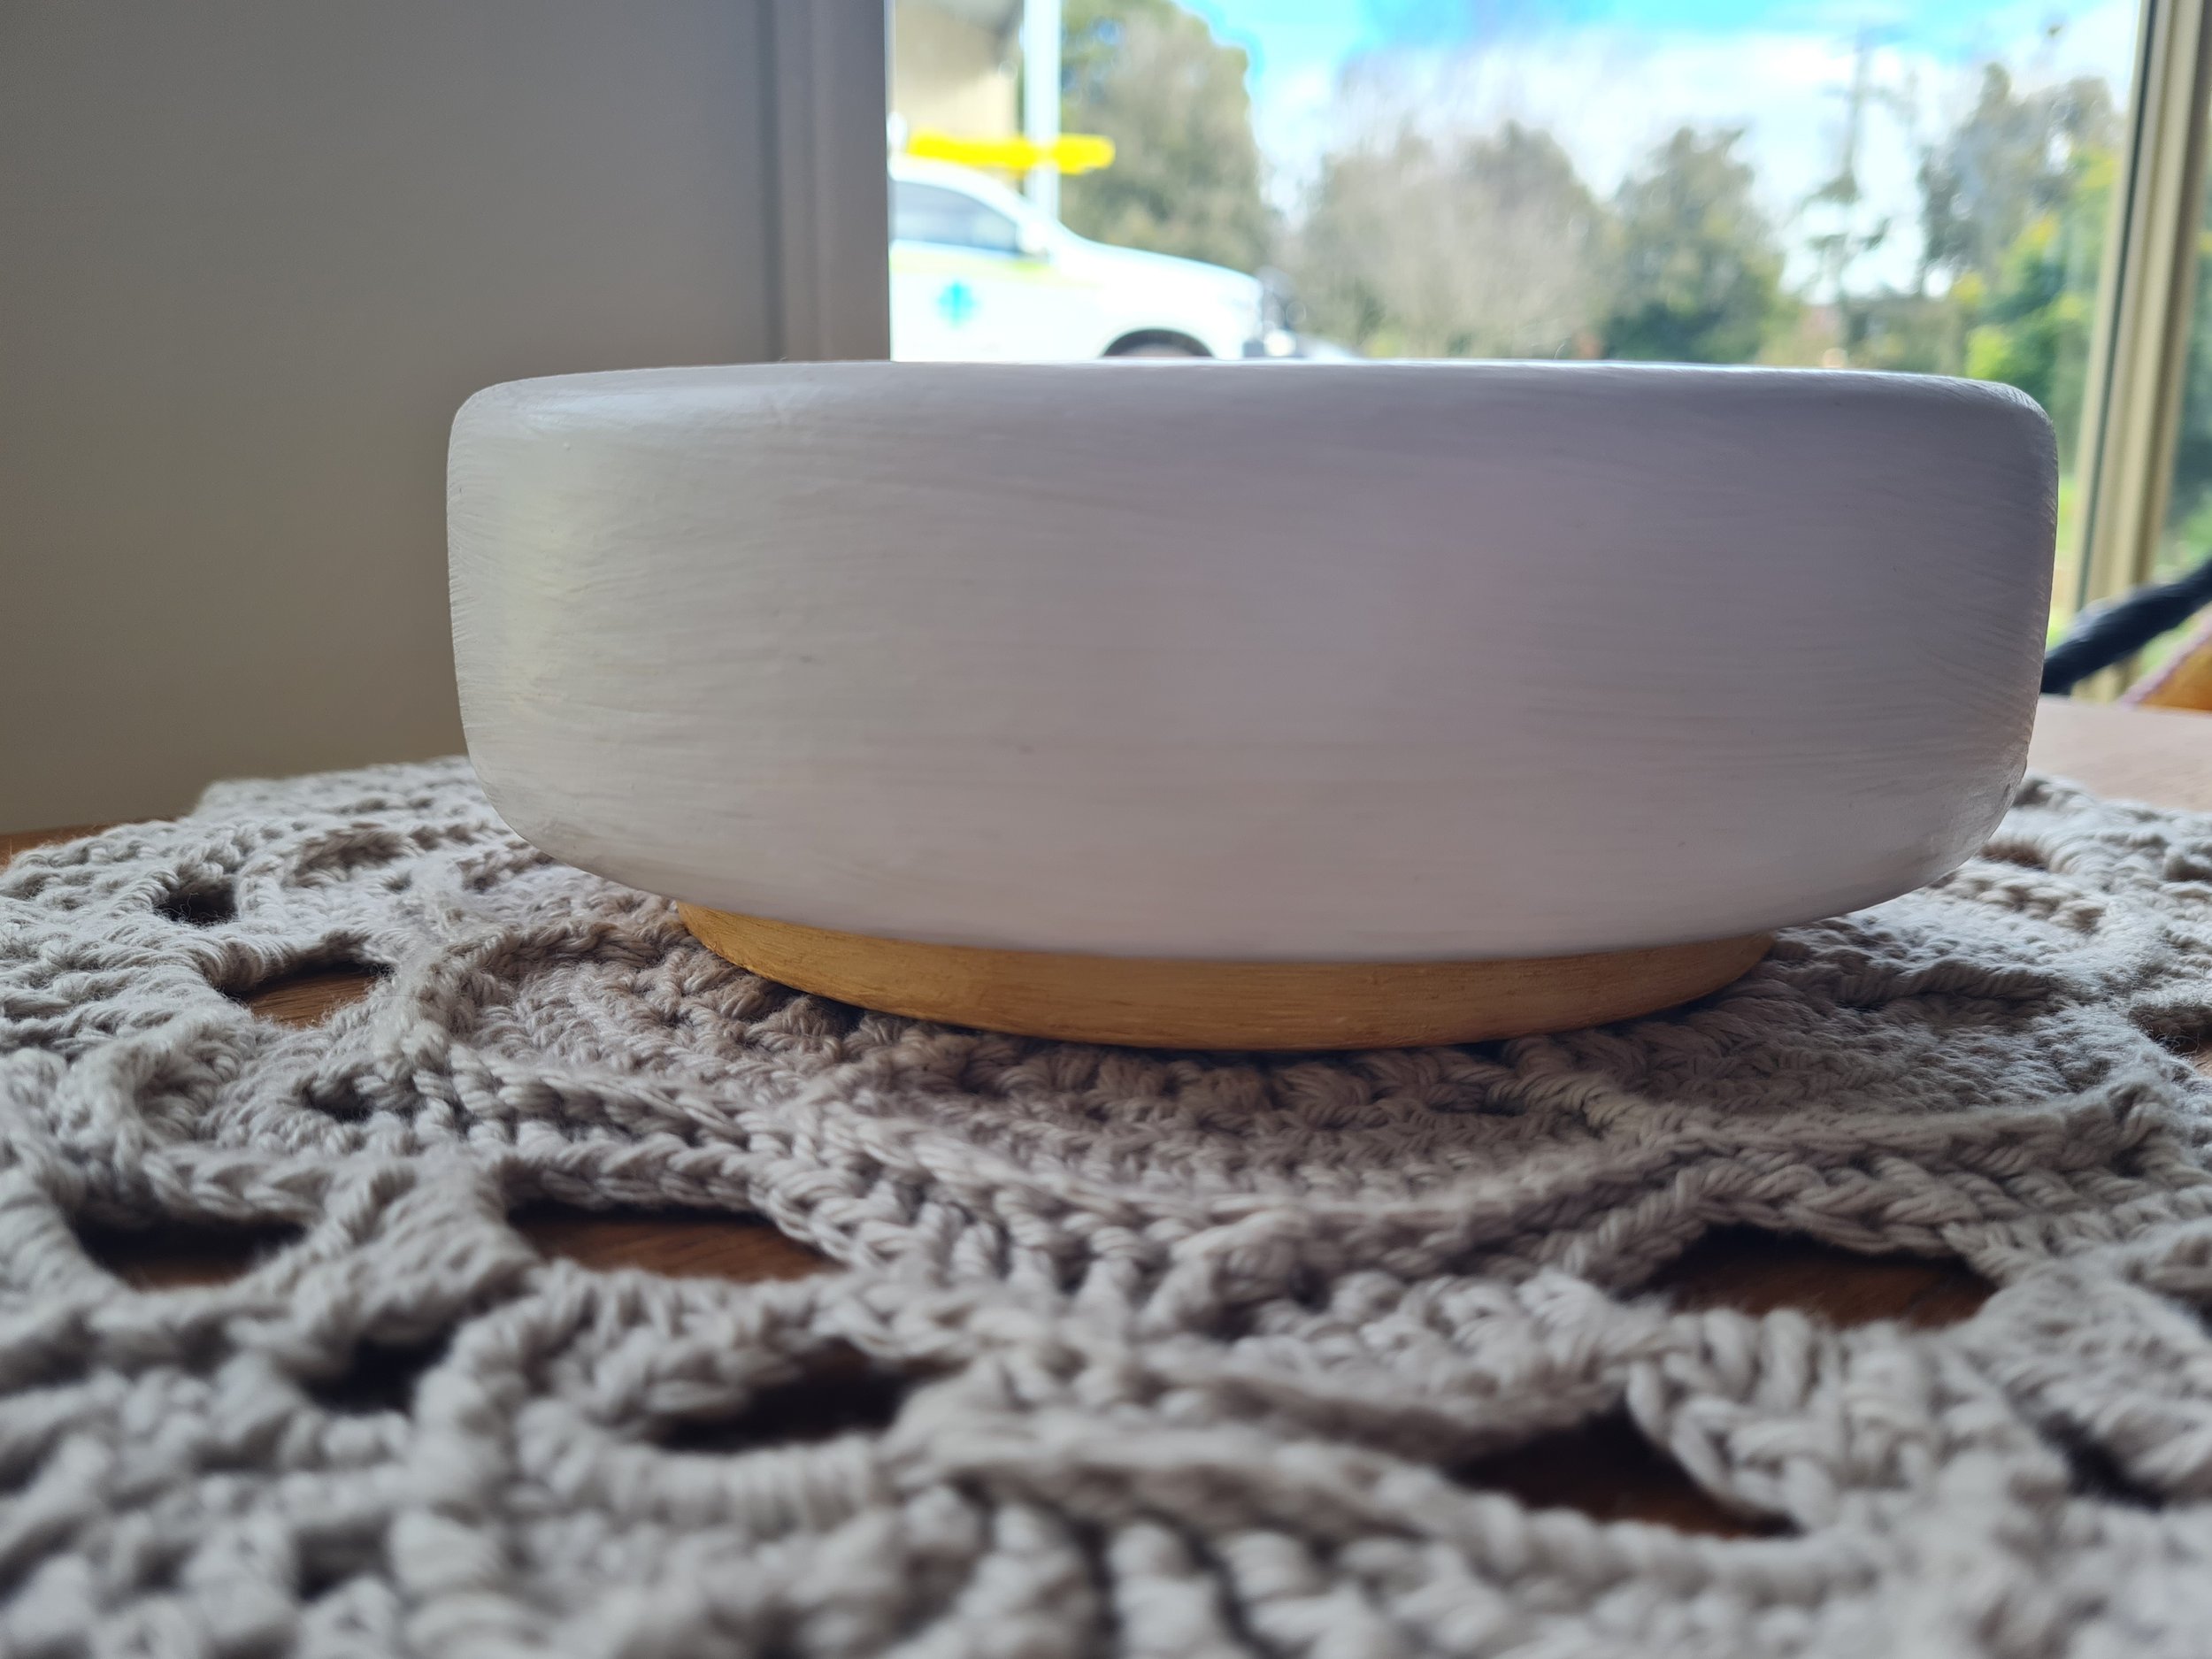
I am so happy with how it turned out. No it is not perfect. The gold line down the bottom is wonky as, but it’s hard to see unless you pick it up, so I don’t care, and I didn’t sand the drips away so if you search for them you can see them! But I don’t care! I wanted the finished something feeling more than the perfect feeling. So I just finished it!
So they are my thrifted upcycled projects from the last nearly year! These things don’t happen quickly for me around the kids and the house and the cooking. But I enjoy the process and the finished product enough to keep fitting in moments here and there to do these things.
I promise I will try and take better before and after photos for my next batch of thrifted finds, which you can get a preview of in this video below! So stick around and see which of these finds I upcycle or clean up and try and learn how to style!
Where do I find inspiration?
Here are a few accounts on either Instagram or Youtube that I enjoy watching for upcycling inspiration. I’ve worked out I don’t love the dollar tree type hacks because a lot of the time it is just cheaply made stuff that just isn’t going to last, made by creators who are just coming up with random ideas for the sake of sponsorship dollars. And I get it, that’s part of your business, but it’s not what lights me up, so I’m leaning towards thrifting and upcycling instead!
On Instagram @smorhome is an awesome account. Jaharn has made a wonderful business flipping, upcycling, and repurposing furniture and even making her own furniture too. She has a unique and eye-catching sense of style and comes out with some stuff I’ve never even considered before!
Also on Instagram @seekinglavenderlane has a stunning feed. She has just moved into a new home and I’m excited to watch her style it and fill it with unique pieces!
@melissaashleymeares has a stunning home filled with second-hand items too! She is actually starting a 30 days to a second-hand home in August 2023 that looks like it will be fun!
Over on Youtube I love to follow along with Reinvented Delaware and get inspiration and ideas from the different ways she repurposes thrifted finds.
I have also seen a lot of great ideas come out of Our Upcycled Life and I love watching her videos and getting inspiration for things.
I don’t love every project that these accounts come up with because not all of it is stuff I would put in my home. But it’s great to watch and get inspiration from.
Well after my longest blog post in a long time, I hope I’ve inspired you to find something at your local op shop and give it a new life!
Happy Homemaking friends!